It’s been a busy couple of months, hence the reason that I haven’t really had a chance to post too much about what I’ve been working on in the past few months. As a result, let me catch you up on the full list since the end of September, and note that some of it is not shoe related. Oh, and did I mention that I spent every weekend starting from the weekend before Thanksgiving at the Dickens Fair? That certainly cut into my time, but I still produced a good amount of material:
– A 1520s pair of Black cowmouths with red edging, almost identical to those here.
– A 1520s pair of Blue cowmouths with gold edging, similar to the above. Inseaming and Outsoling on this pair was done by Matt L., as we were on a tight schedule!
– A gold and green damask gown for a Greg G., with linen lining and silk turnbacks on the cuffs (no picture, sadly).
– A shot red and gold silk satin coat for Brendan L. The boots are not my work, but I’m rather delighted with the way coat came out (see the picture below, courtesy of Sandra L.).
– A new pair of 16th Century jeweled shoes, similar to those here.

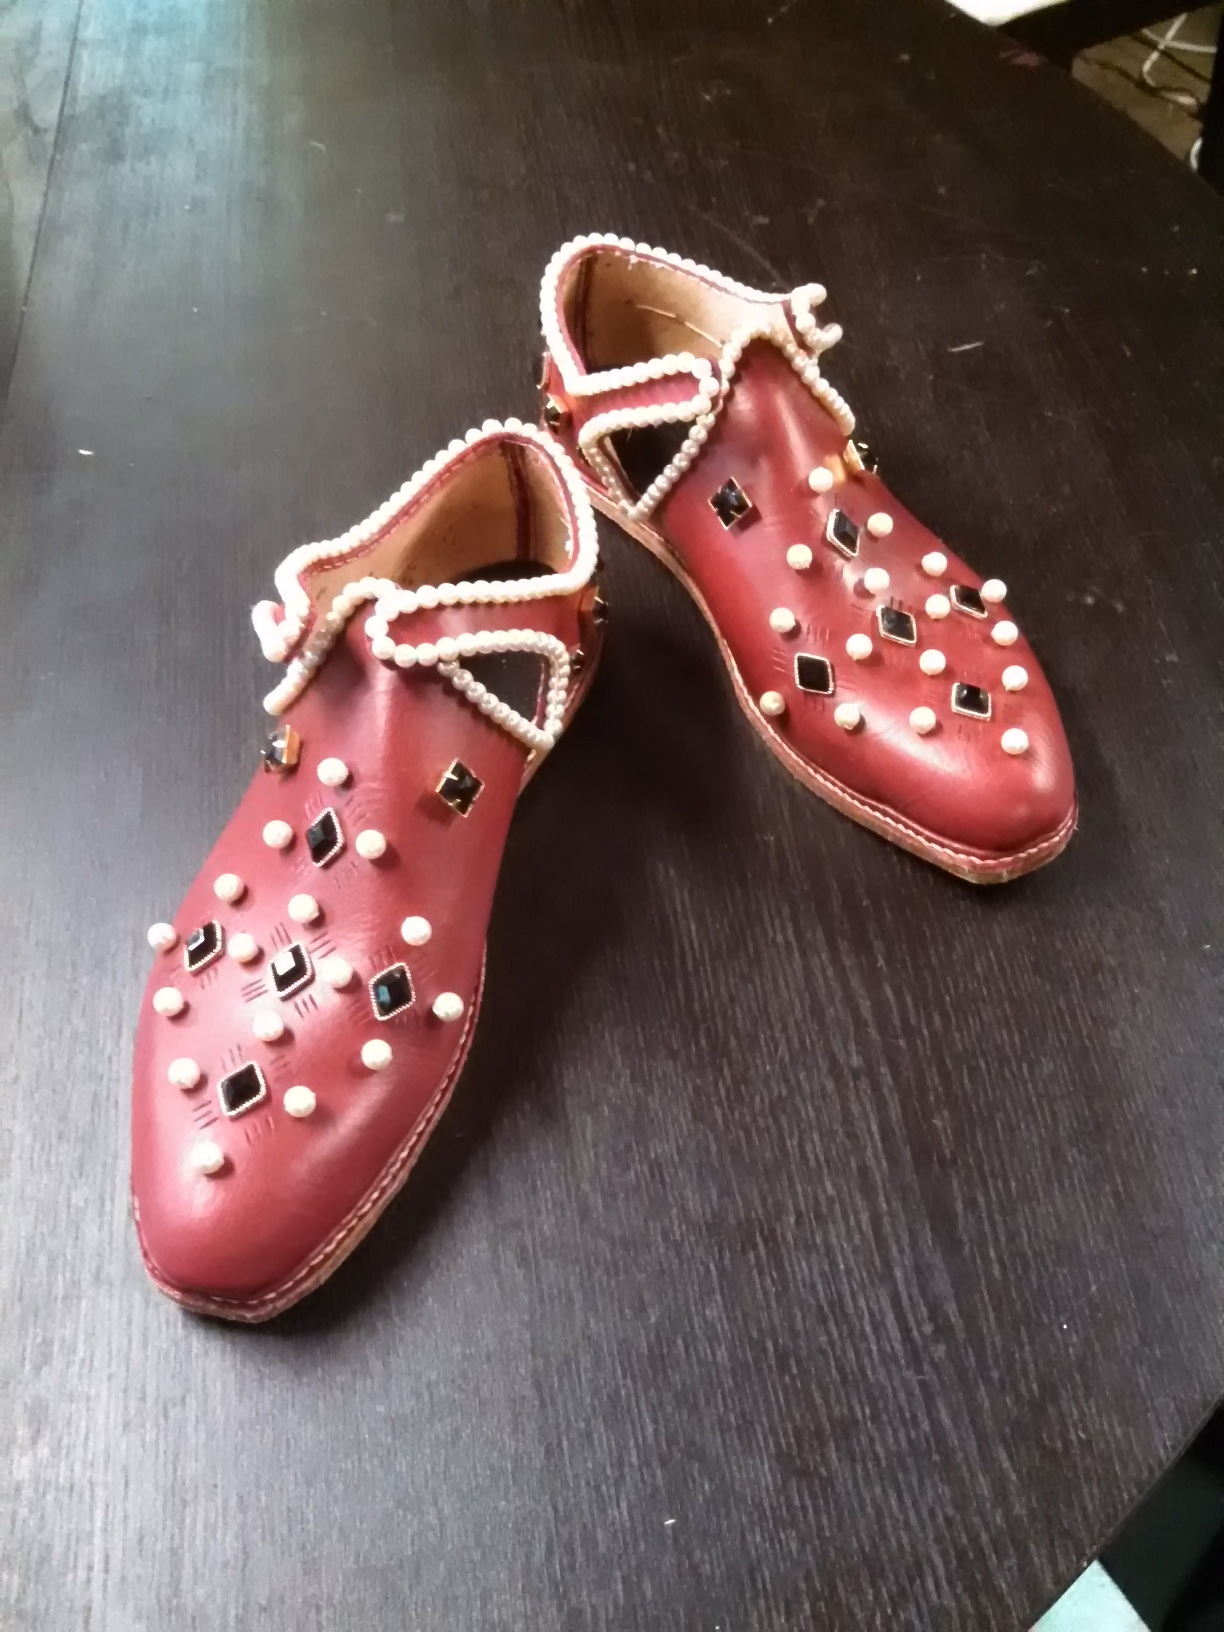
I’d like to tell you a little bit more about the 16th century jeweled shoes, and how they are different from the past project.
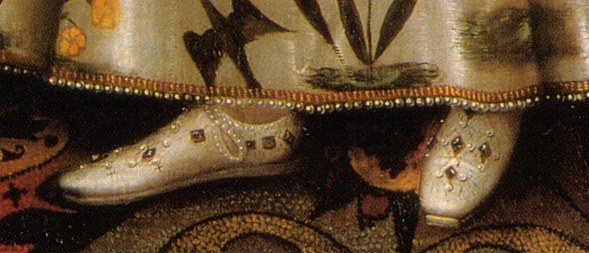
In the first place, you’ll notice that the toe is more pointed and similar to the pair depicted in the painting. This is primarily a matter of the last, and is a reasonably straight-forward fix. Either carve the proper lasts, or cheat a little and attempt to make a modern pair look more like period lasts. I took the latter route, although one new year’s resolution is to come up with some more period lasts.
Secondly, although I used the same lozenge gems as in the previous work, I was able to trim off the edging of gems to make them look more like in the portrait, and I also was able to remove the stones so as to drill holes to set the finding firmly only the shoe. I’d previously used the clasp for the finding to attach it to the shoe, and discovered that this was not the most stable of methods. By both drilling the findings as well as using a drop of glue, the gems ought to hold nice and firmly to the leather. The pearls were sewn in a sturdy manner by using a highly curved upholstery needle to work inside the leather. When that failed, a long piece of wire was placed into the hole, and the thread wrapped around it to thread it through the leather to sew the pearl on. A bit of a pain, but it makes the pearls nice and solid.
Thirdly, you’ll notice that the square gems are different than what was used previously. In this case, I purchased stones and findings separately, and used the same drill-and-attach technique as for the lozenge shaped stones. I think that these work better than the previous ones, although the previous pieces were still quite close.
As a reminder, here is the original picture – I feel that I’ve gotten a great deal closer to the original look, although there are still some features with last shape and sole thickness to work out. The pearls are also spaced a little far apart, but that is something that I will definitely improve upon next time. Hardwick Hall, Derbyshire, dated to around 1599.
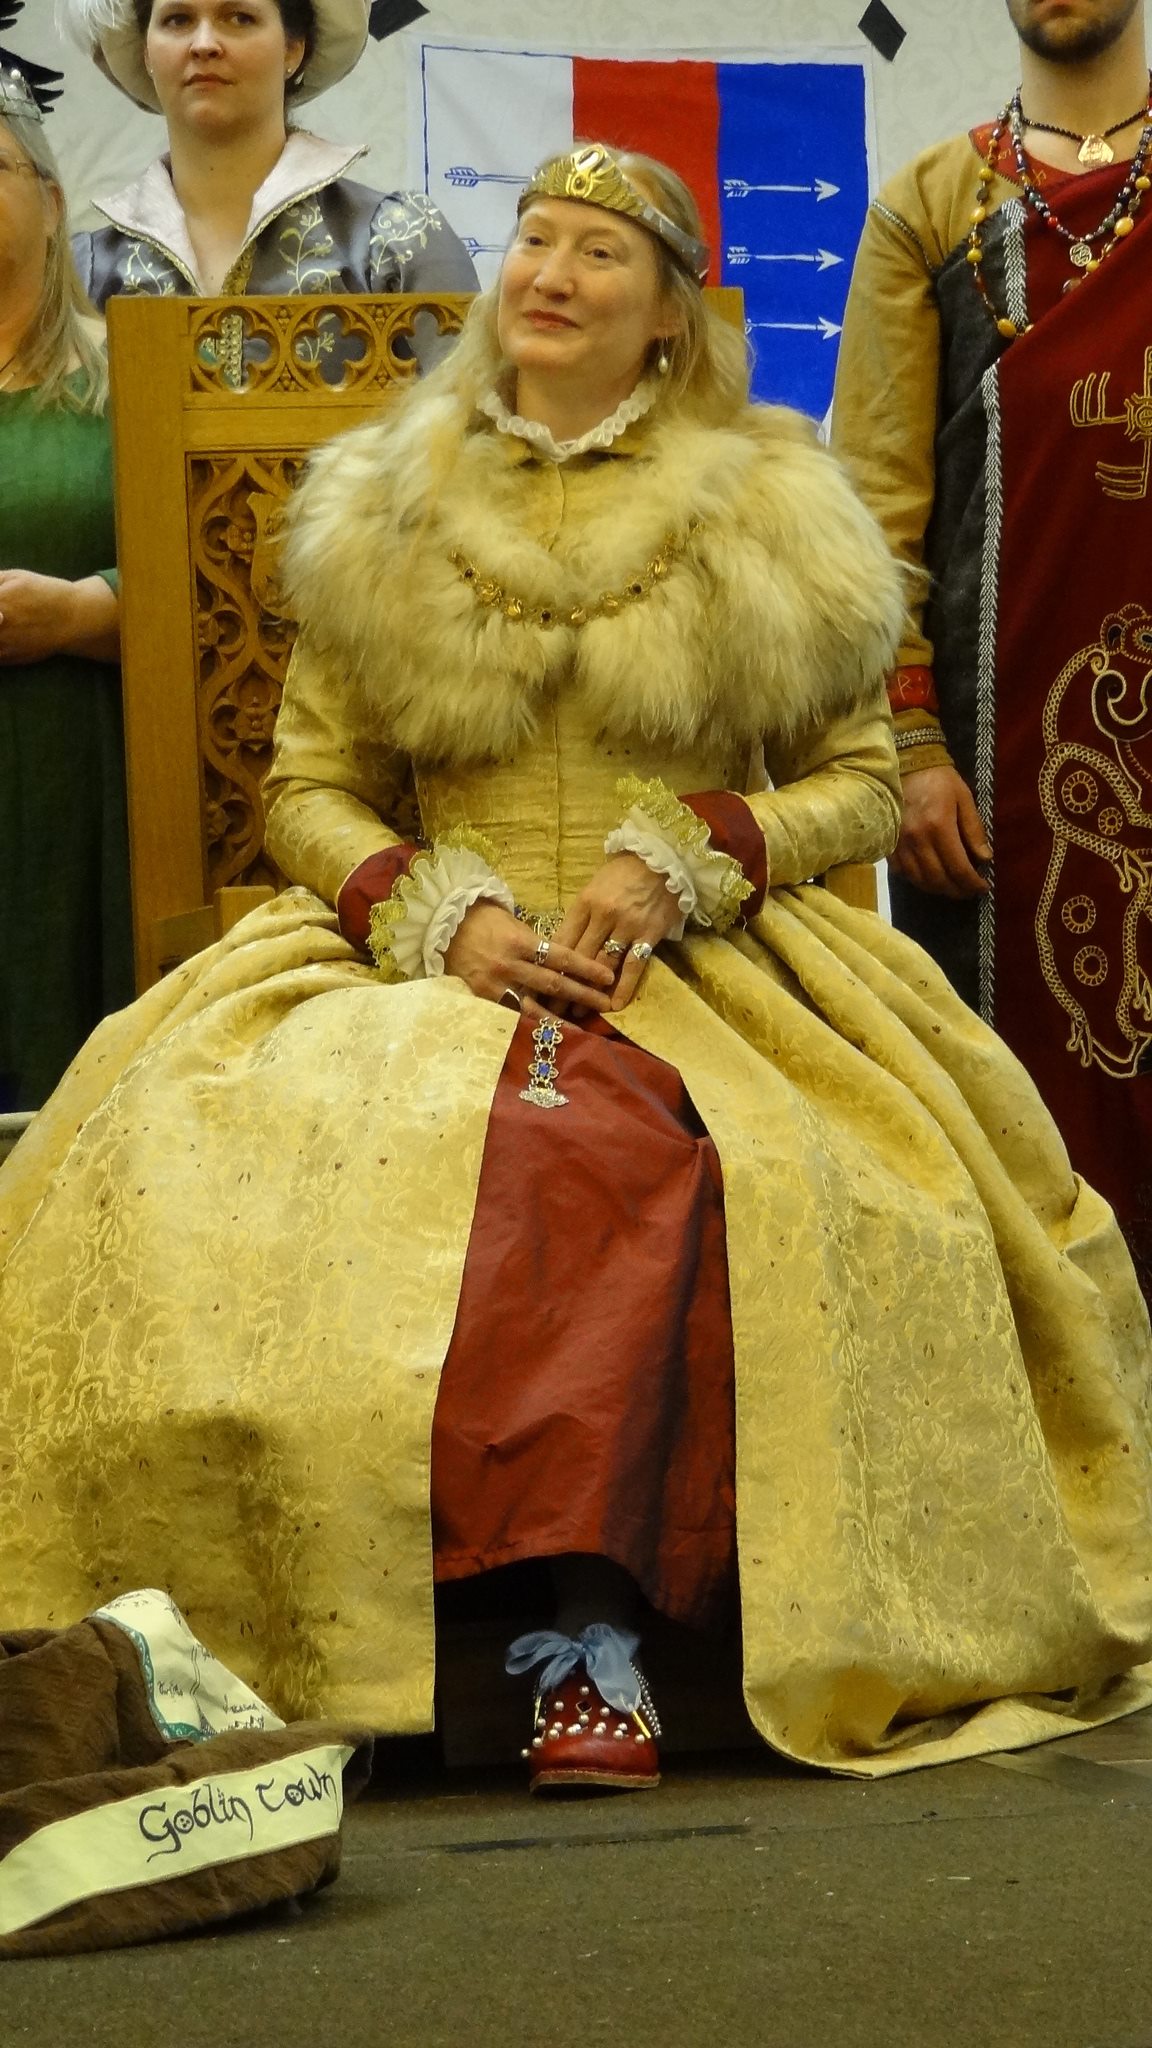
Lastly, here is some context for the shoes – although the original footwear does not seem to show any ribbons (and possibly, they were just simple ties), I’ve opted for a fancy ribbon which would have been appropriate for the late 16th century. The gown itself, made by the most talented Sarah Lorraine is about 1560, and based on the portrait of Queen Elizabeth I in her coronation robes (she was crowned in 1558). So, although there is a bit of anachronism in that the shoes are a little modern, I think that the overall image is maintained well.
