I thought it might be illuminating to describe the manner in which I currently outsole a shoe, since I’ve recently started playing with a new technique and rather like the results. In two separate instances with two different and very knowledgeable individuals, I’ve had welted stitching described to me as “rice grains laying against each other,” or a similar variation thereof. As a result, I think I’m getting rather close to the ideal, as I hope the images will soon describe.
But, just to be sure that we’re on the same page, let’s first remind ourselves the construction of a welted shoe.
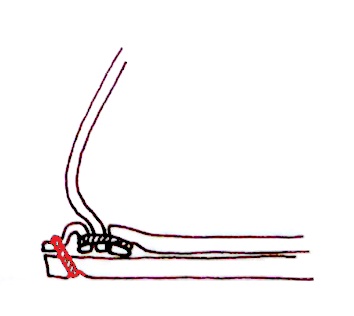
First, take a quick look at the post on shoe cross sections, as we’ll be dealing primarily with the first image, a welted shoe, although there is no additional heel lift on the piece that we’re working on today. It might help to give a bit of a diagram here, so here is a simplified line drawing from Goubitz’s Stepping Through Time of a typical welted shoe cross section.
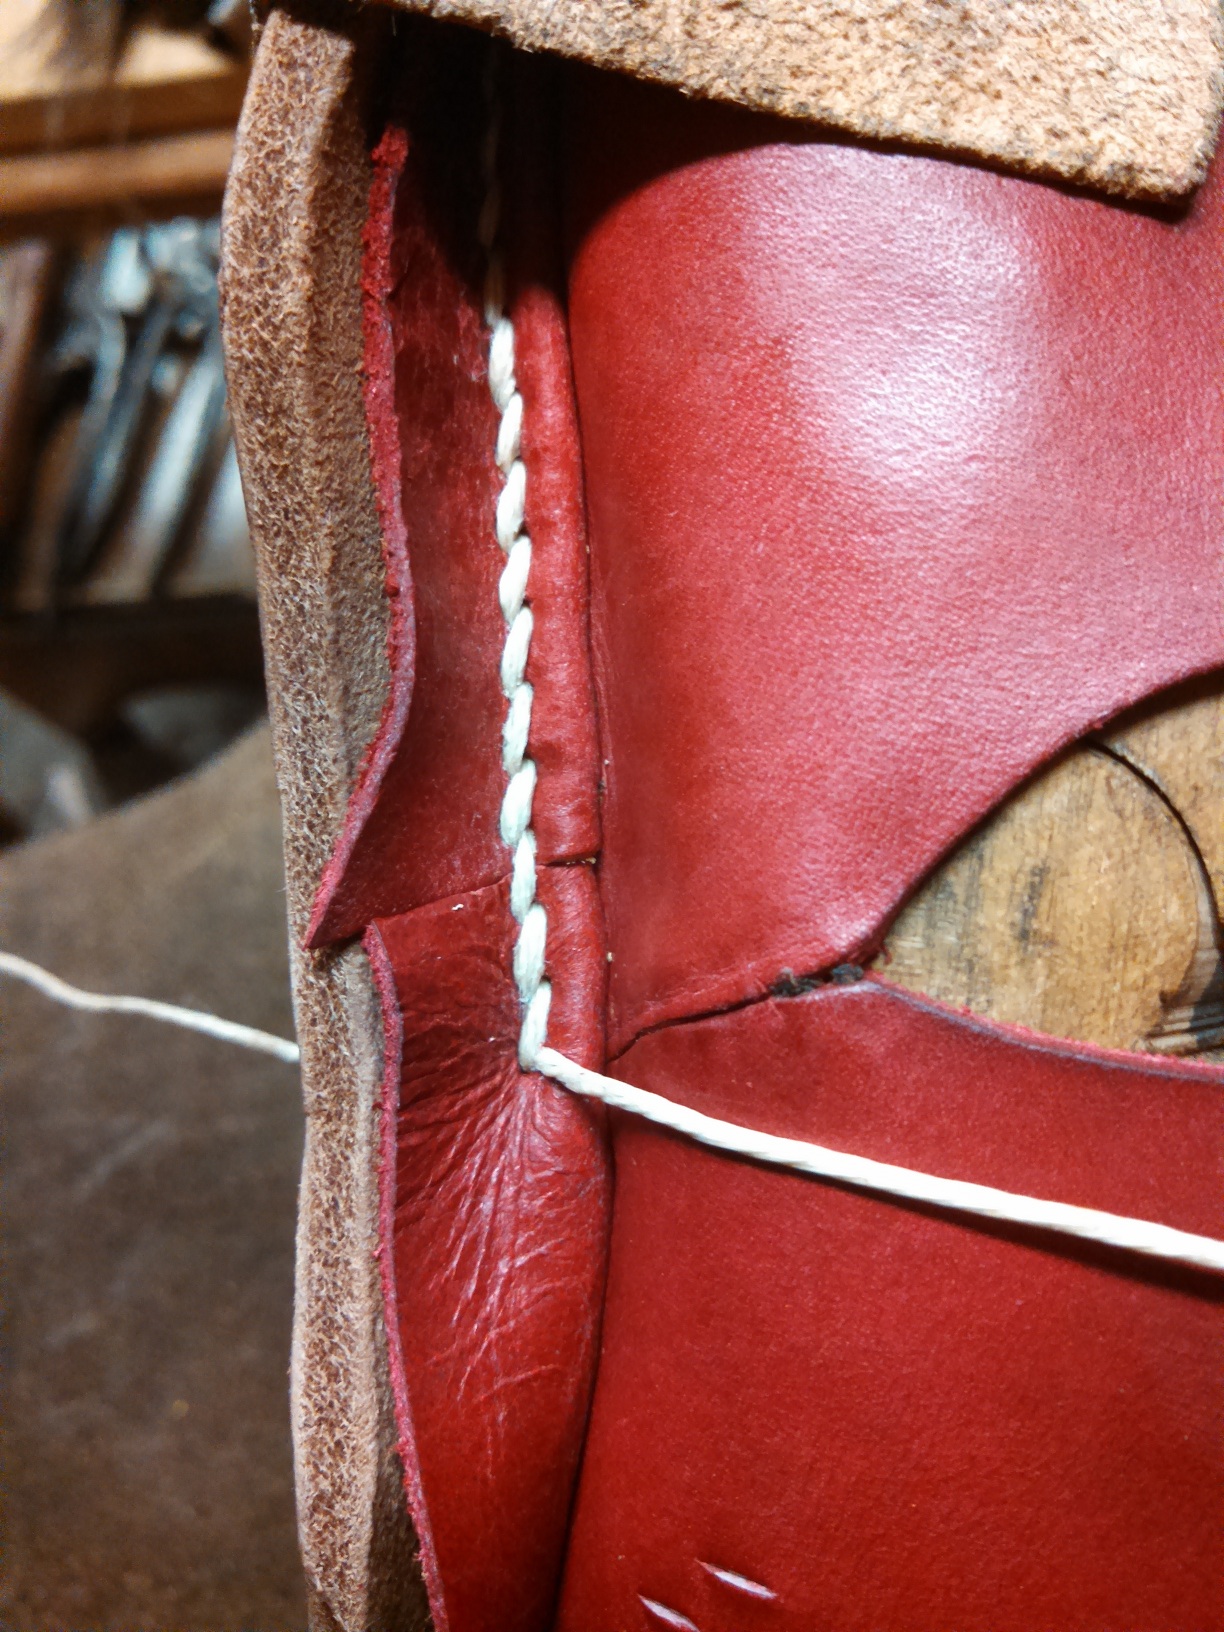
In the images that follow, we’re sewing the treadsole of the shoe on, where the red stitching is shown in the diagram above. You can see at the photo at the very top of the post that we’ve already made a few stitches, so let’s step through the process. For these late 16th century welted shoes, I’m using a straight awl to sew, and the sole is already nice and damp with a channel or groove cut in the bottom of the treadsole. I’ve actually documented this process in the past. Also, the stitching cords here are seven strand 16/1 linen thread. You could go even thicker, I suppose, for fatter rice grain stitches.
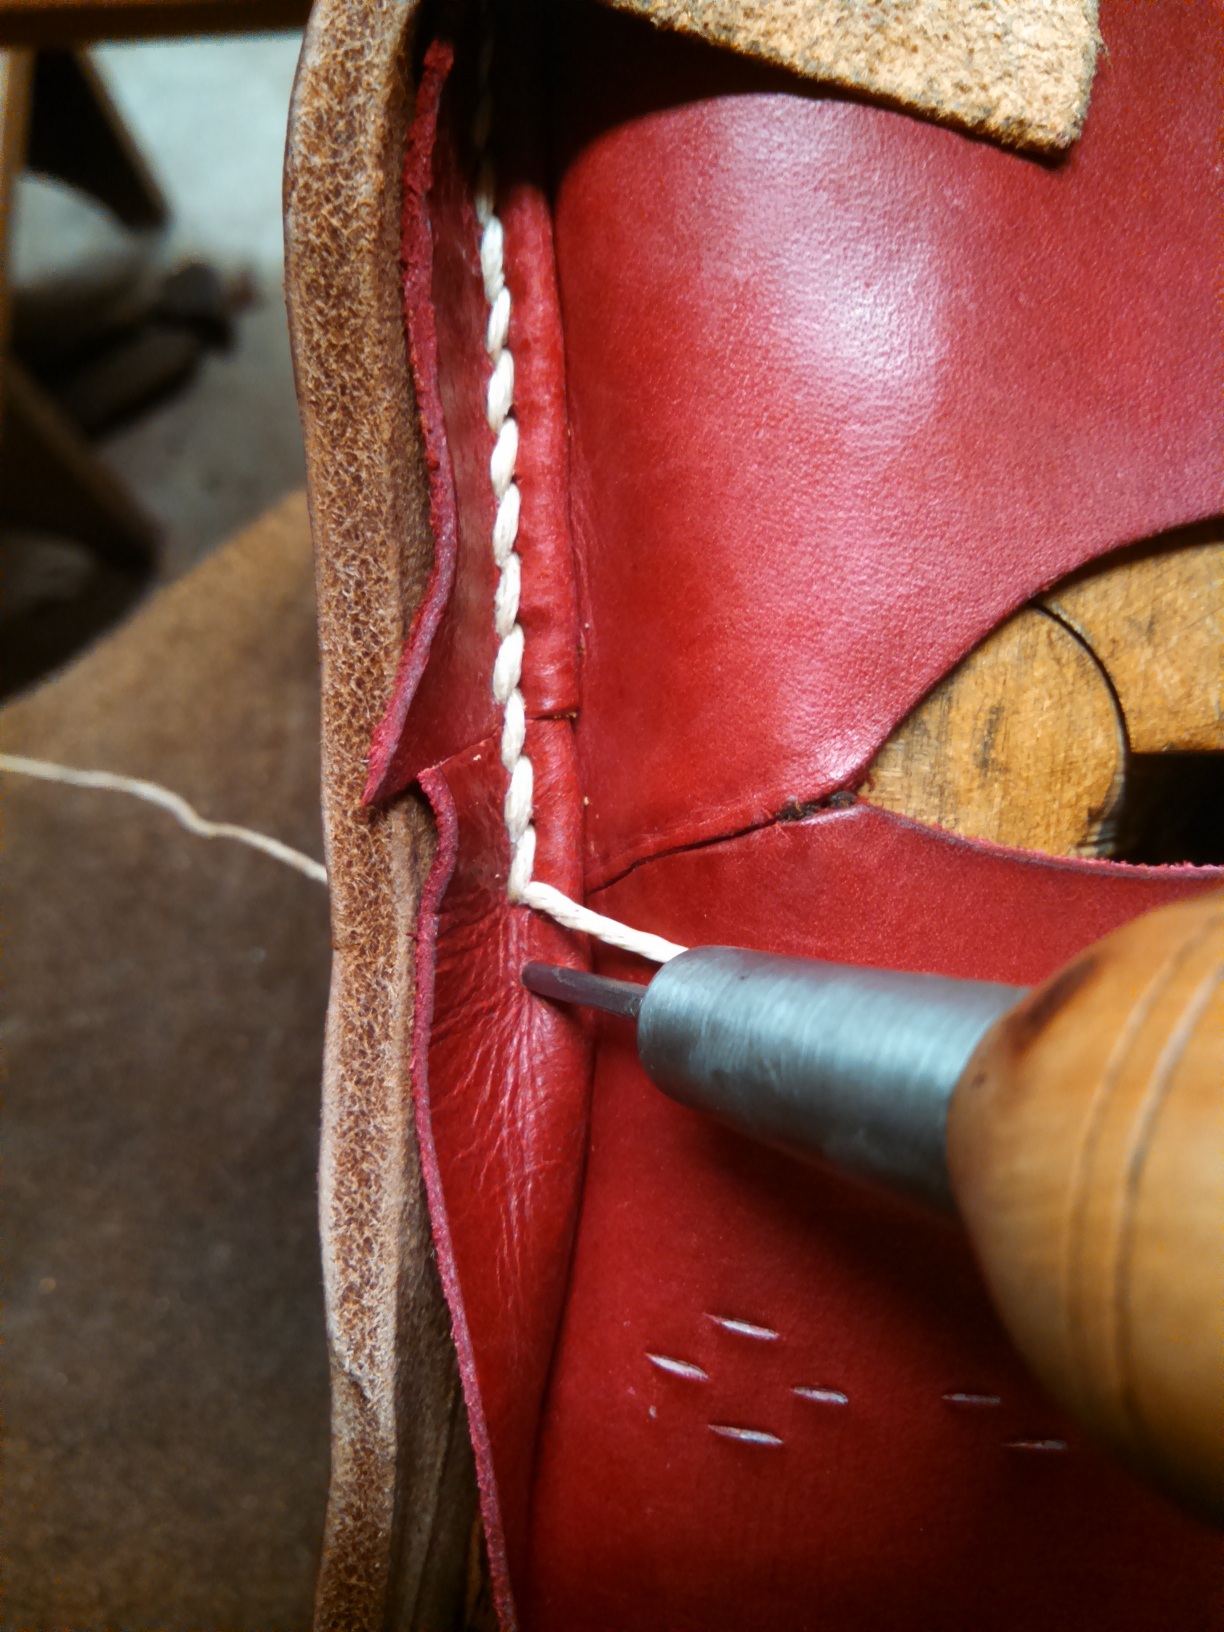
You might wonder how I can get the awl in exactly the right spot on the welt and come out in the channel perfectly – practice is the answer. Every now and then you have to angle the awl a bit to get it to come out of the groove, but make about 20 or 30 pairs, and you’ll start to get it!
Once the hole is pierced, the boar bristle threads are placed through. It’s important that you are consistent with which bristle ends up on top. I tend to prefer the look when the bristle from the treadsole side of the shoe ends up on top, as in the picture. Be careful, as sometimes they can angle past each other. The top should be the top both on the welt side as well as the treadsole side.
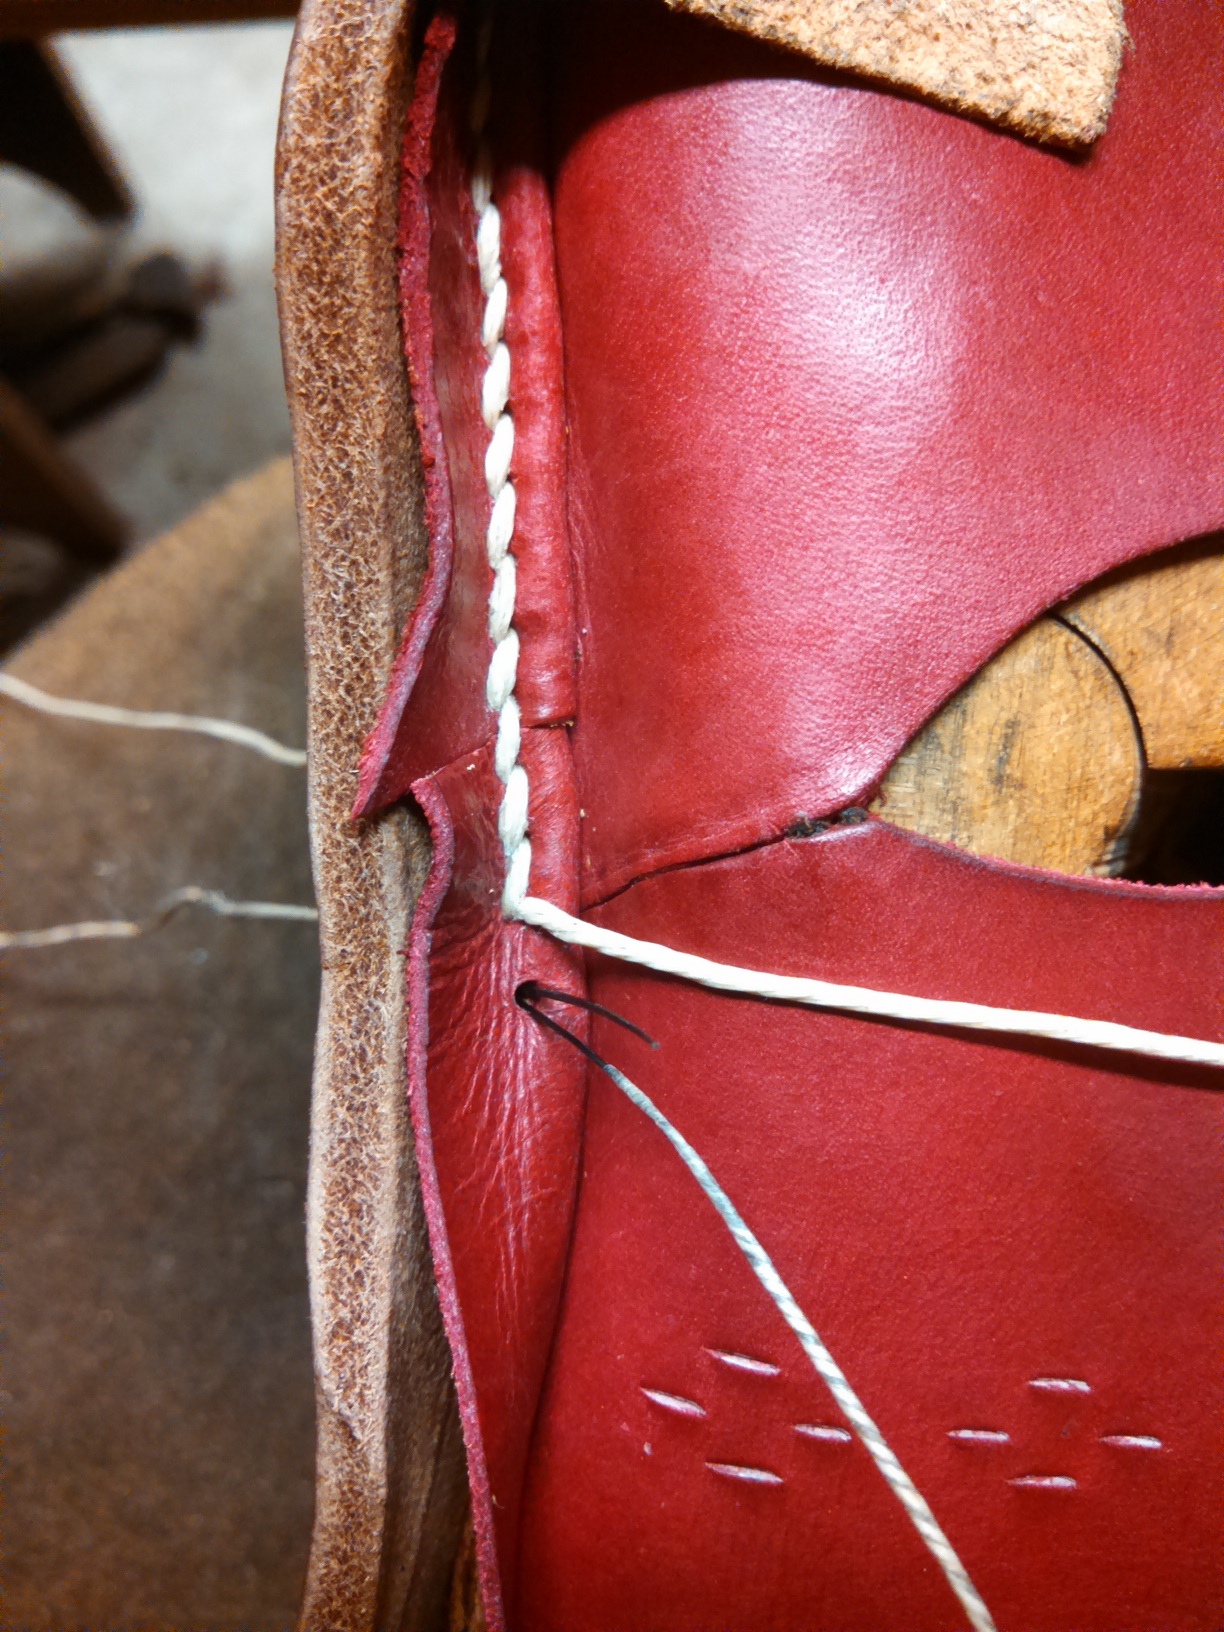
I’m doing this in slow motion to help explain, but I’ve pulled out the top bristle only a part of the way.
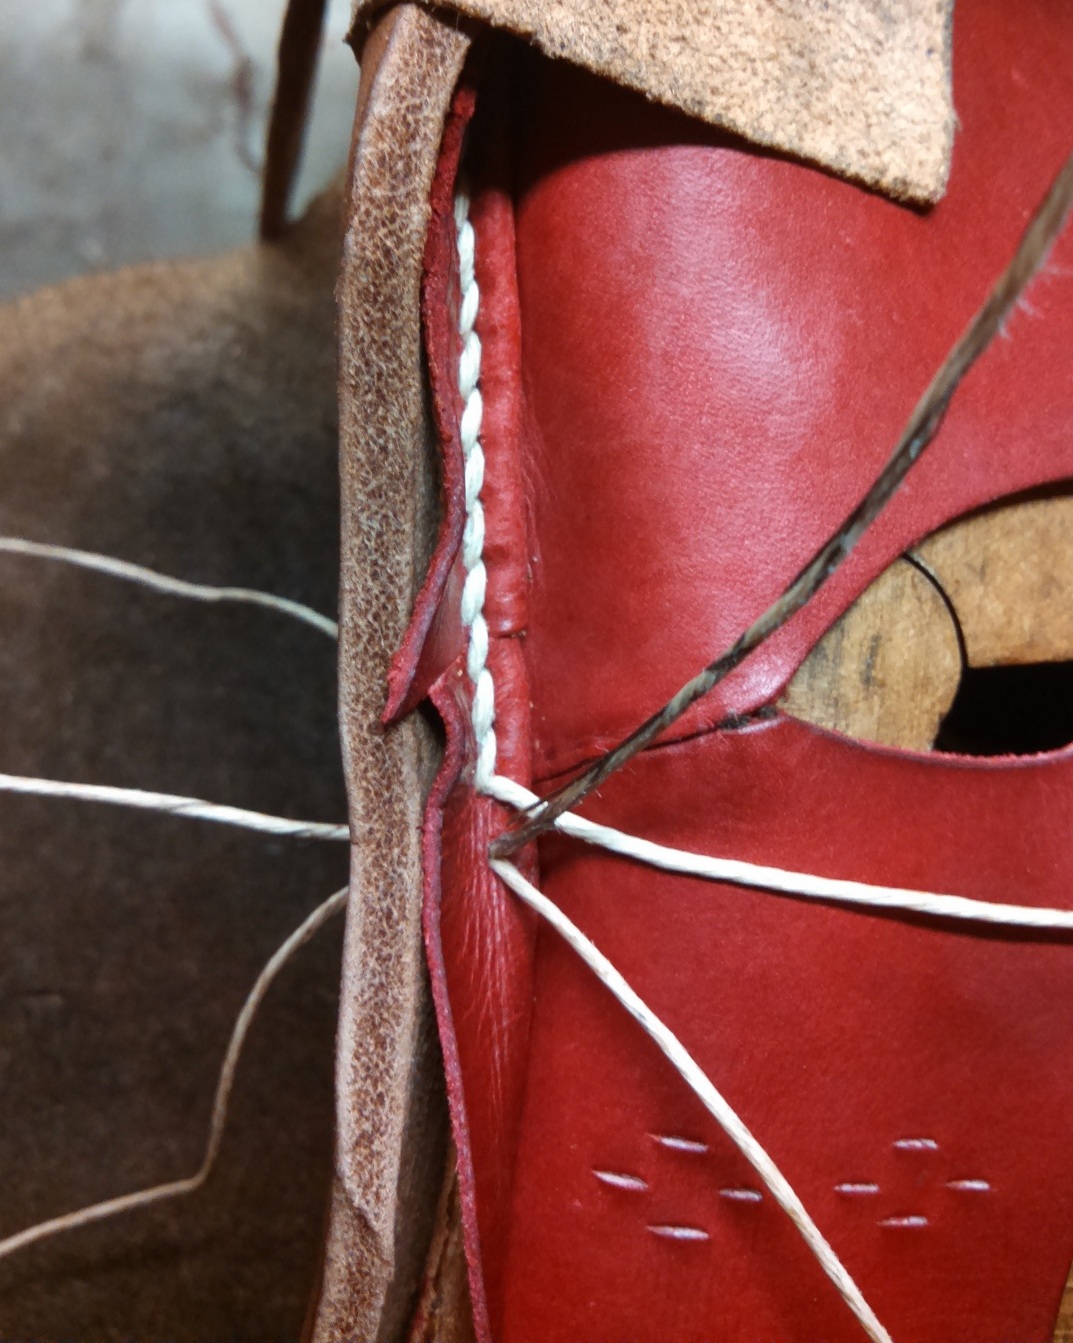
The waxed end on top is wound one and a half times around the bottom. This will not only form a bit of a “knot” in the shoe, but also give you that angled-rice-grain-look.
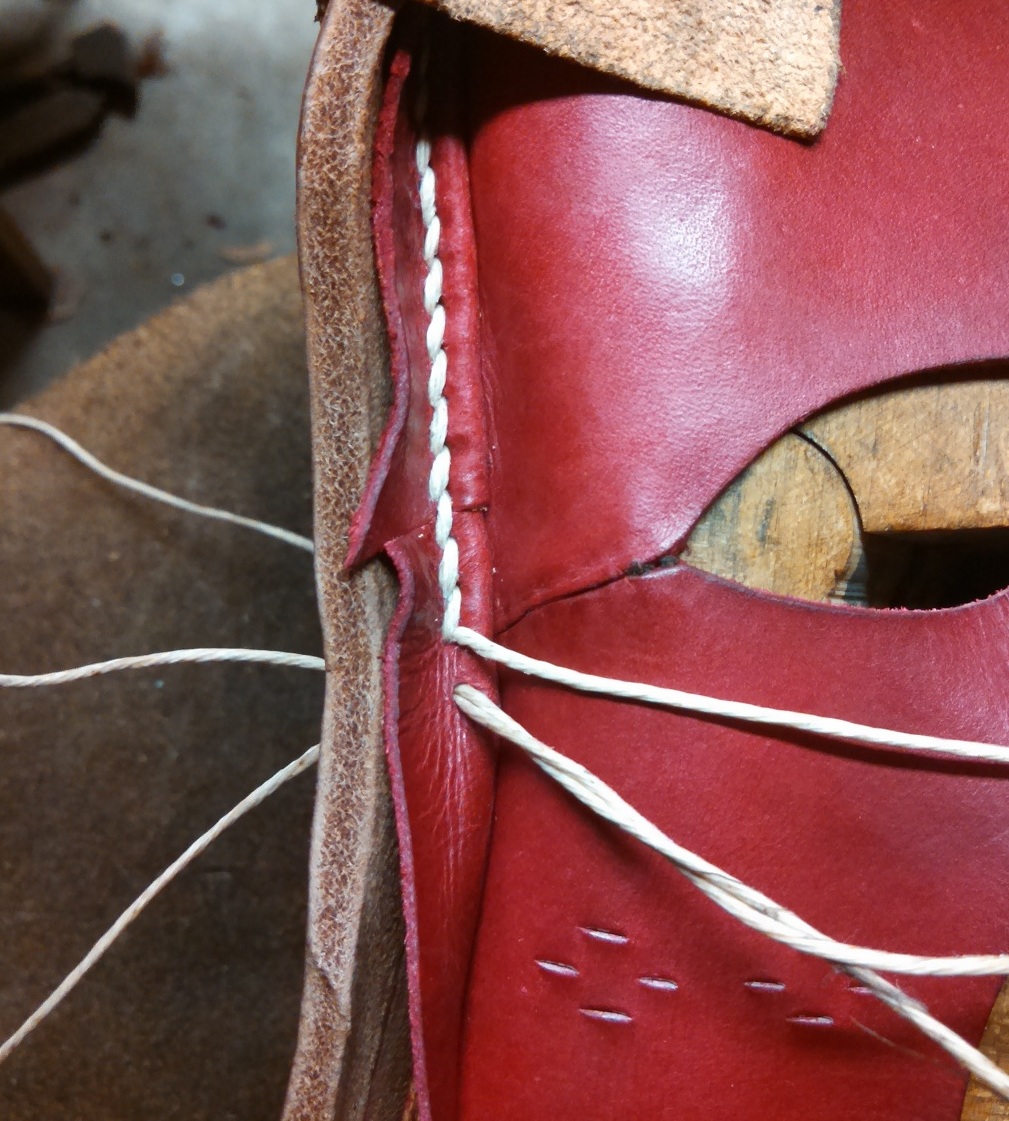
The stitch is almost pulled tight. At this point, you should be able to tell if it’s going to lay correctly, because there is small “loop” present.
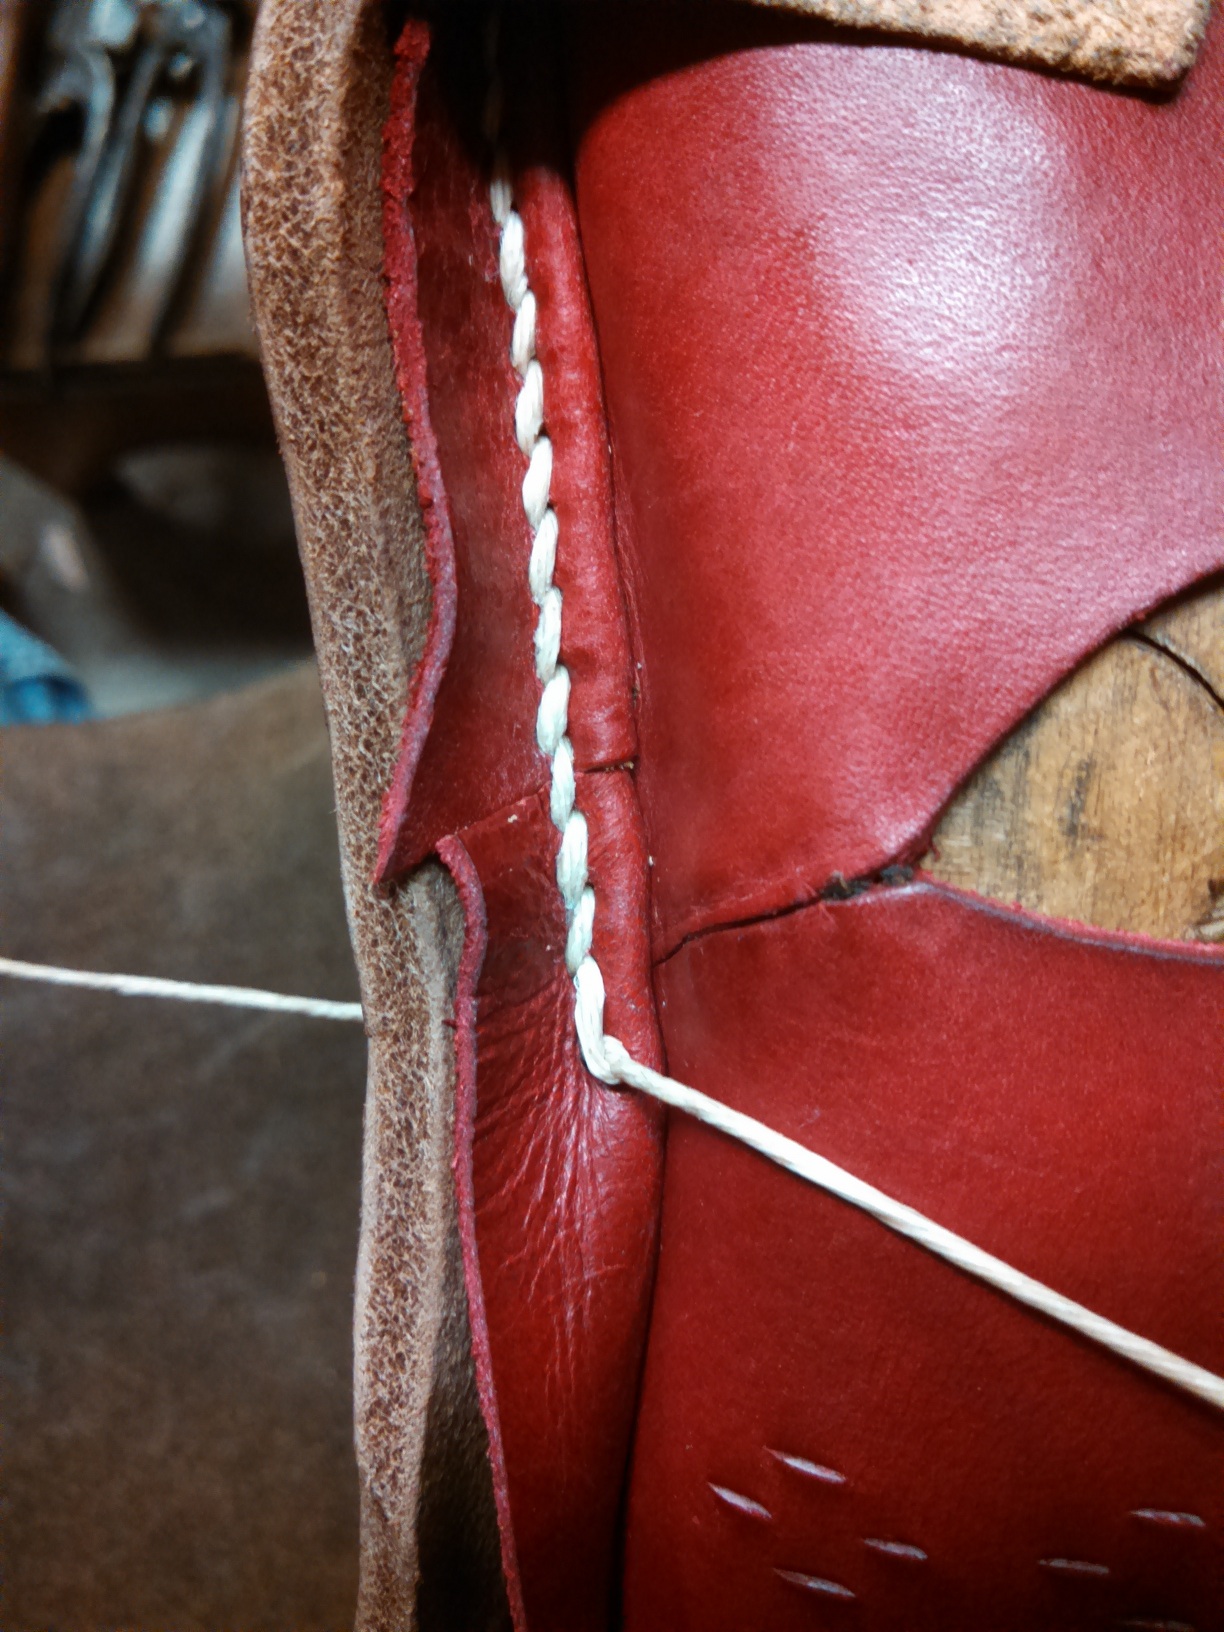
The stitch is pulled tight, and we’re ready to start again.

Do this perfectly until you get all the way around, and then trim off the welt and the excess outsole. Of course, the perfectionist would rasp the raw edge, scrape glass along it it (to even it out even further), rasp it some more, and glass it again before giving it a final polish, but that is another post.