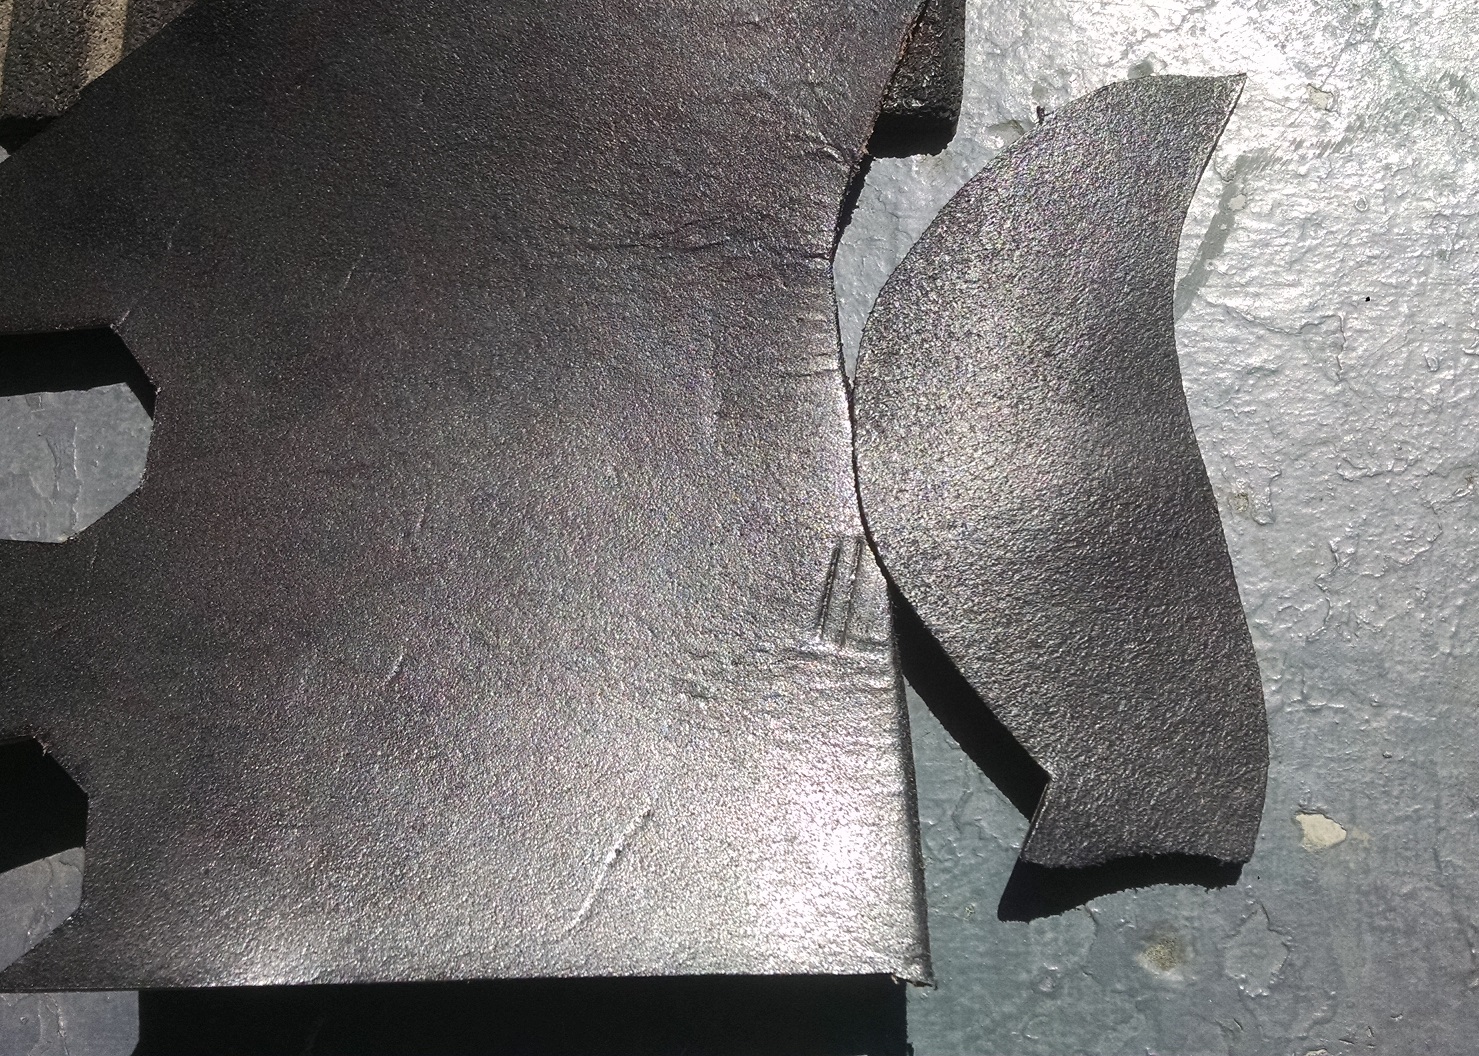
In the 18th century, leather was often dyed on the flesh (the slightly rough side), impregnated with wax, and then polished to get a sheen on it. When done correctly, it can look very similar to the grain (the smooth side), but nicks and scratches can more easily be buffed out. The last (to my knowledge) source of black waxed calf was Dickens Bros., who have since retired and are no longer producing. I recently made an attempt to make something that looks similar from regular vegetable tanned leather, though it certainly doesn’t have the hand and scent of the Dickens Bros. material. The test scrap is on the right, with the true waxed calf on the left. But, I am optimistic it will do until a new source can be found.
Making this was rather straightforward, though it remains to be seen how well it will react when having a pair of shoes made up in it.
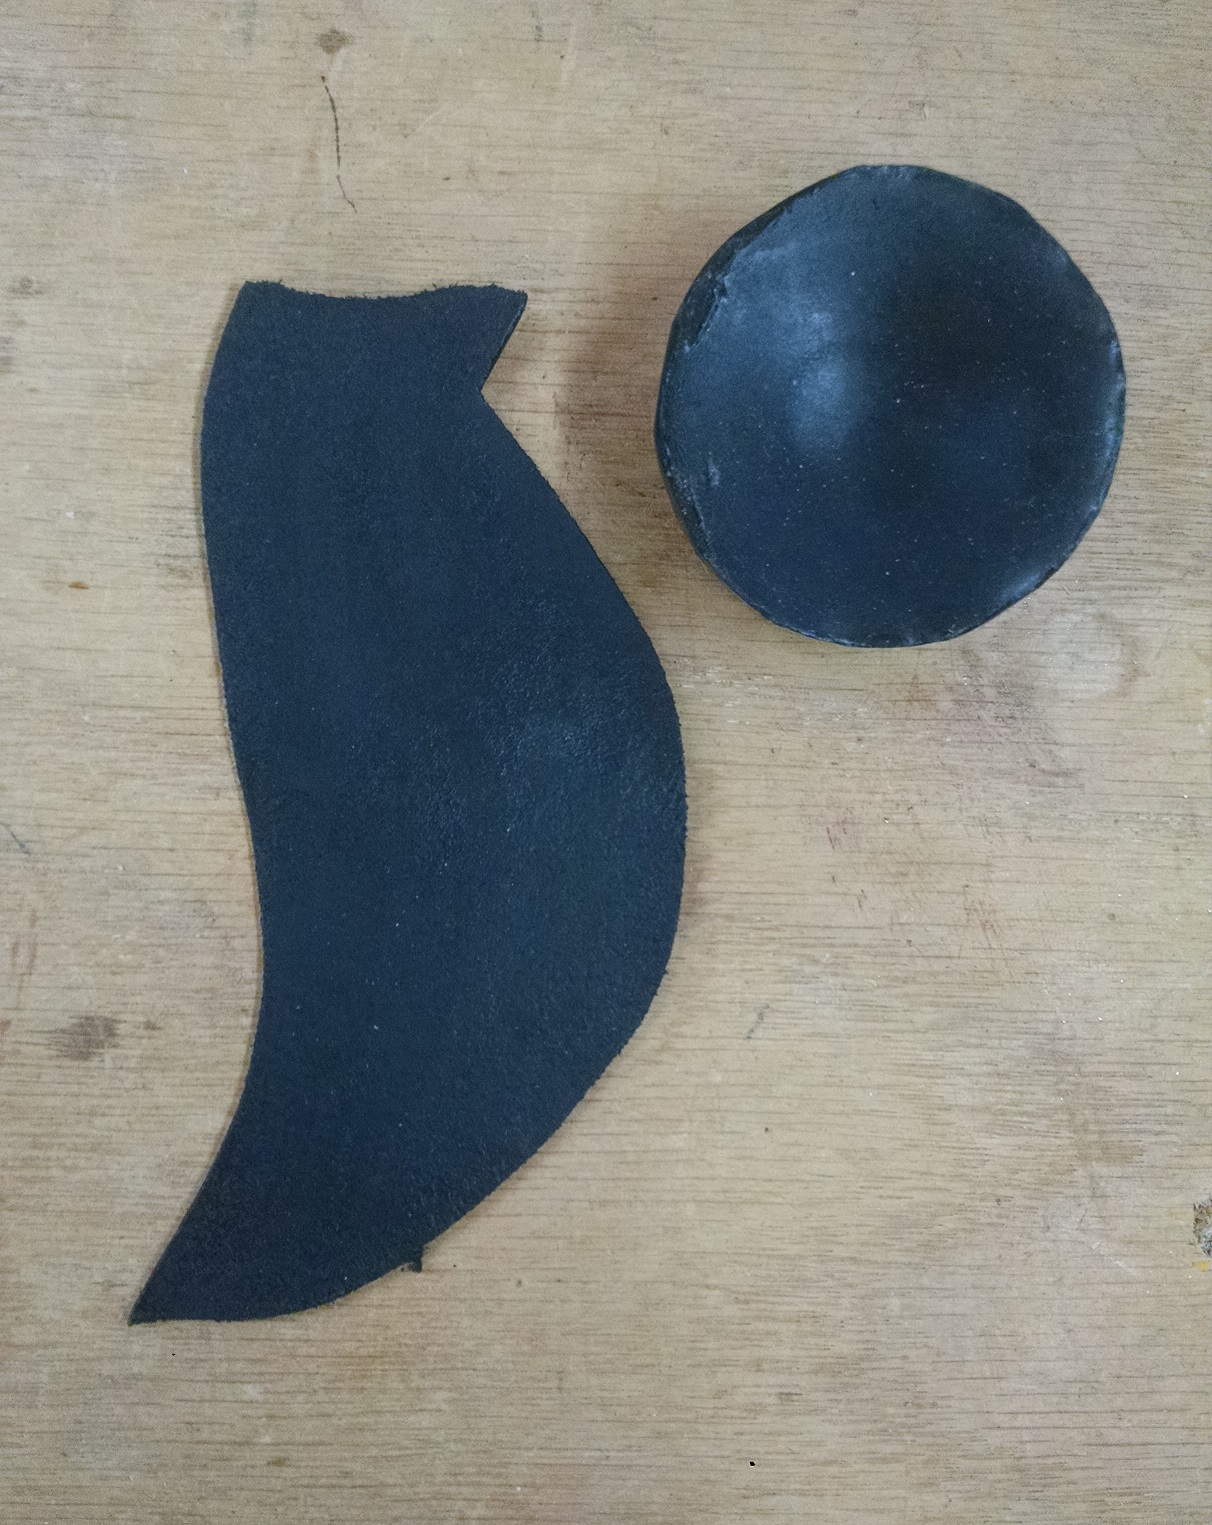
I used a test scrap, dyed black with about four coats of dye. The flesh side is thirsty, so it will take quite a few coats before you get a nice black color. Then, I applied black ball, from Jas Townsend. From their site, it is “A bees-wax polish based on 18th century recipes, using ingredients which were all available during that time.” A good rub down (though by no means a complete coating) will give a matte finish where the black ball has been applied.
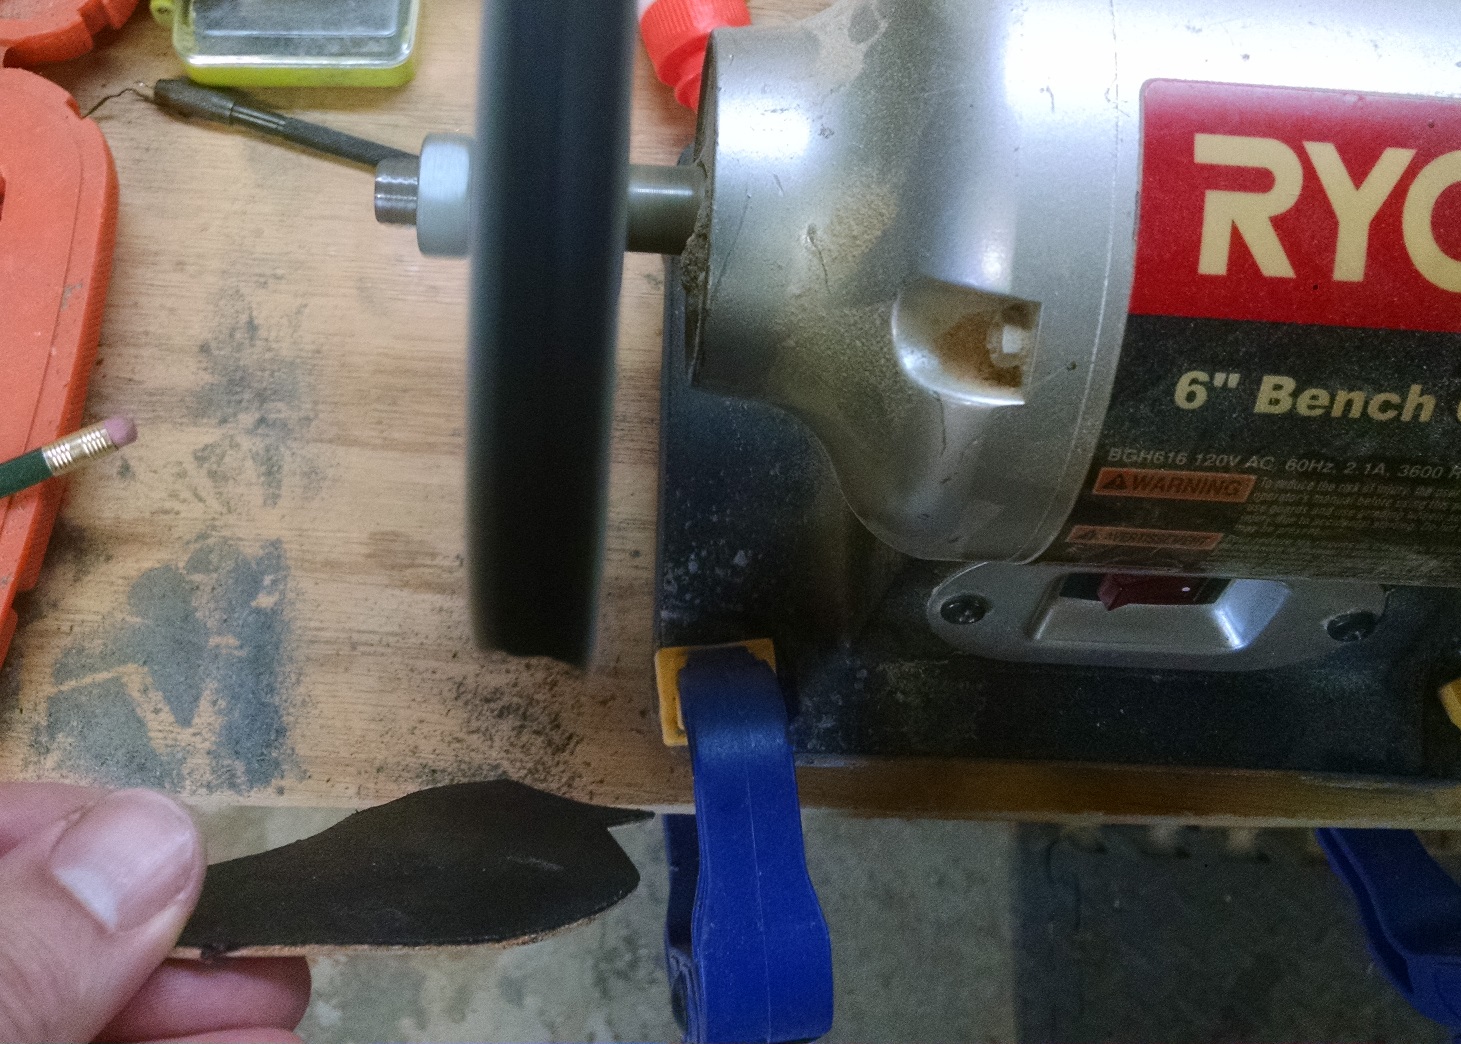
Then, onto modern tools. This black ball has a tendency to bleed when marked against something, so I’ve burnished it thoroughly with the aid of an electronic apprentice.
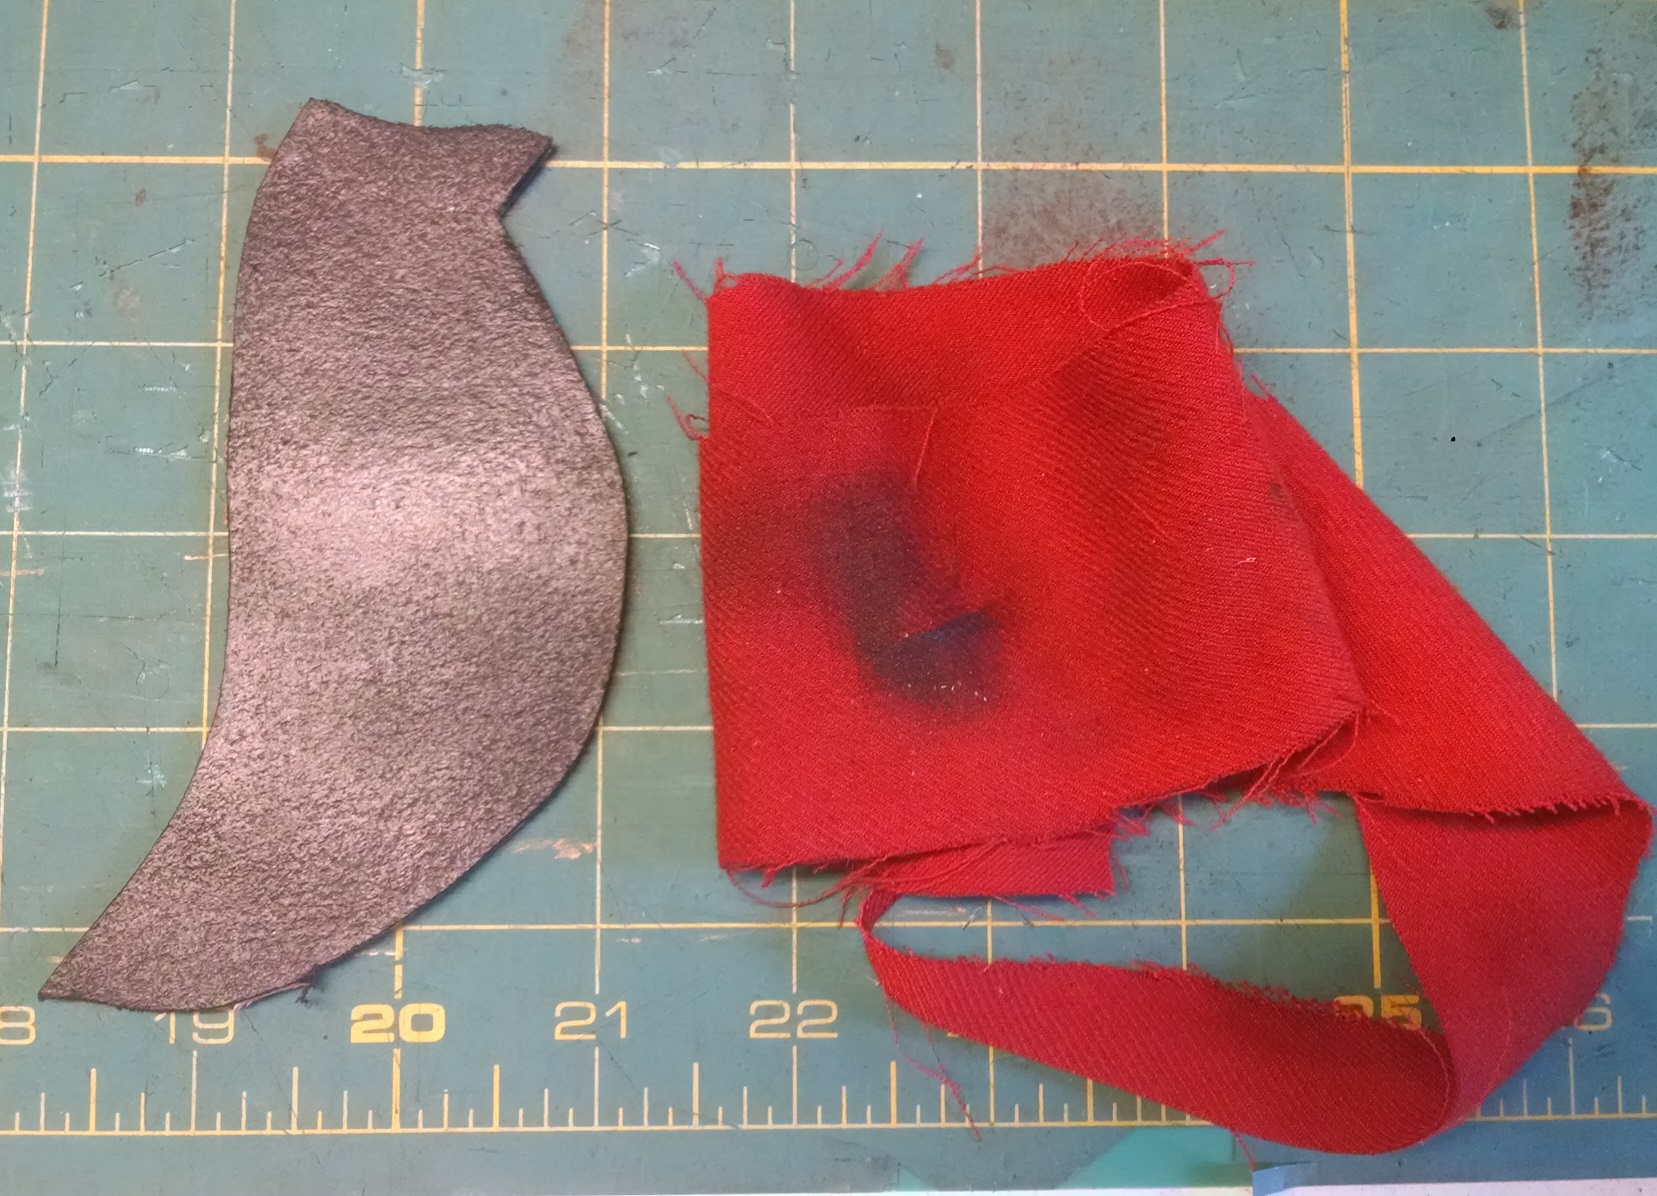
In this state, the black ball does not transfer easily, and there is a bit of a sheen on it. The last step is a polish with a wool rag to bring out the lustre.
My current plan is to cut out individual pieces, dye them, black ball, and burnish them, and then assemble the shoes. Stay tuned for the results!