Finally, my first real pair of fabric covered leather shoes. Although there is a great deal of both pictorial and extant evidence for fabric-covered shoes, I have never had the chance to examine such a pair up close. The most time-intensive part of this was certainly the embroidery, which the shoemaker would normally have handed off to someone else prior to making up the shoes.
Let us do a bit of digging into the historical evidence for this type of shoe.
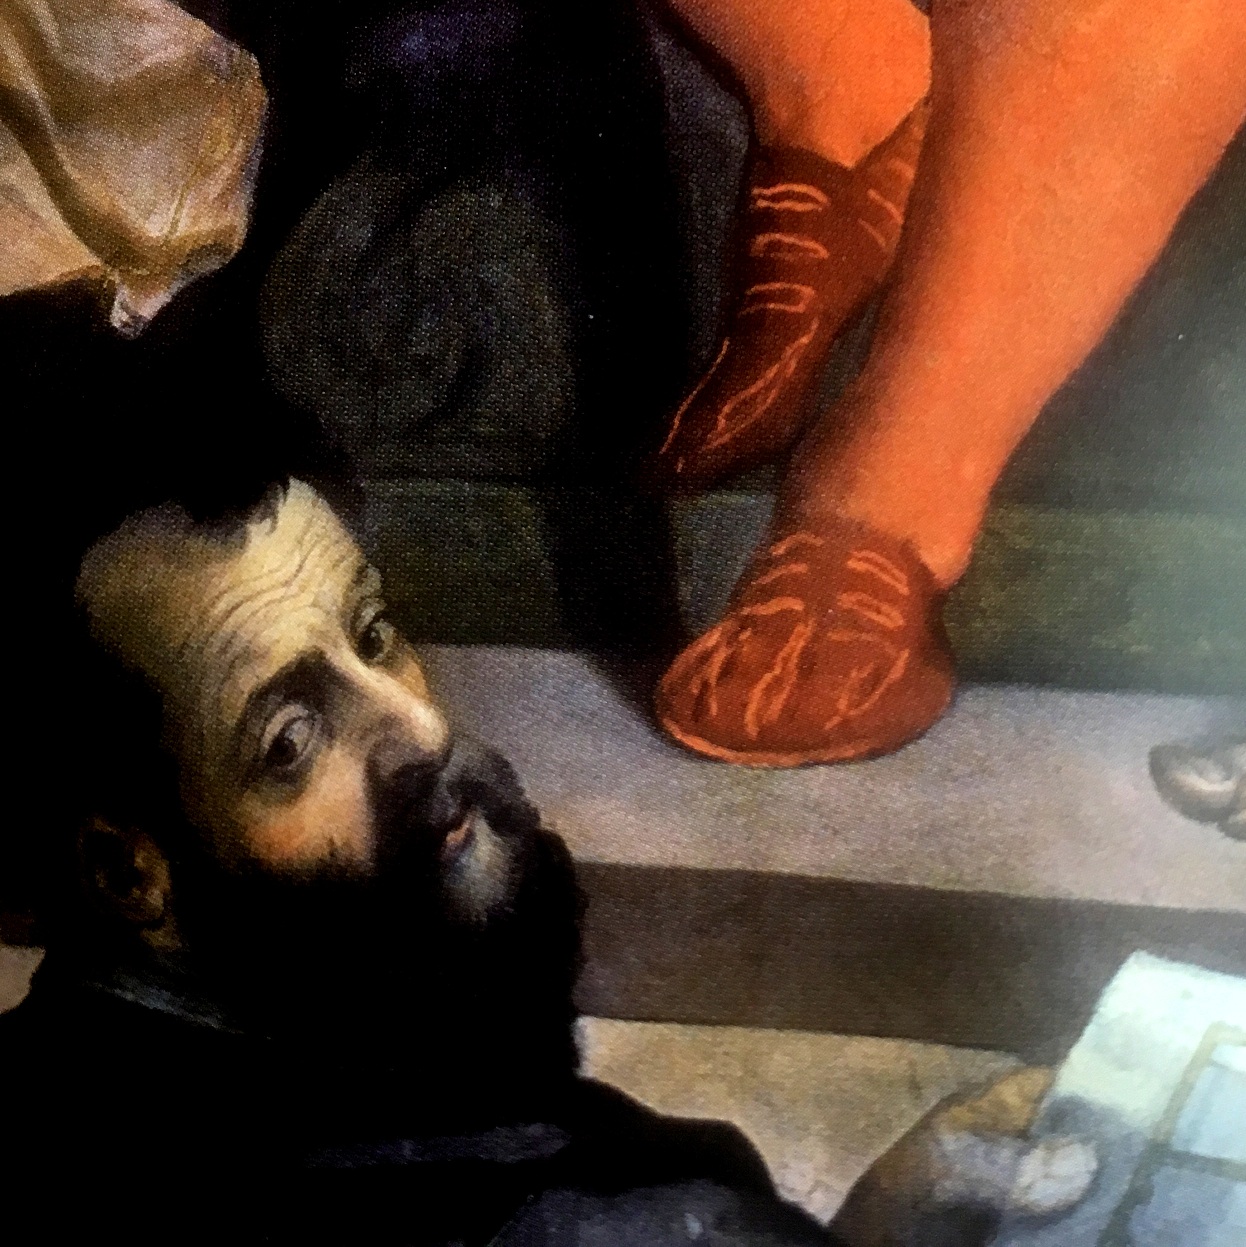
Pictorial evidence for fabric covered shoes abounds, as can be often be seen by the “velvety” look on shoes, combined with evidence of stitching around the slashes to keep the fabric and leather interlining as one. A thin layer of leather is likely, since some “body” is needed to ensure the shoe keeps its shape and structure. This portrait by Vasari of Cosimi de Medici in 1556-1558 is a perfect example.
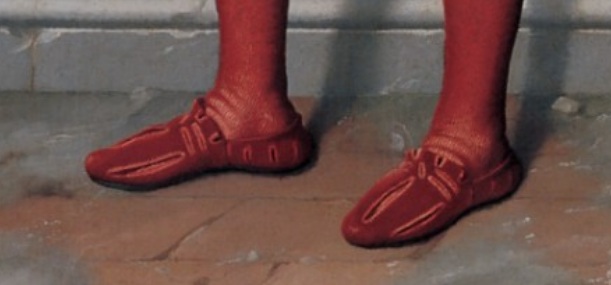
Moroni’s “Gentleman in Pink” is also a great example of velvet covered shoes, and though one could argue that it might be the dyed side out of a leather shoe, I do not think it very likely. If you are wearing silk satin, you absolutely are going to wear silk on your feet. Consider the amount of effort going into tanning a hide versus drawing the silk out of the cocoon, weaving it properly, etc.
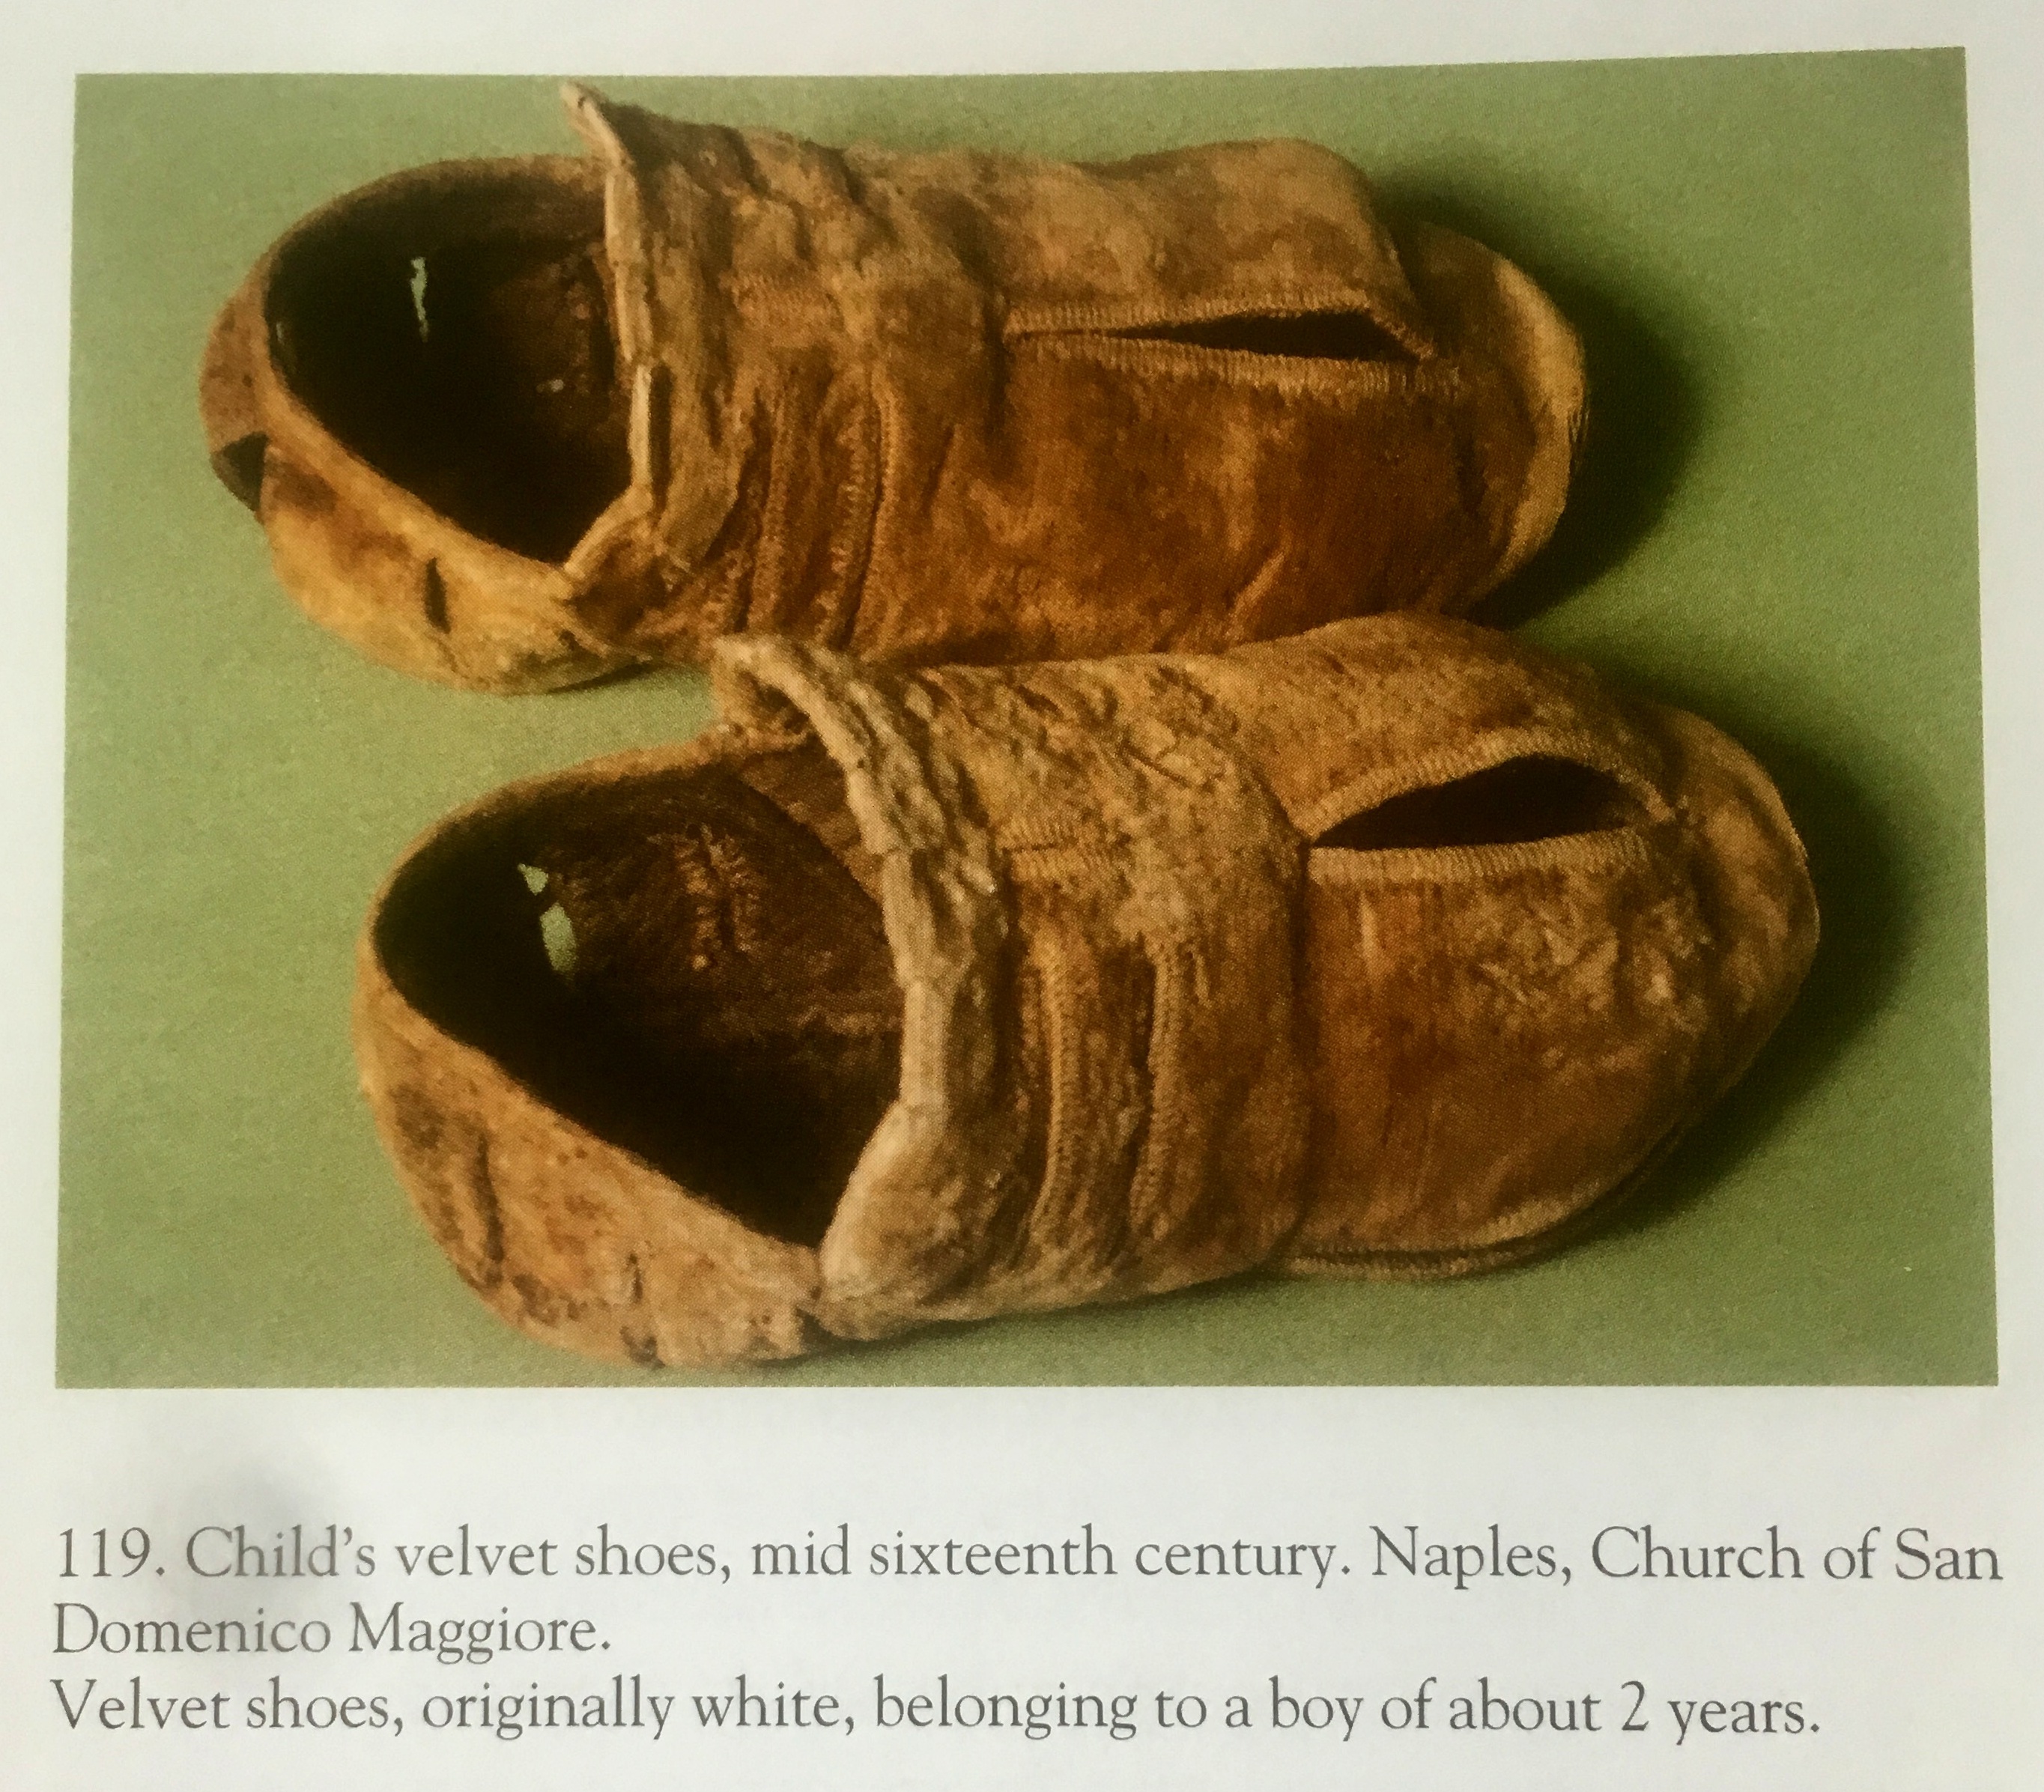
In terms of extant pieces, there are a couple of velvet-covered extant pieces. This boy’s pair, from the Church of San Domenico Maggiore in Naples, has a velvet outer layer and what appears to be a goat or sheep inner layer. It is decidedly difficult to see how the velvet was attached to lining around the opening, possibly a binding or just folded down and stitched.
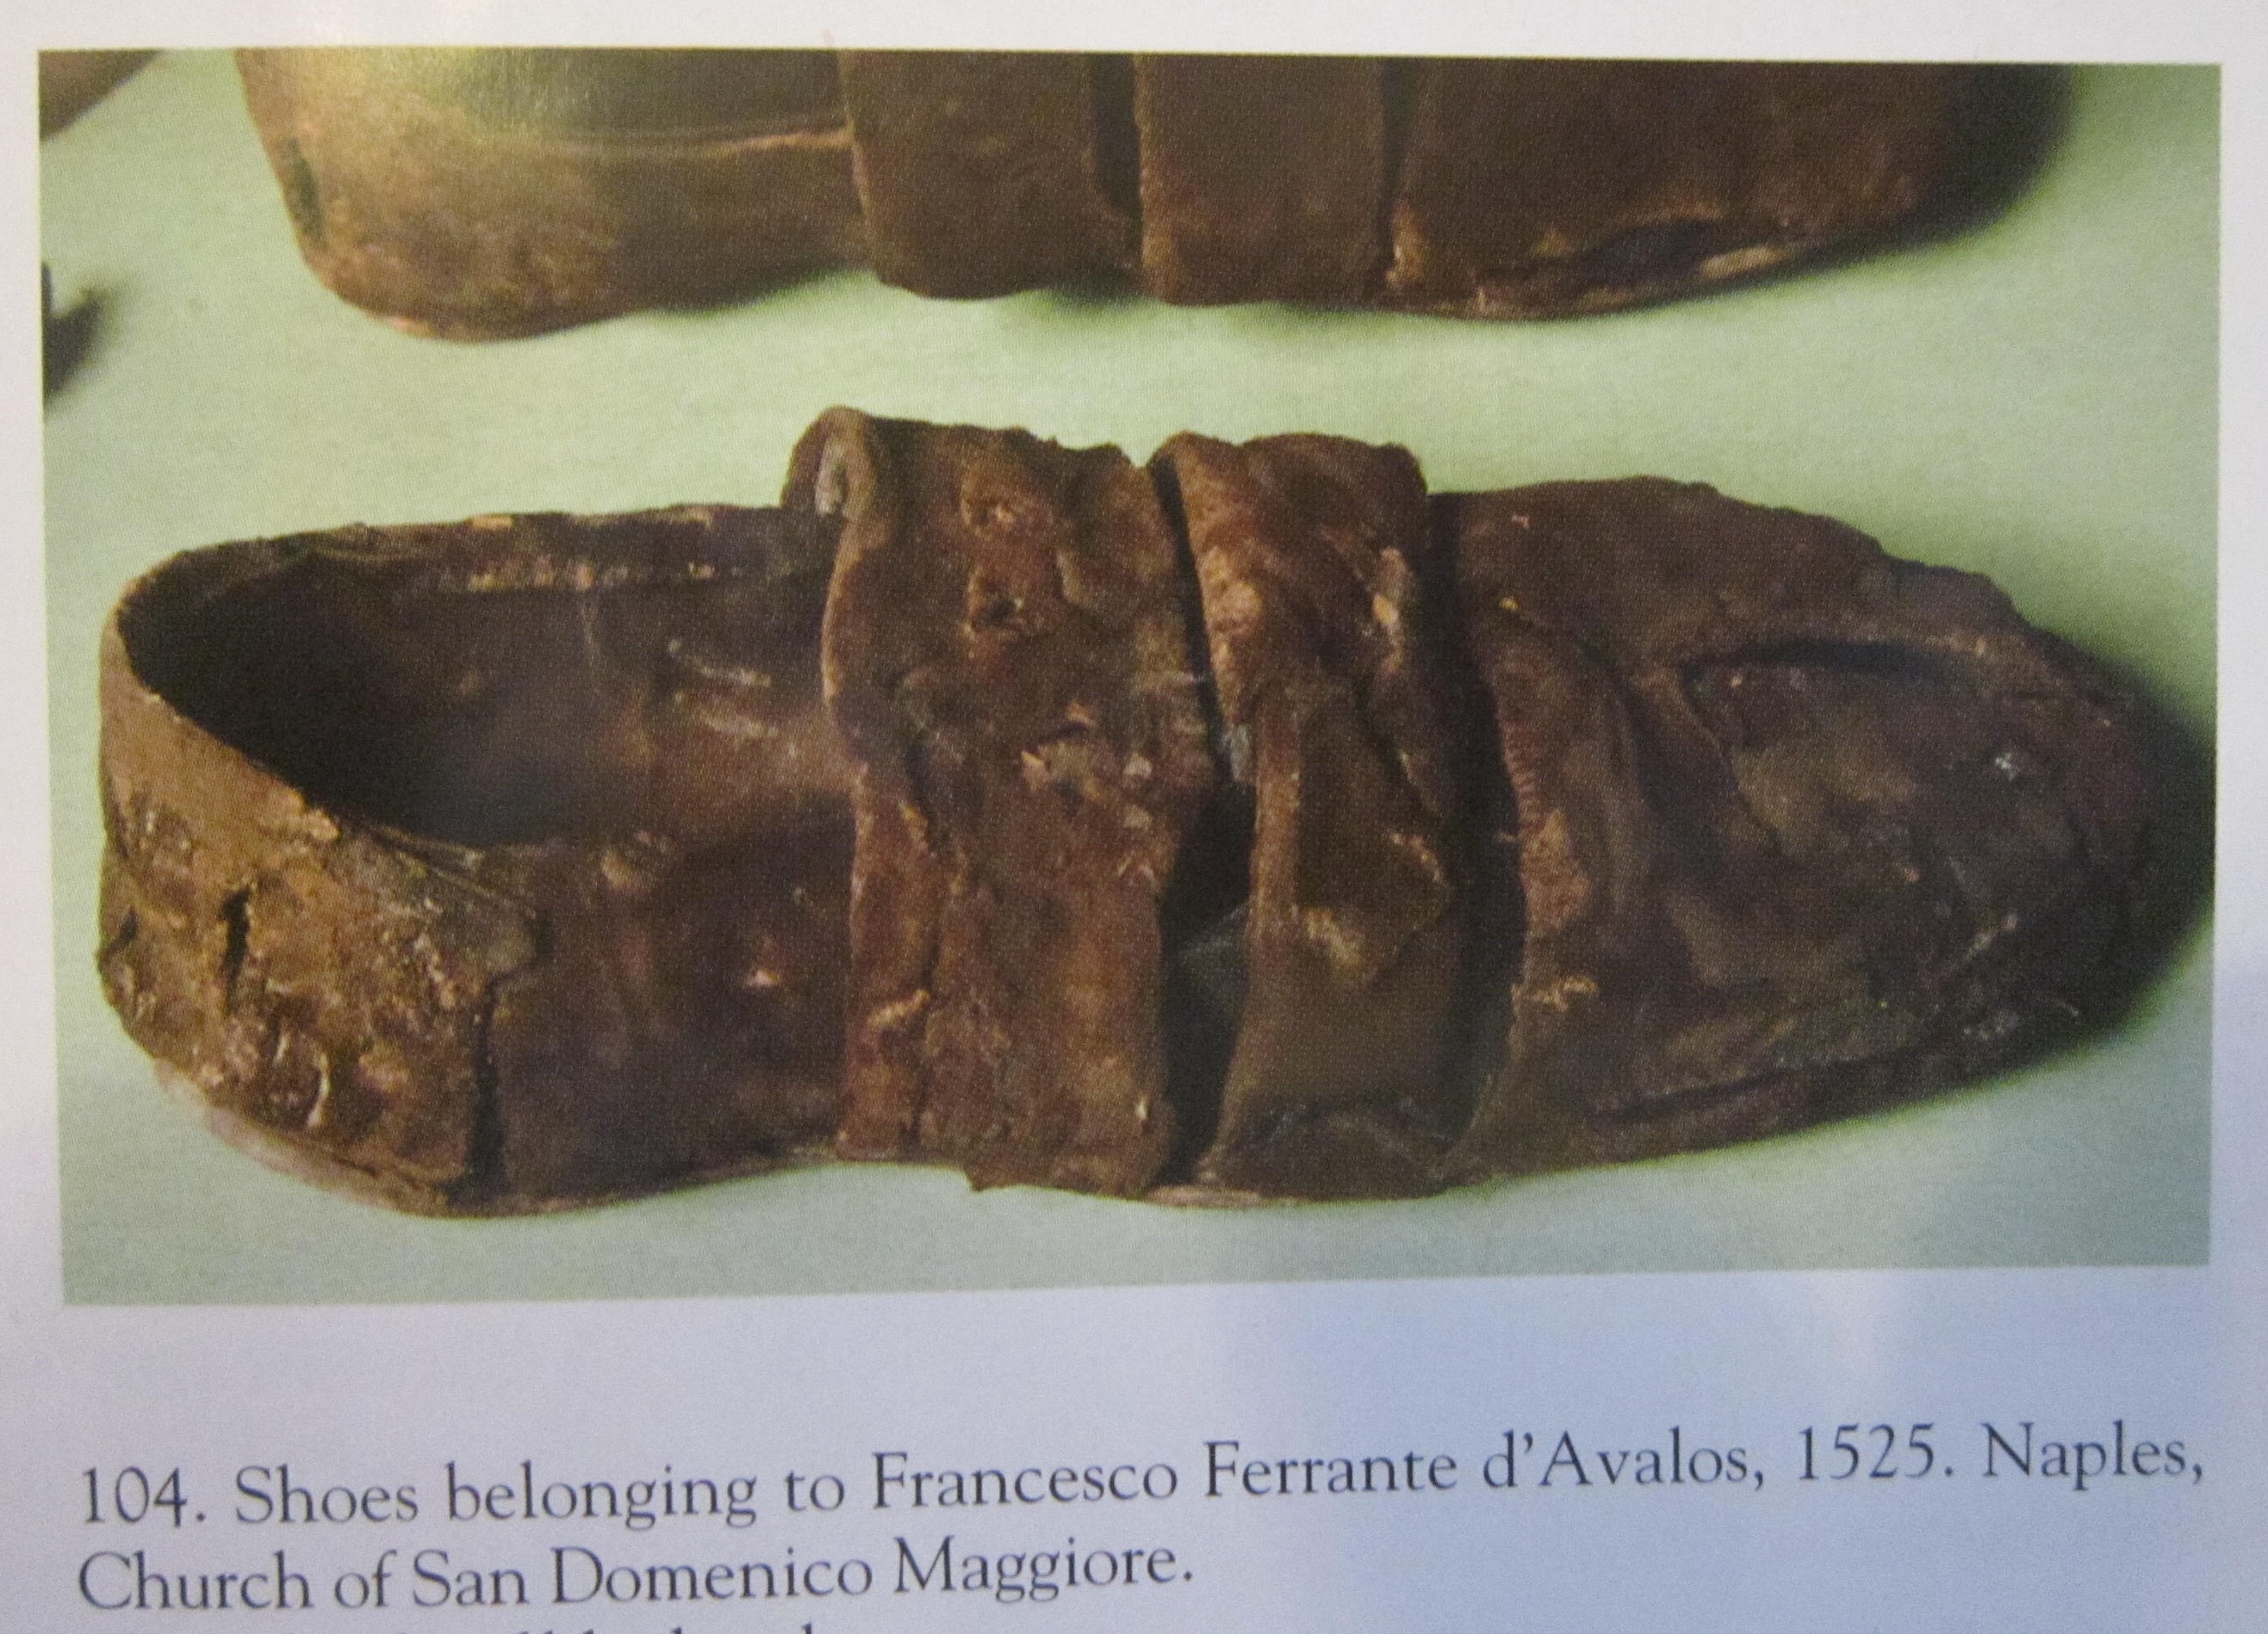
From the same source, another velvet shoe, but it does seem to be simply folded down and tacked.
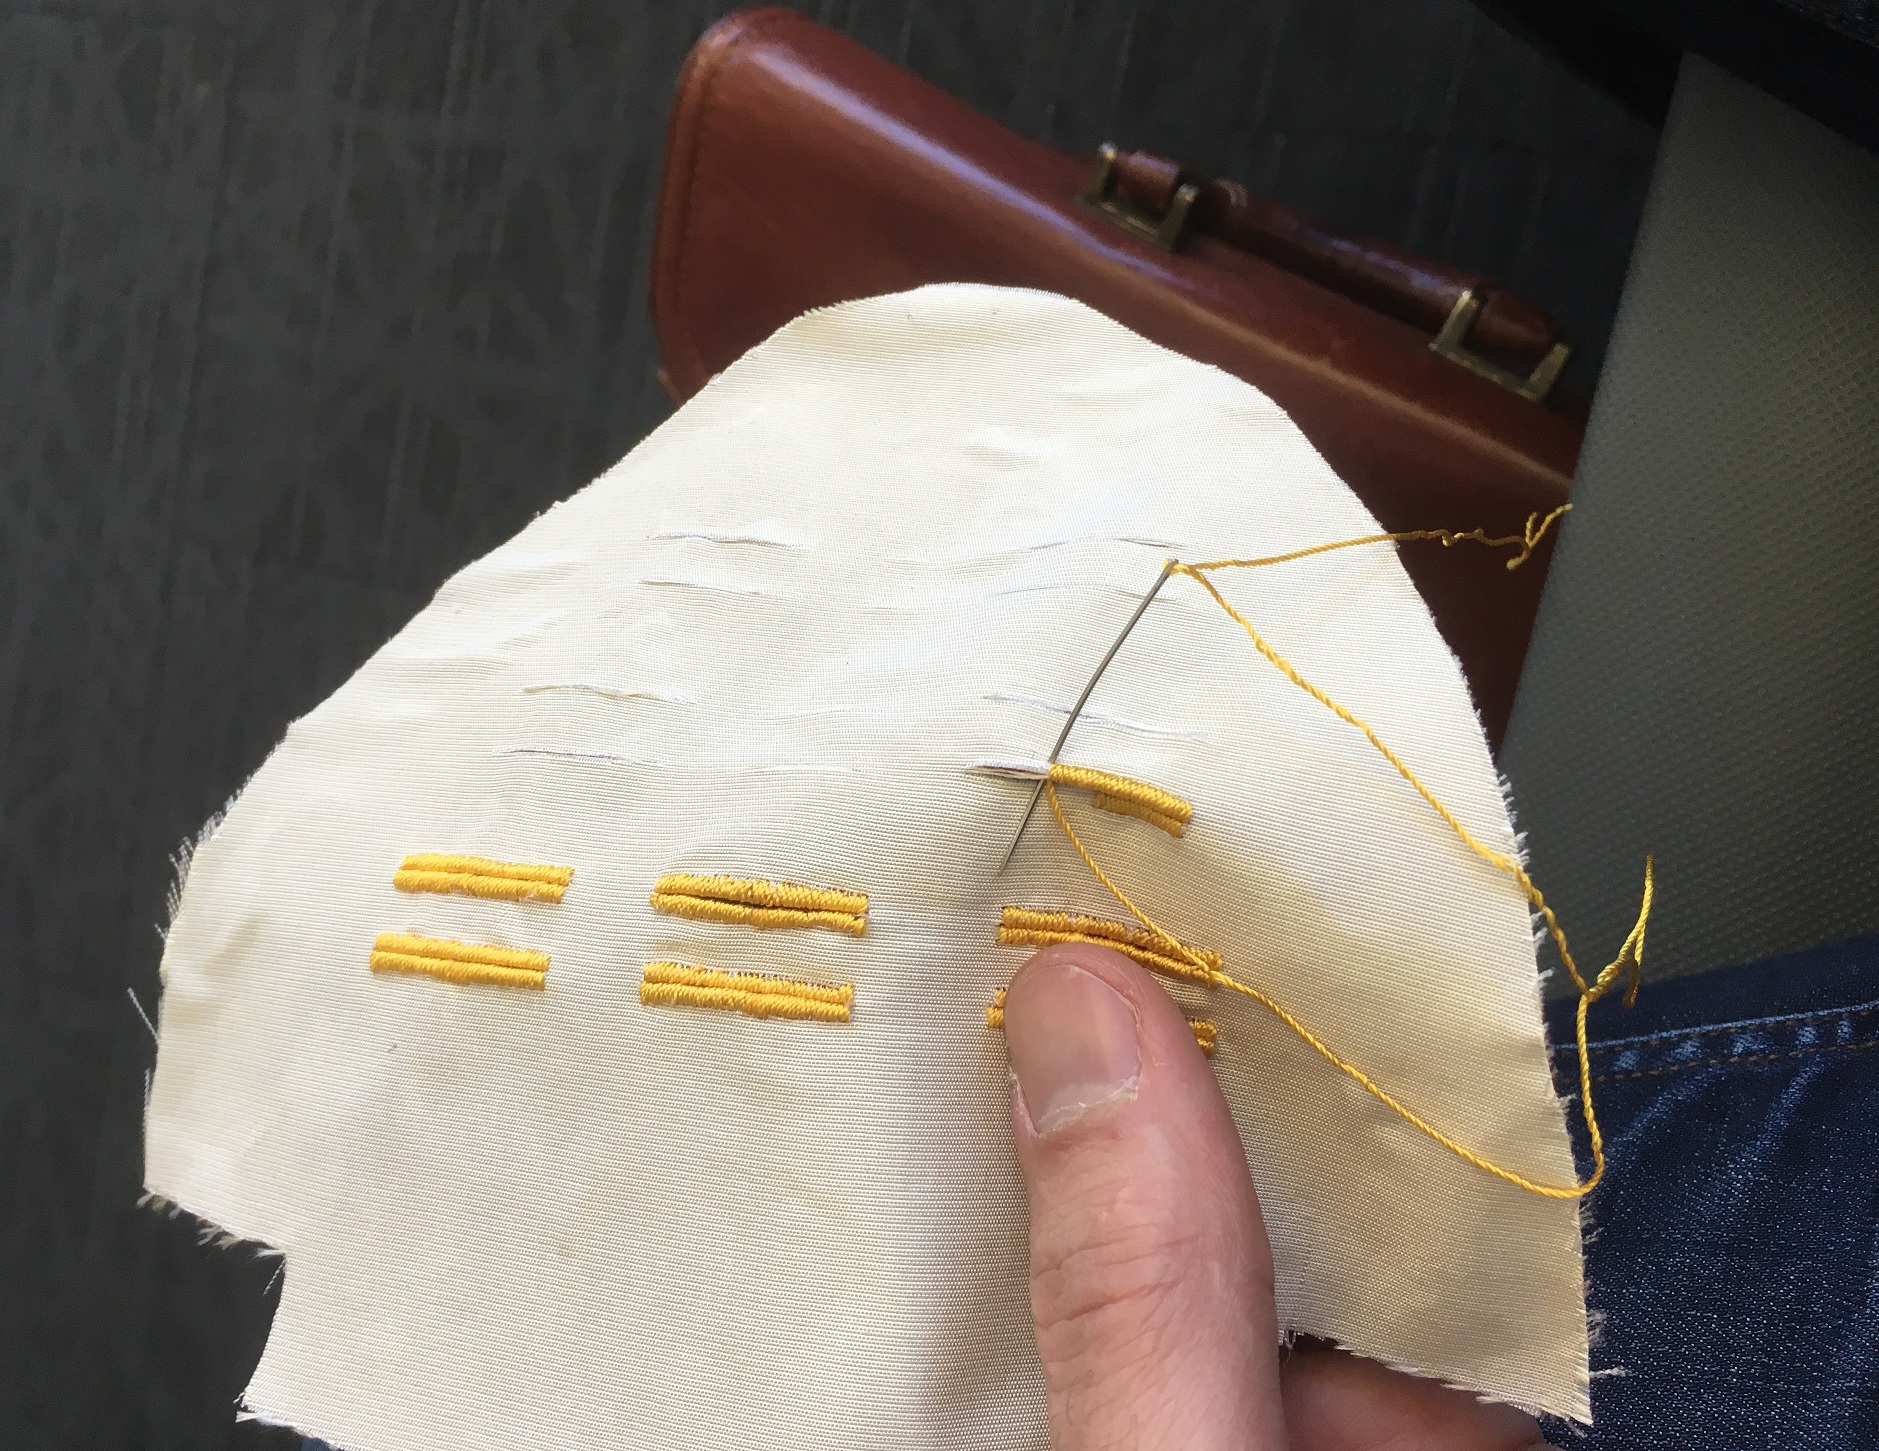
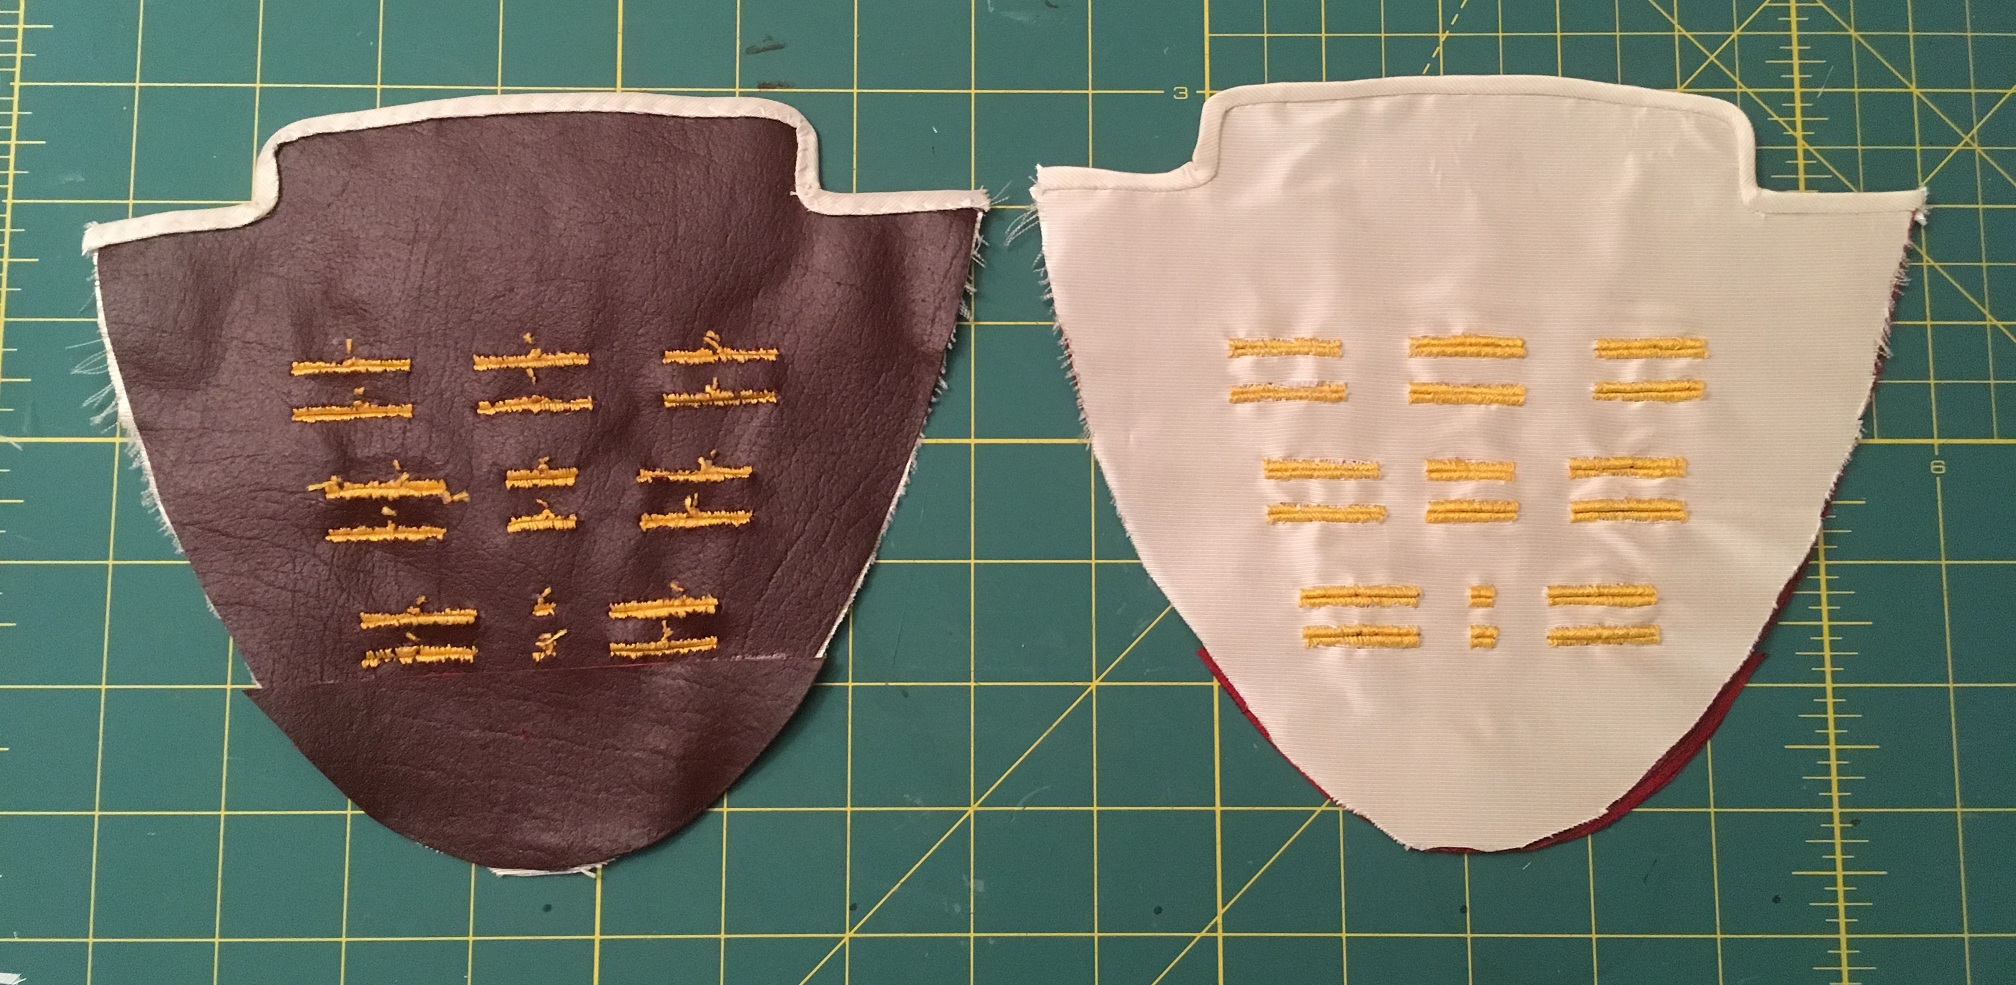
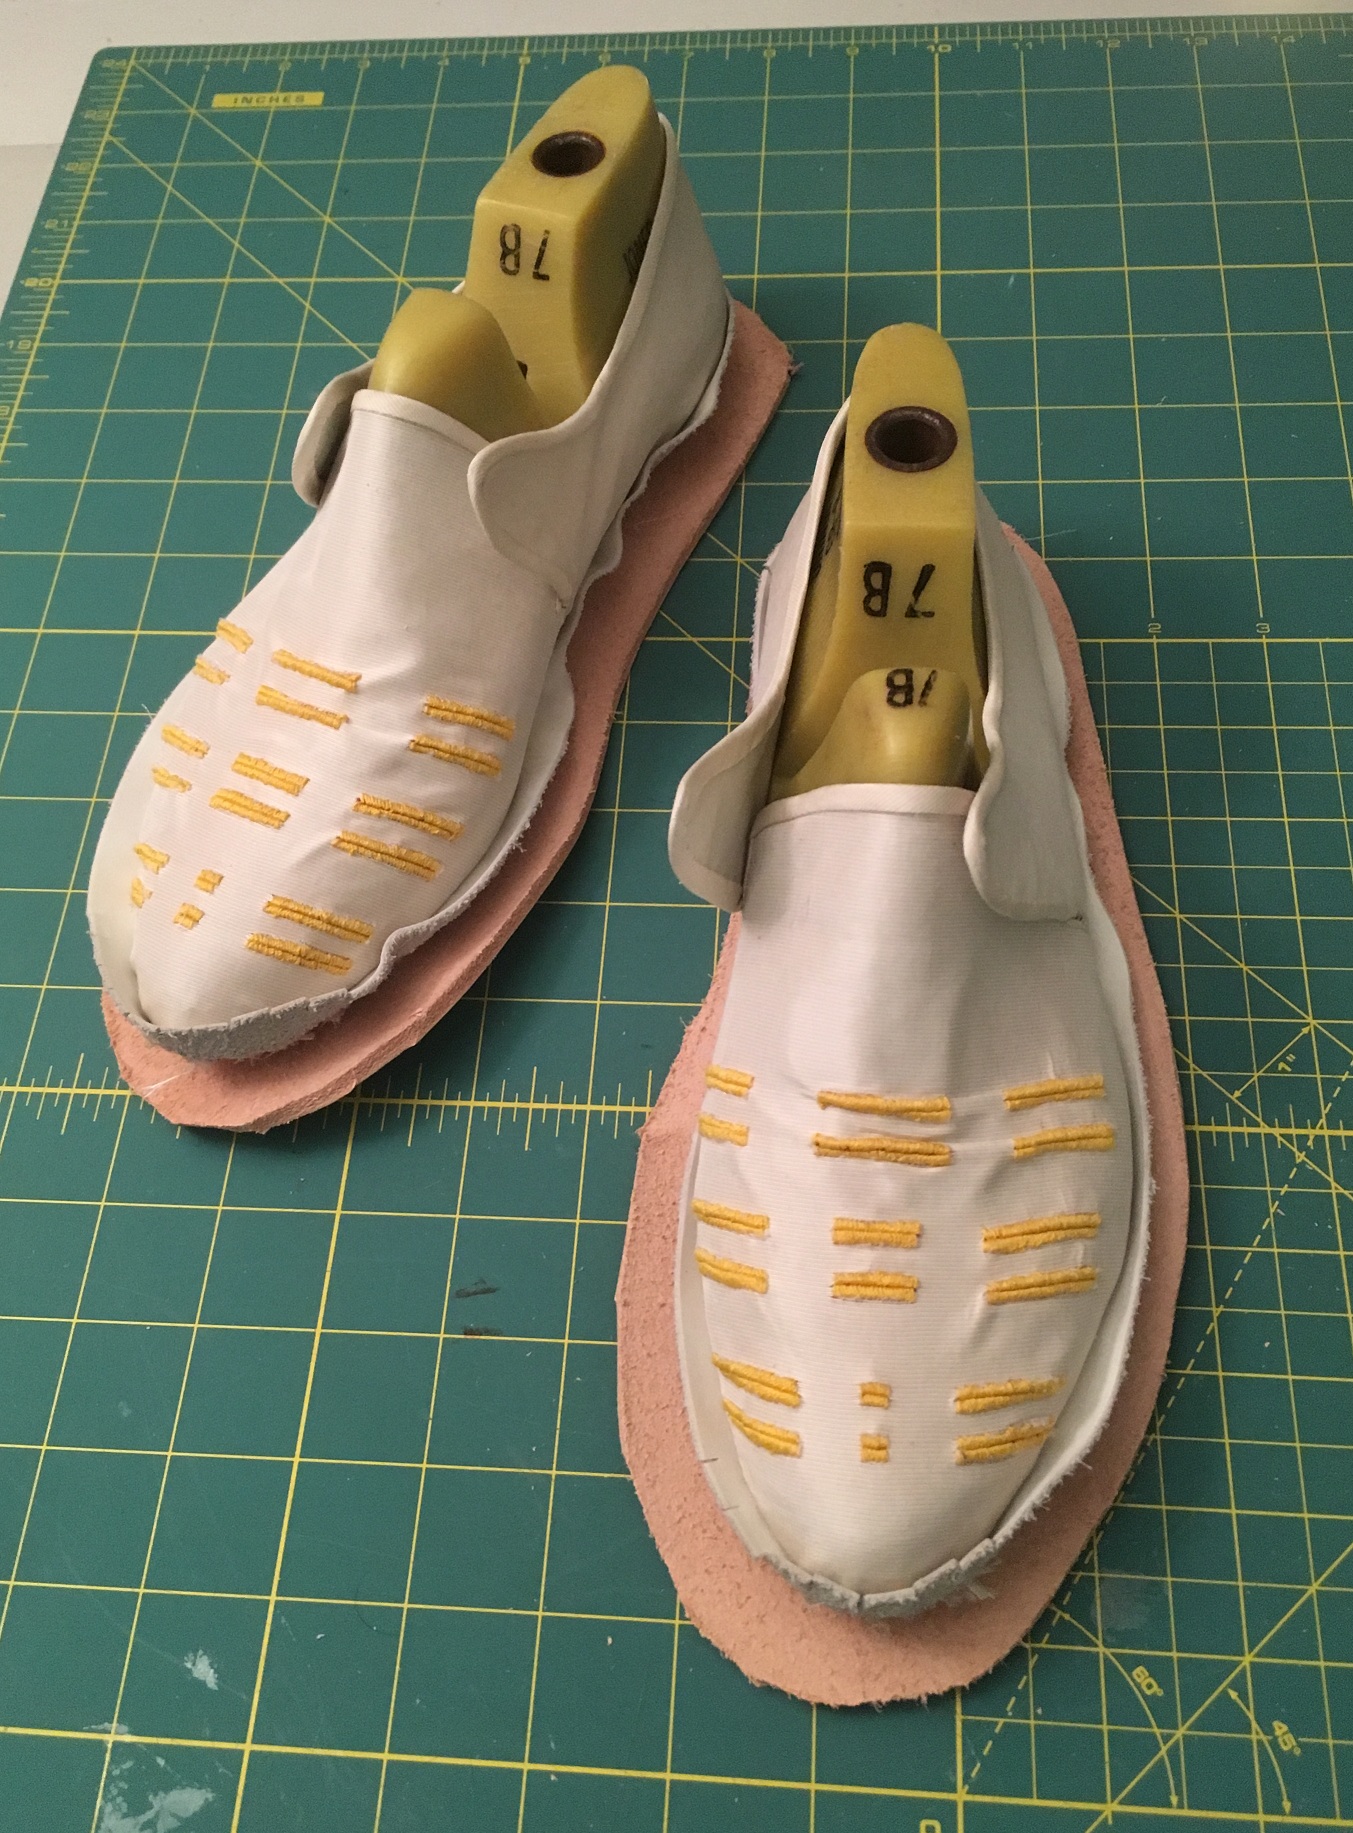
For the actual decoration, it was requested that we do a simpler horizontal pattern only. After some trial and experimentation, I decided that a simple whip around the edges would be the most consistent. I attempted buttonhole as well, but I could not get a sufficiently uniform stitch to my liking. Prior to embroidery, I brushed on a very thin layer of paste to allow the silk faille to adhere to the leather. This allowed it to travel with the upper so that I could more easily work them as one. The embroidery thread is a thick silk buttonhole twist.
The quarters had three layers, the outside silk faille, the leather interior of thin calf hide, and then a silk taffeta lining. The reason for this was to facilitate the binding process. Because the interior leather was so thin, I had figured it would be tricky to properly bind it.
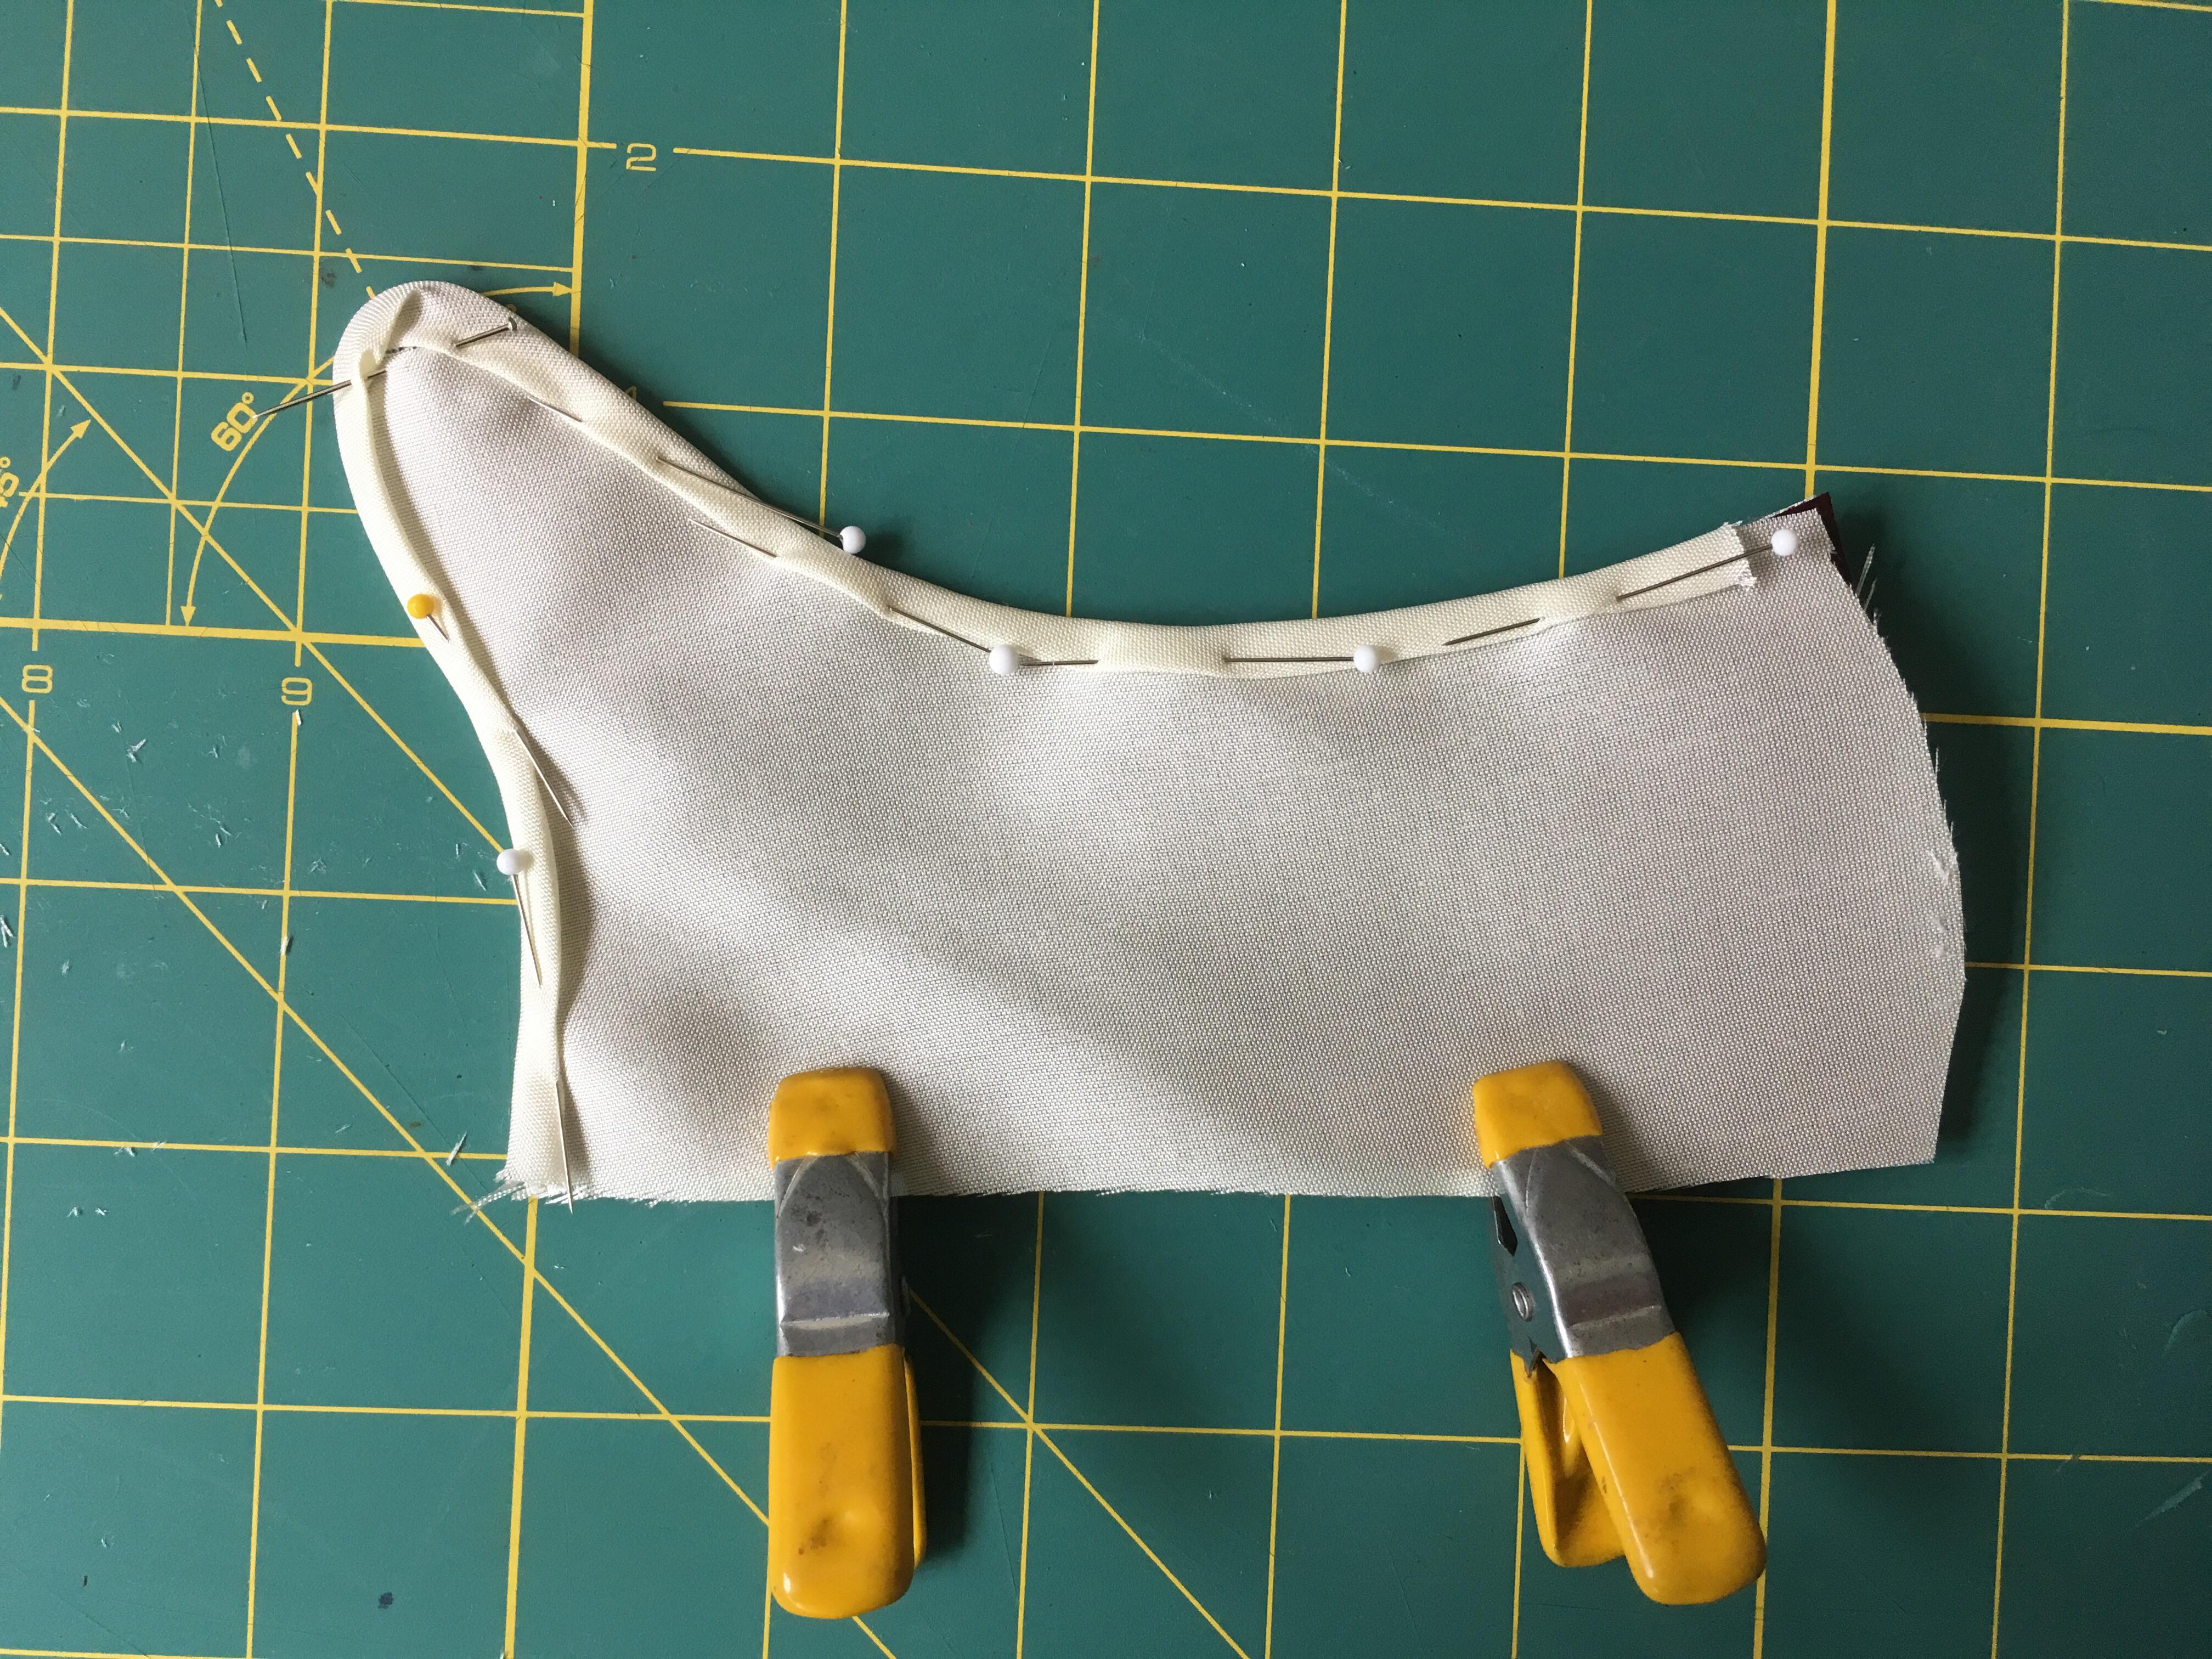
The base is a thin layer of calf hide. It looks brown because it is brown! It was the only material I had available of appropriate weight. What is interesting is that I was able to bind these without too much trouble, so I really did not need the silk lining for the quarters.
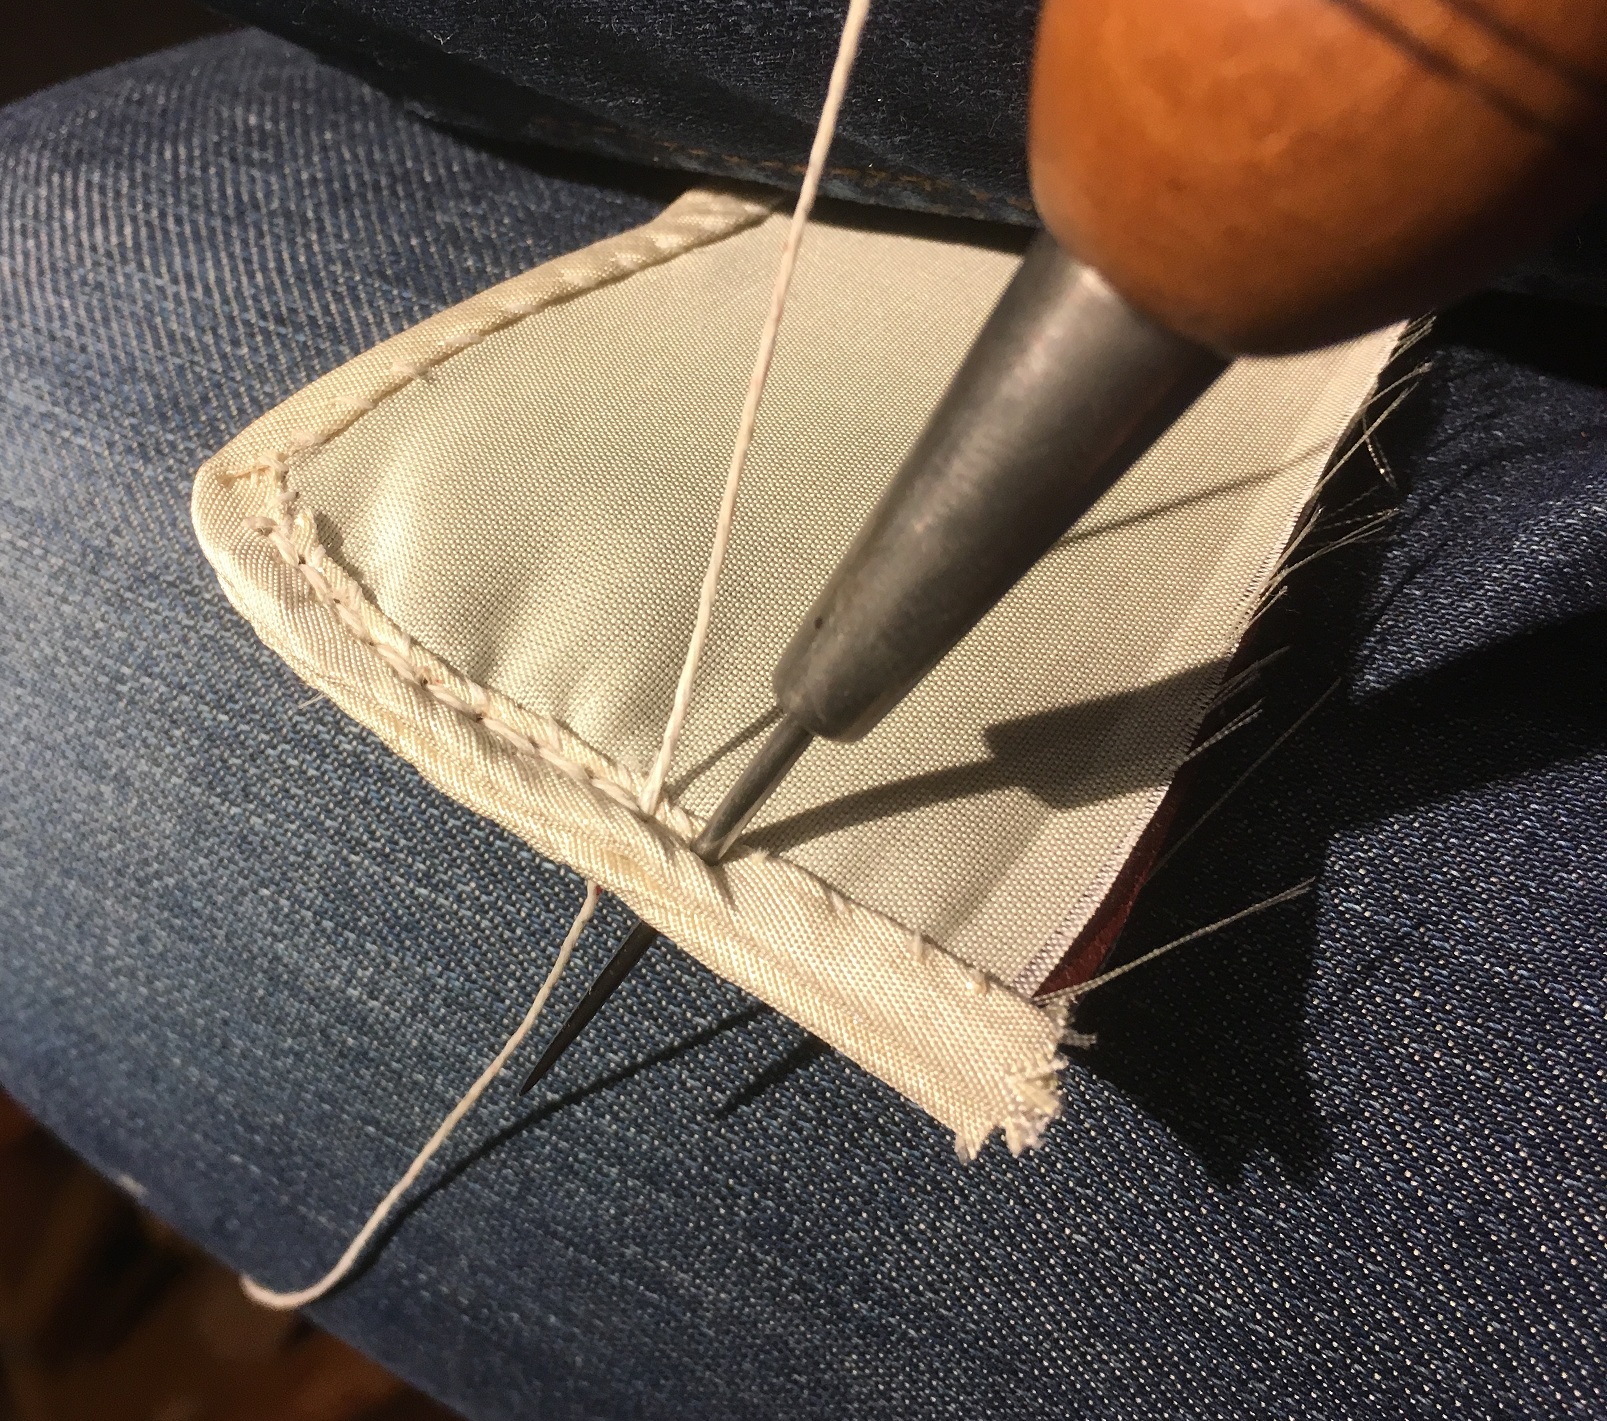
The uppers were closed, not by the round stitch because of the thin leather, but by stabbing through both layers. The upper was then opened and the seam pounded flat.
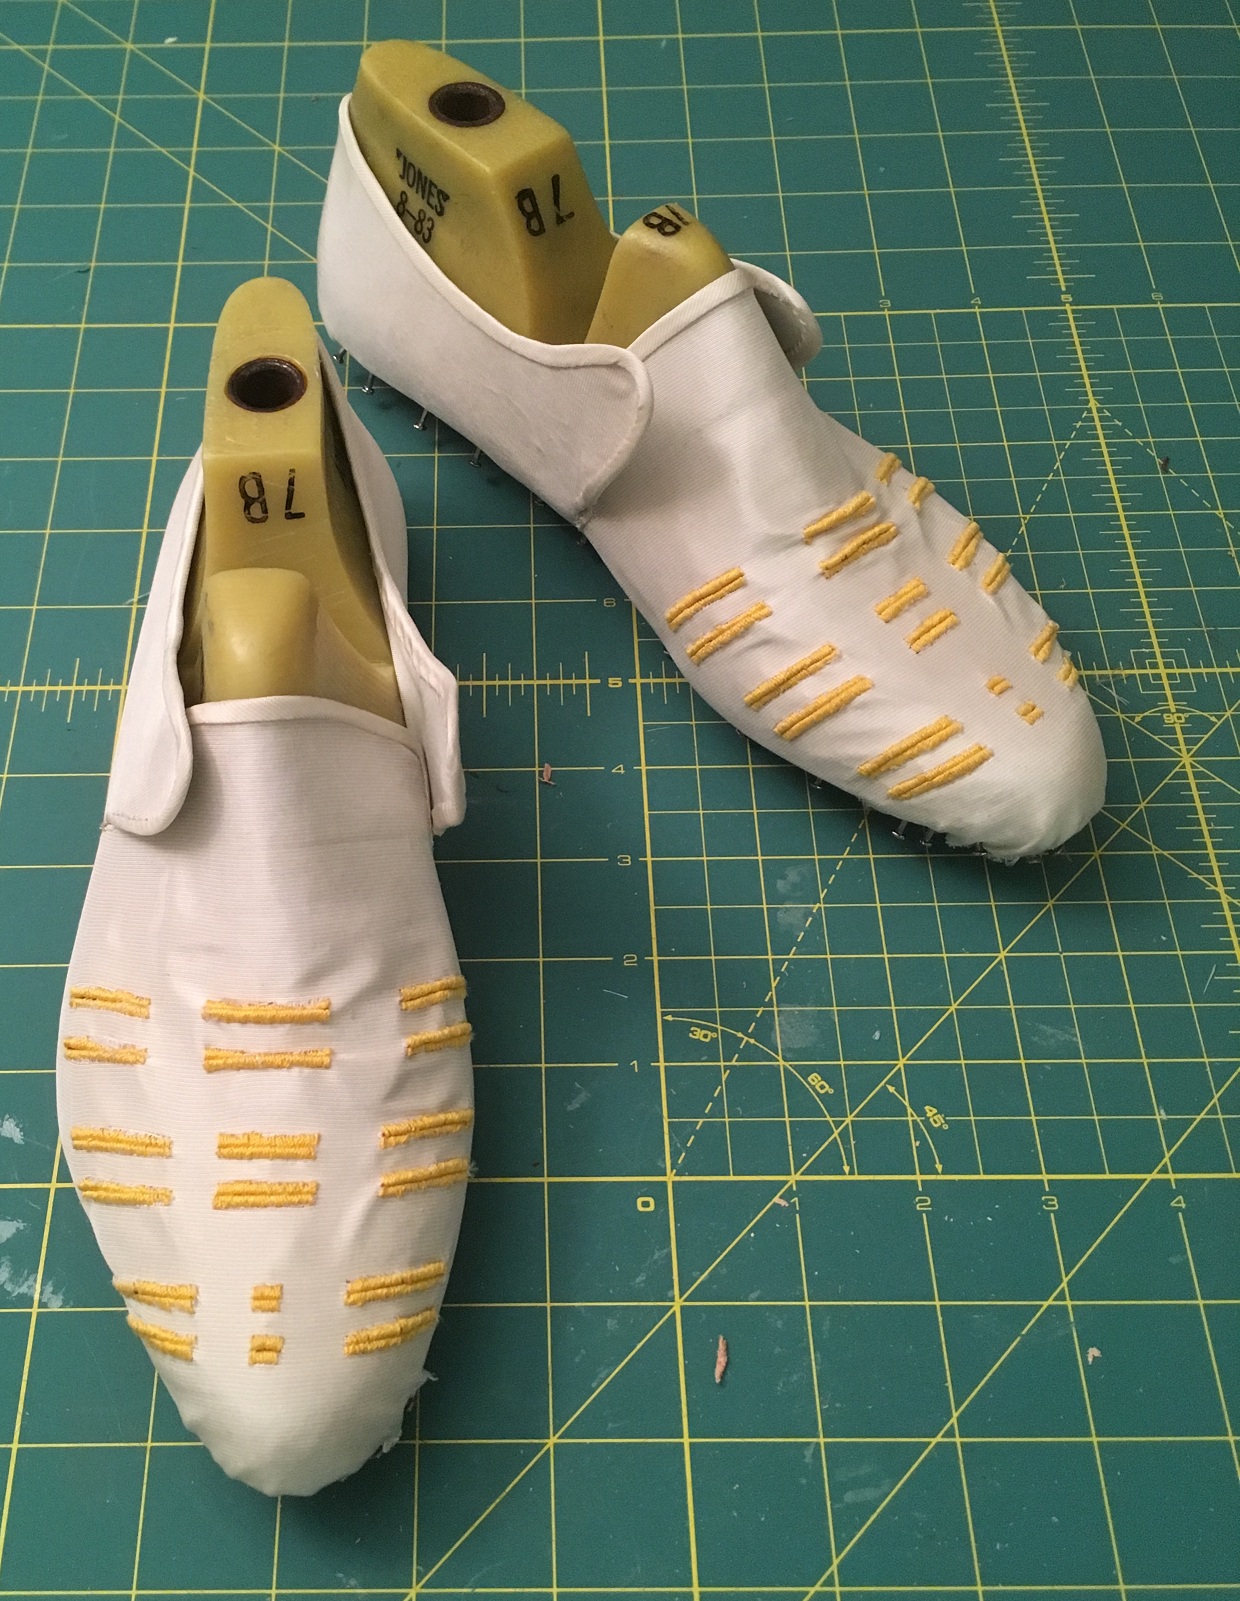
The lasted shoes. A little wrinkly at the toe – clearly need to work on that a bit more, but even so, many of the examples are show heavy wrinkles from the underside where the toe had to be tightly gathered.
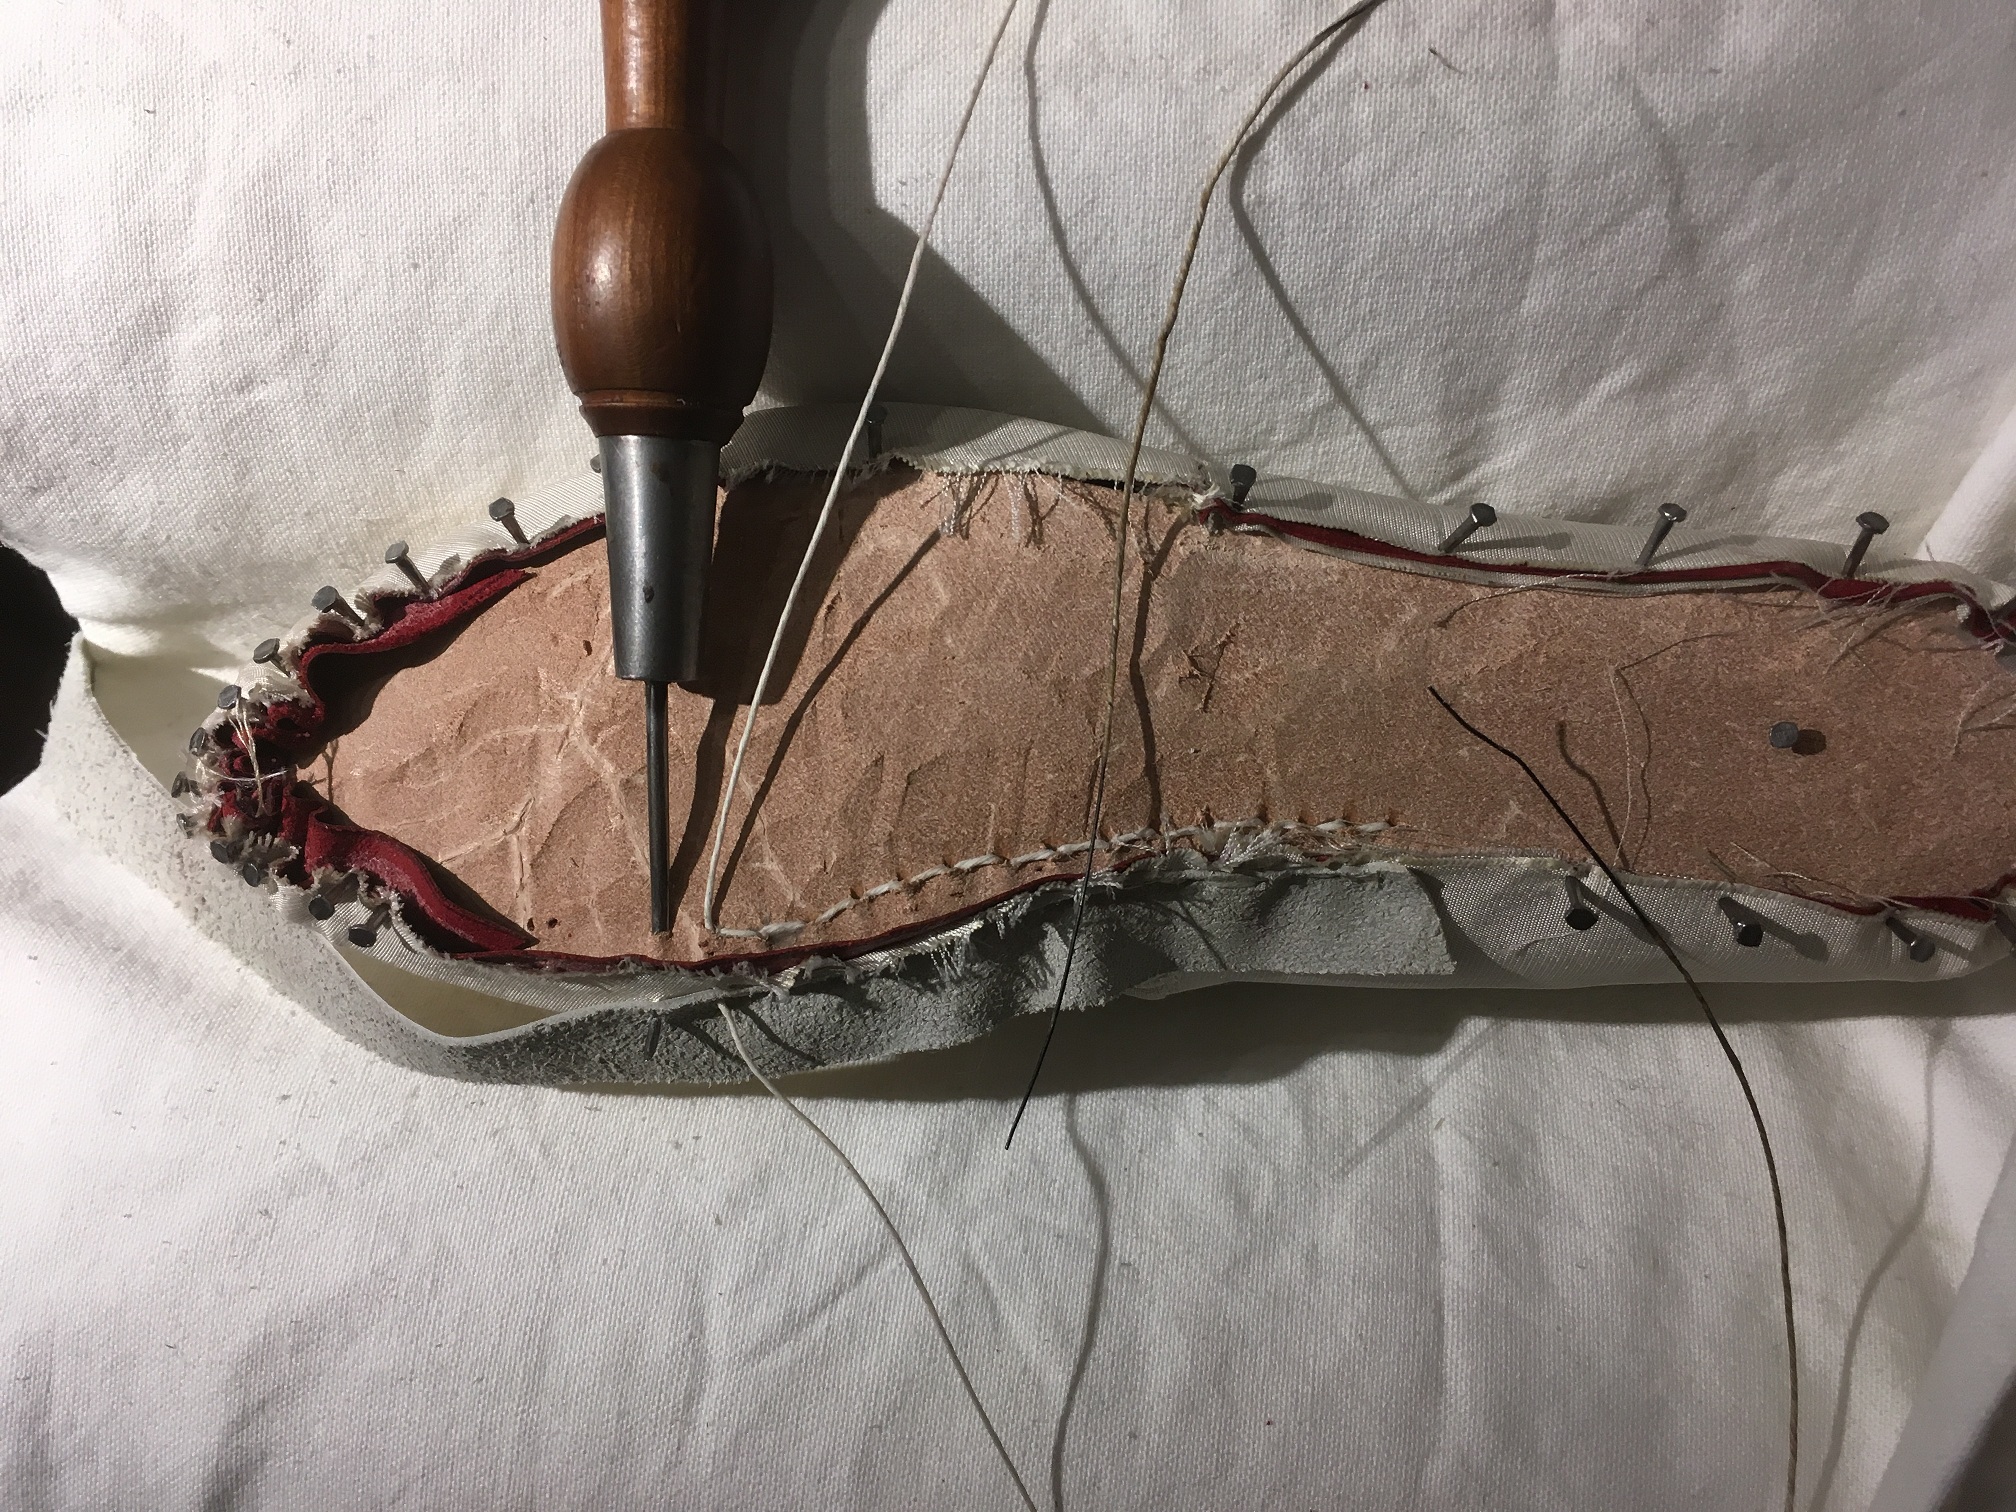
We are inseaming! I normally make my 16th century shoes with a more sturdy insole, but because these are silk and should be more dainty, I skived the insole down a bit. Standard inseaming technique for welted shoes with boar bristles and linen thread, but using white wax. Note the white linen material I am working the shoes on. There is evidence in at least the 17th century where paper was sewn into the lasting margin along with the shoe to help protect it, and it was then torn off when the shoe was finished. You can even see evidence of small bits of paper in some shoes. This is especially true if there was a great deal of embroidery or ornamentation that could get damaged.
The inseamed shoes set on top of their outsoles. Again, thinner outsole leather than I normally use for welted shoes, but appropriate to the “fine-ness” of the work.
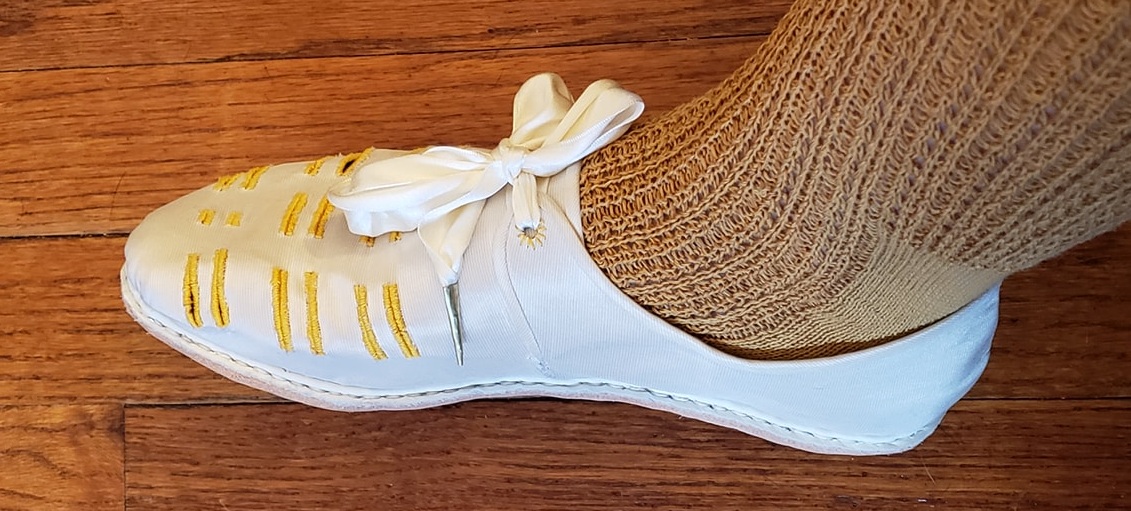
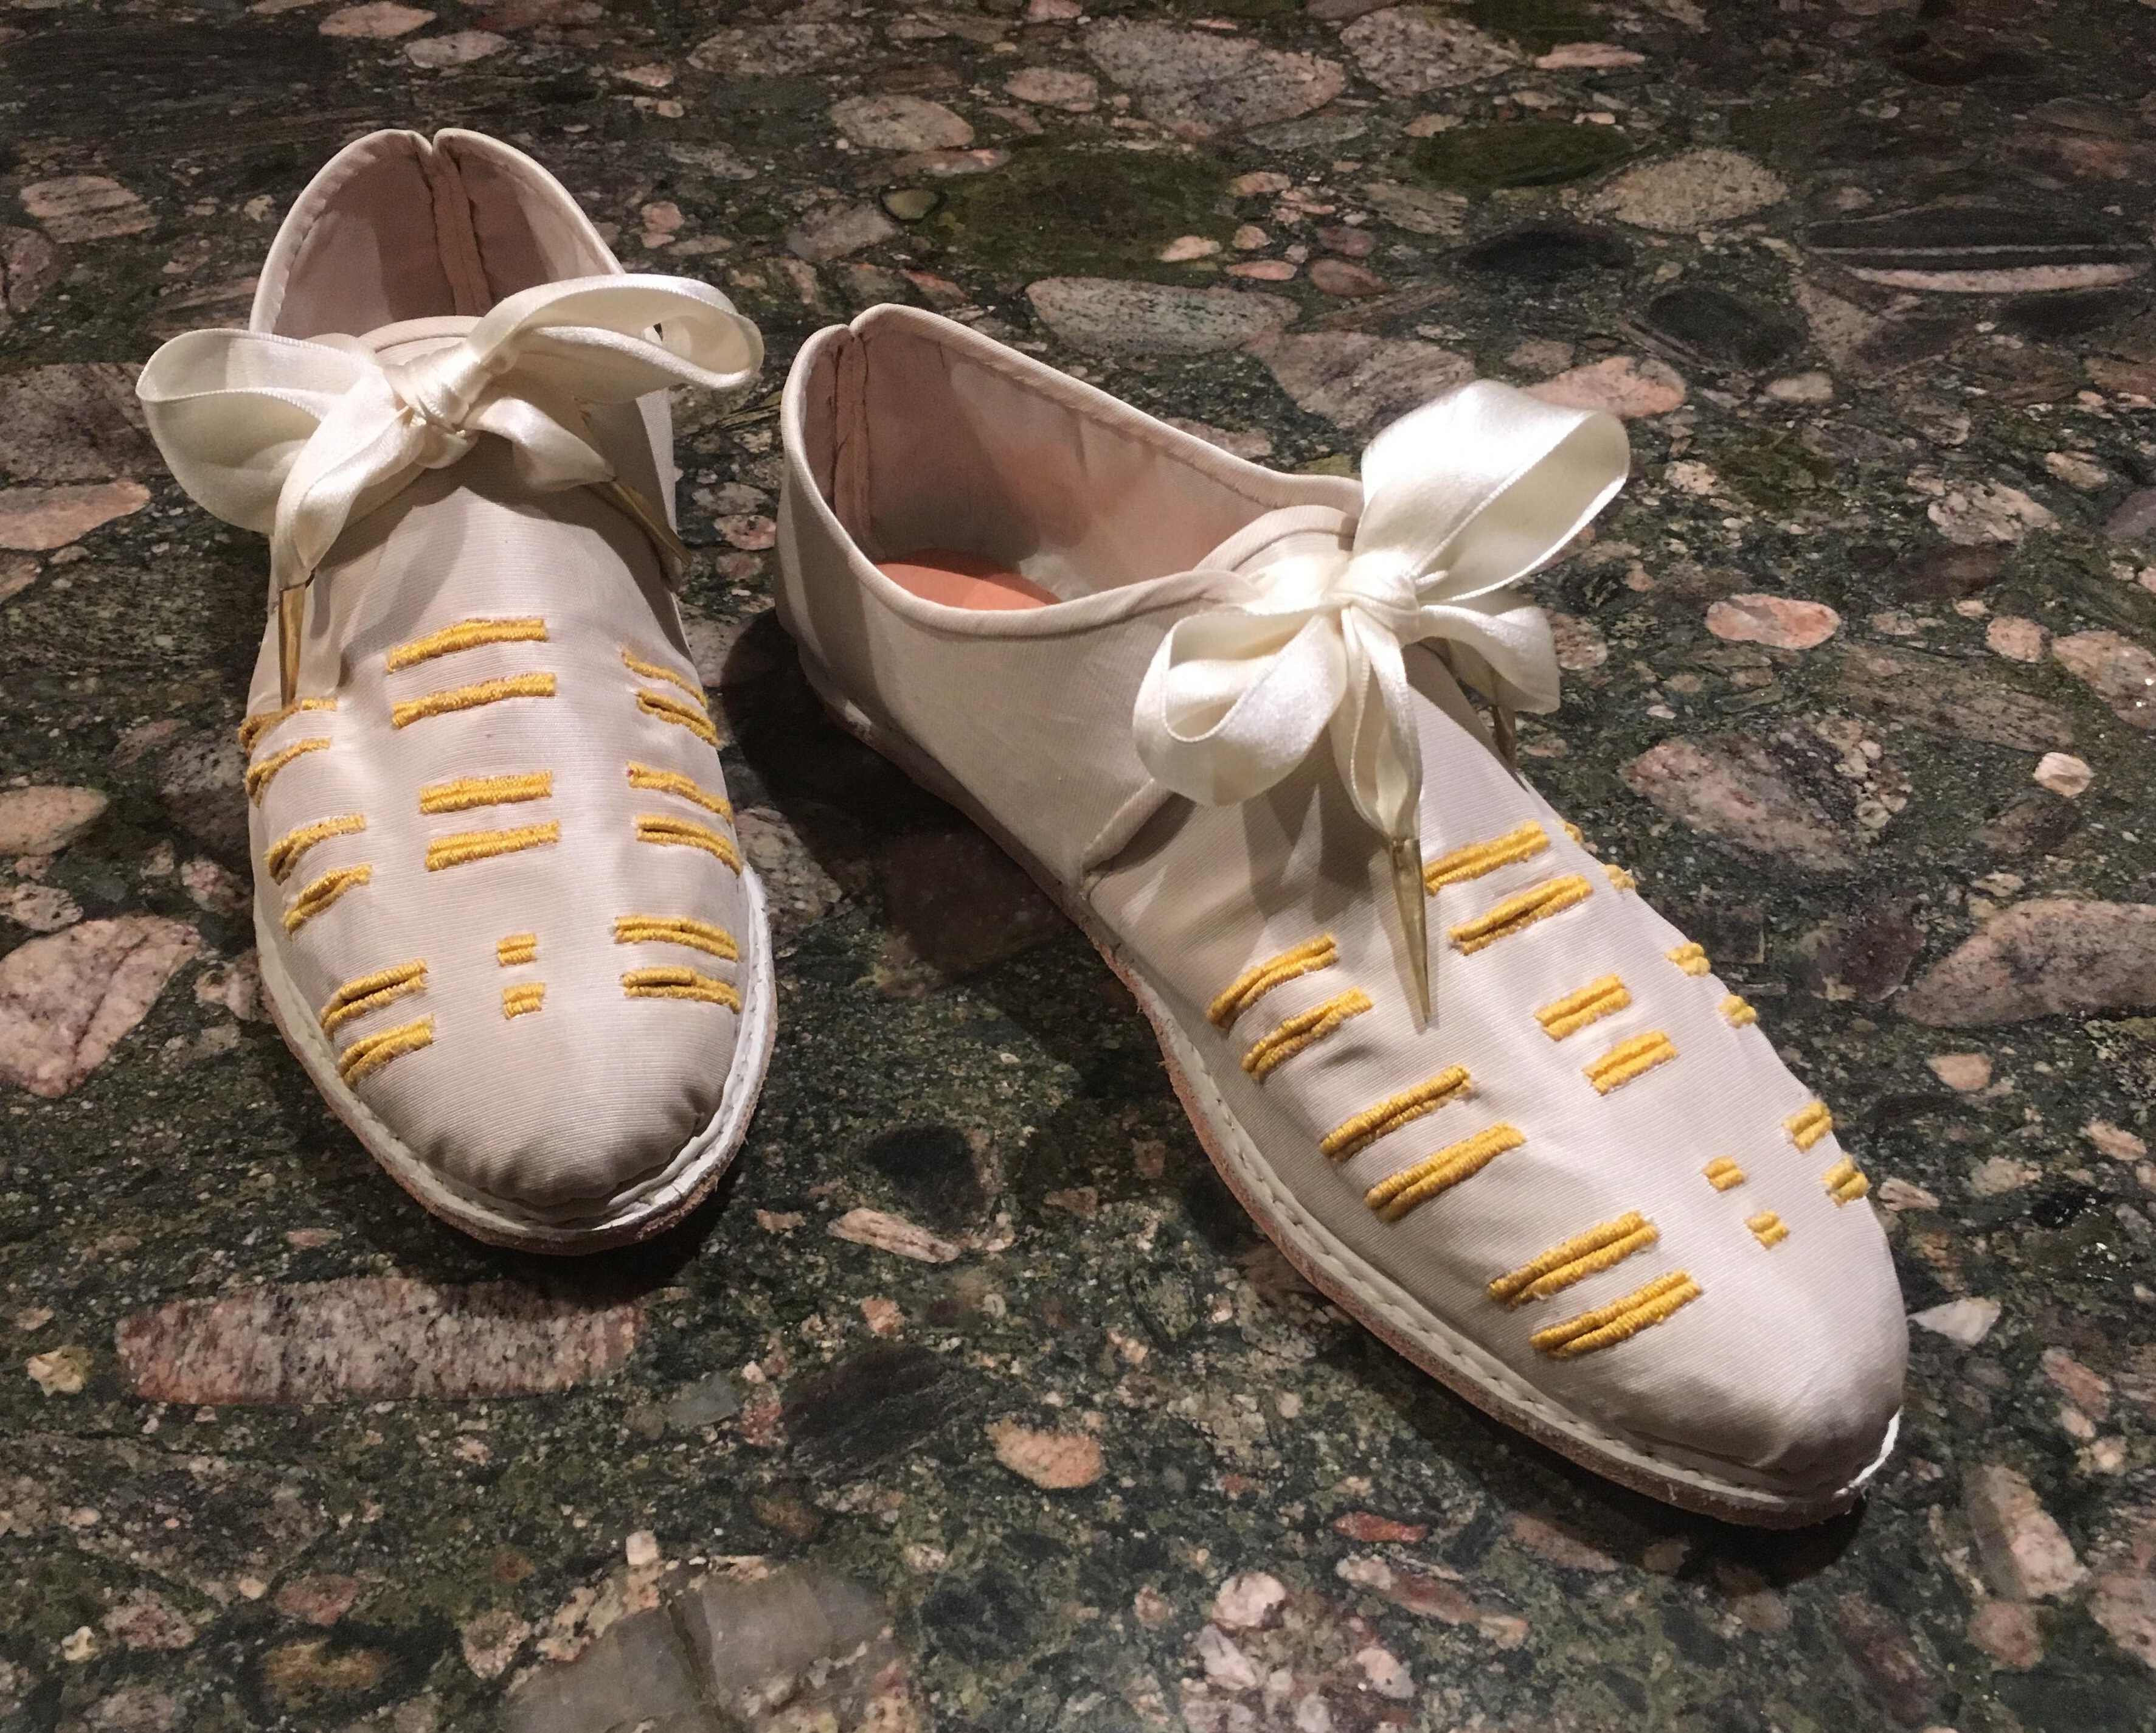
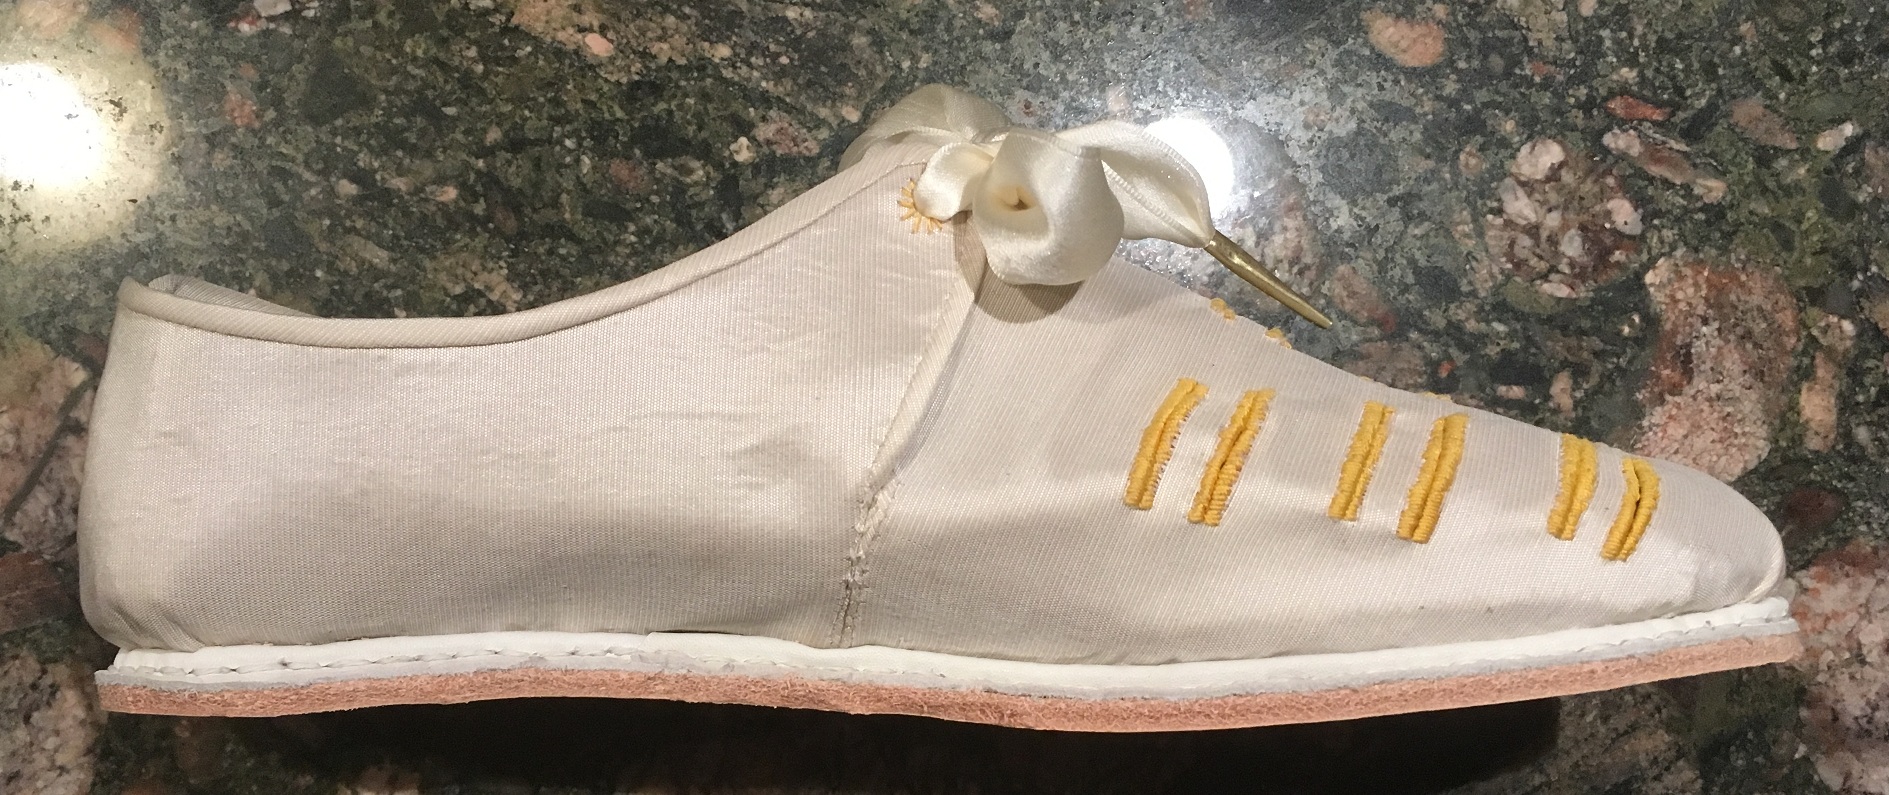
The shoes are done! An eyelet was put into the straps and silk ribbon laced into it. The toe could use a bit more overhang, but that will happen a touch once the shoe is worn.
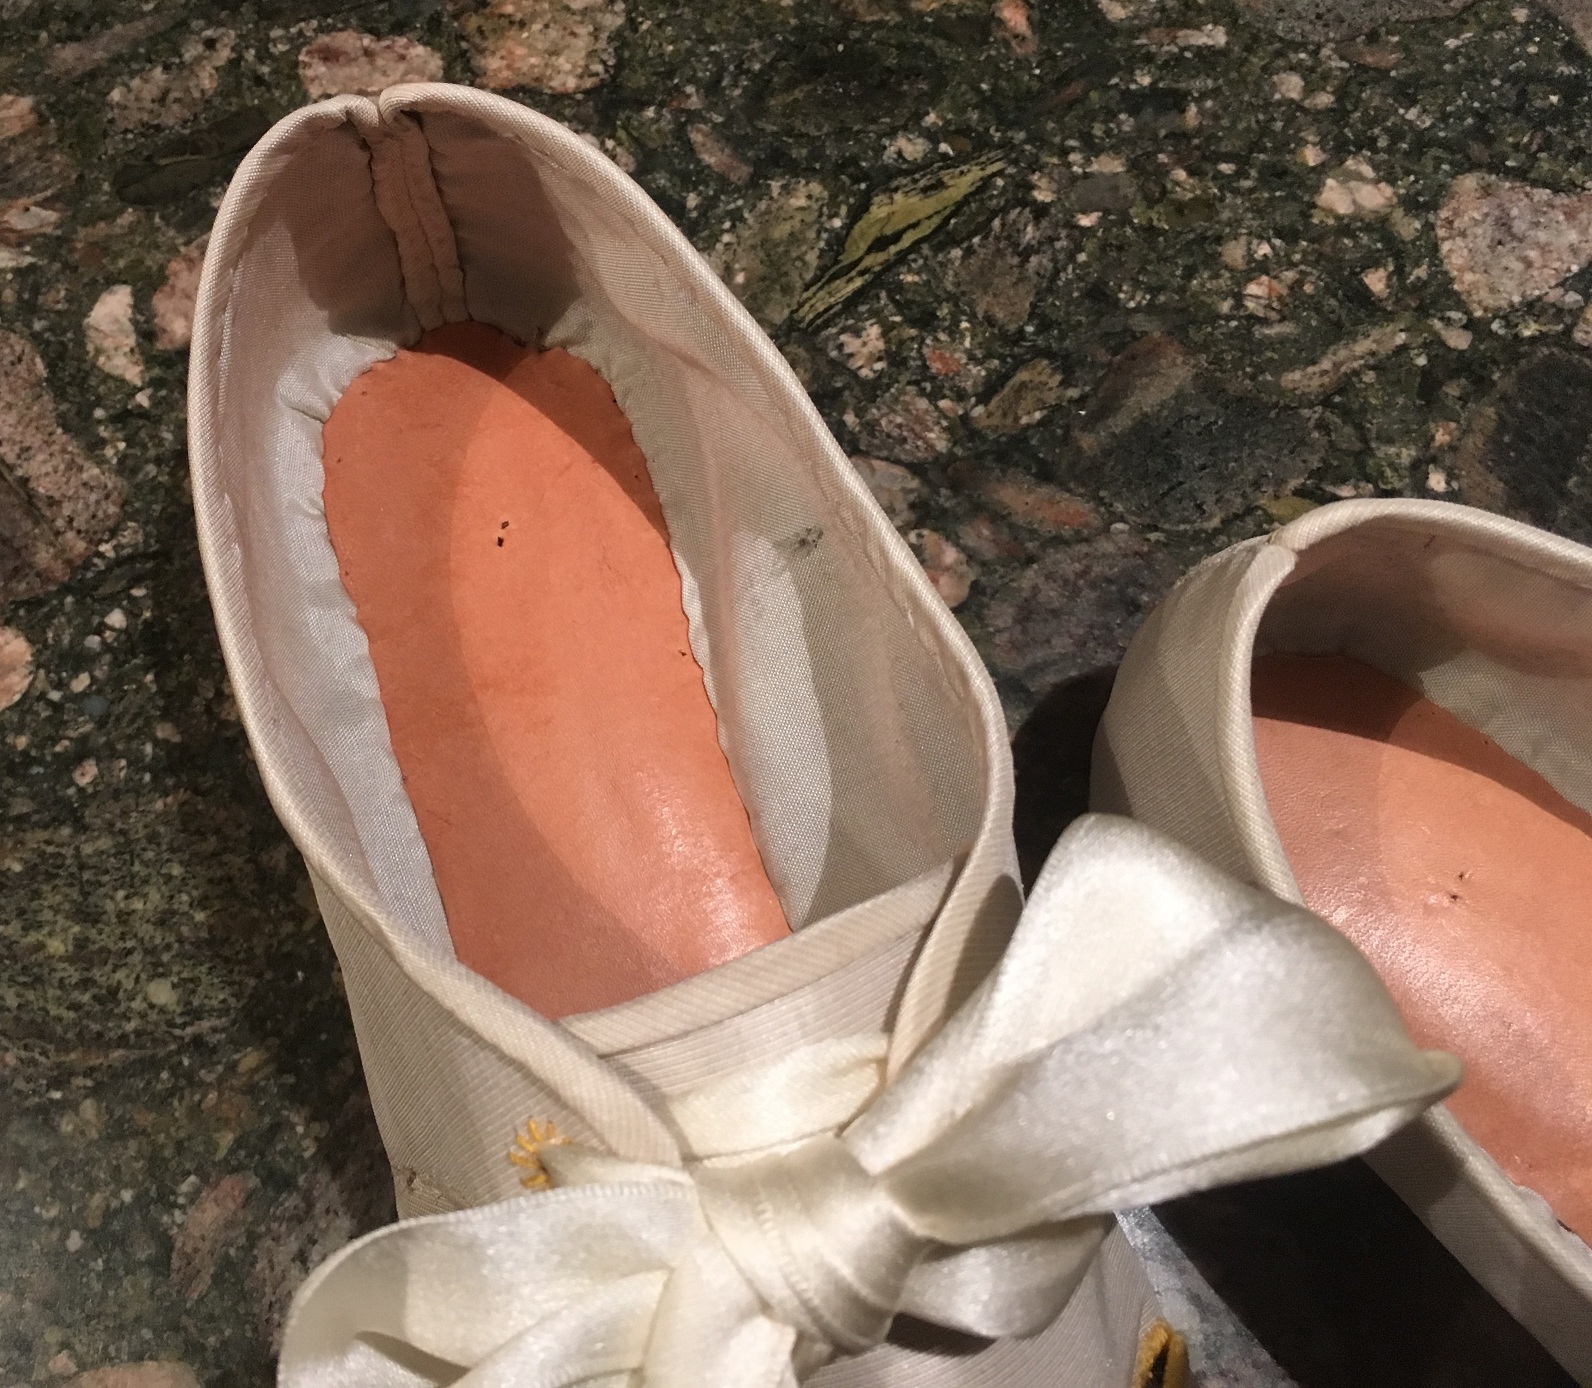
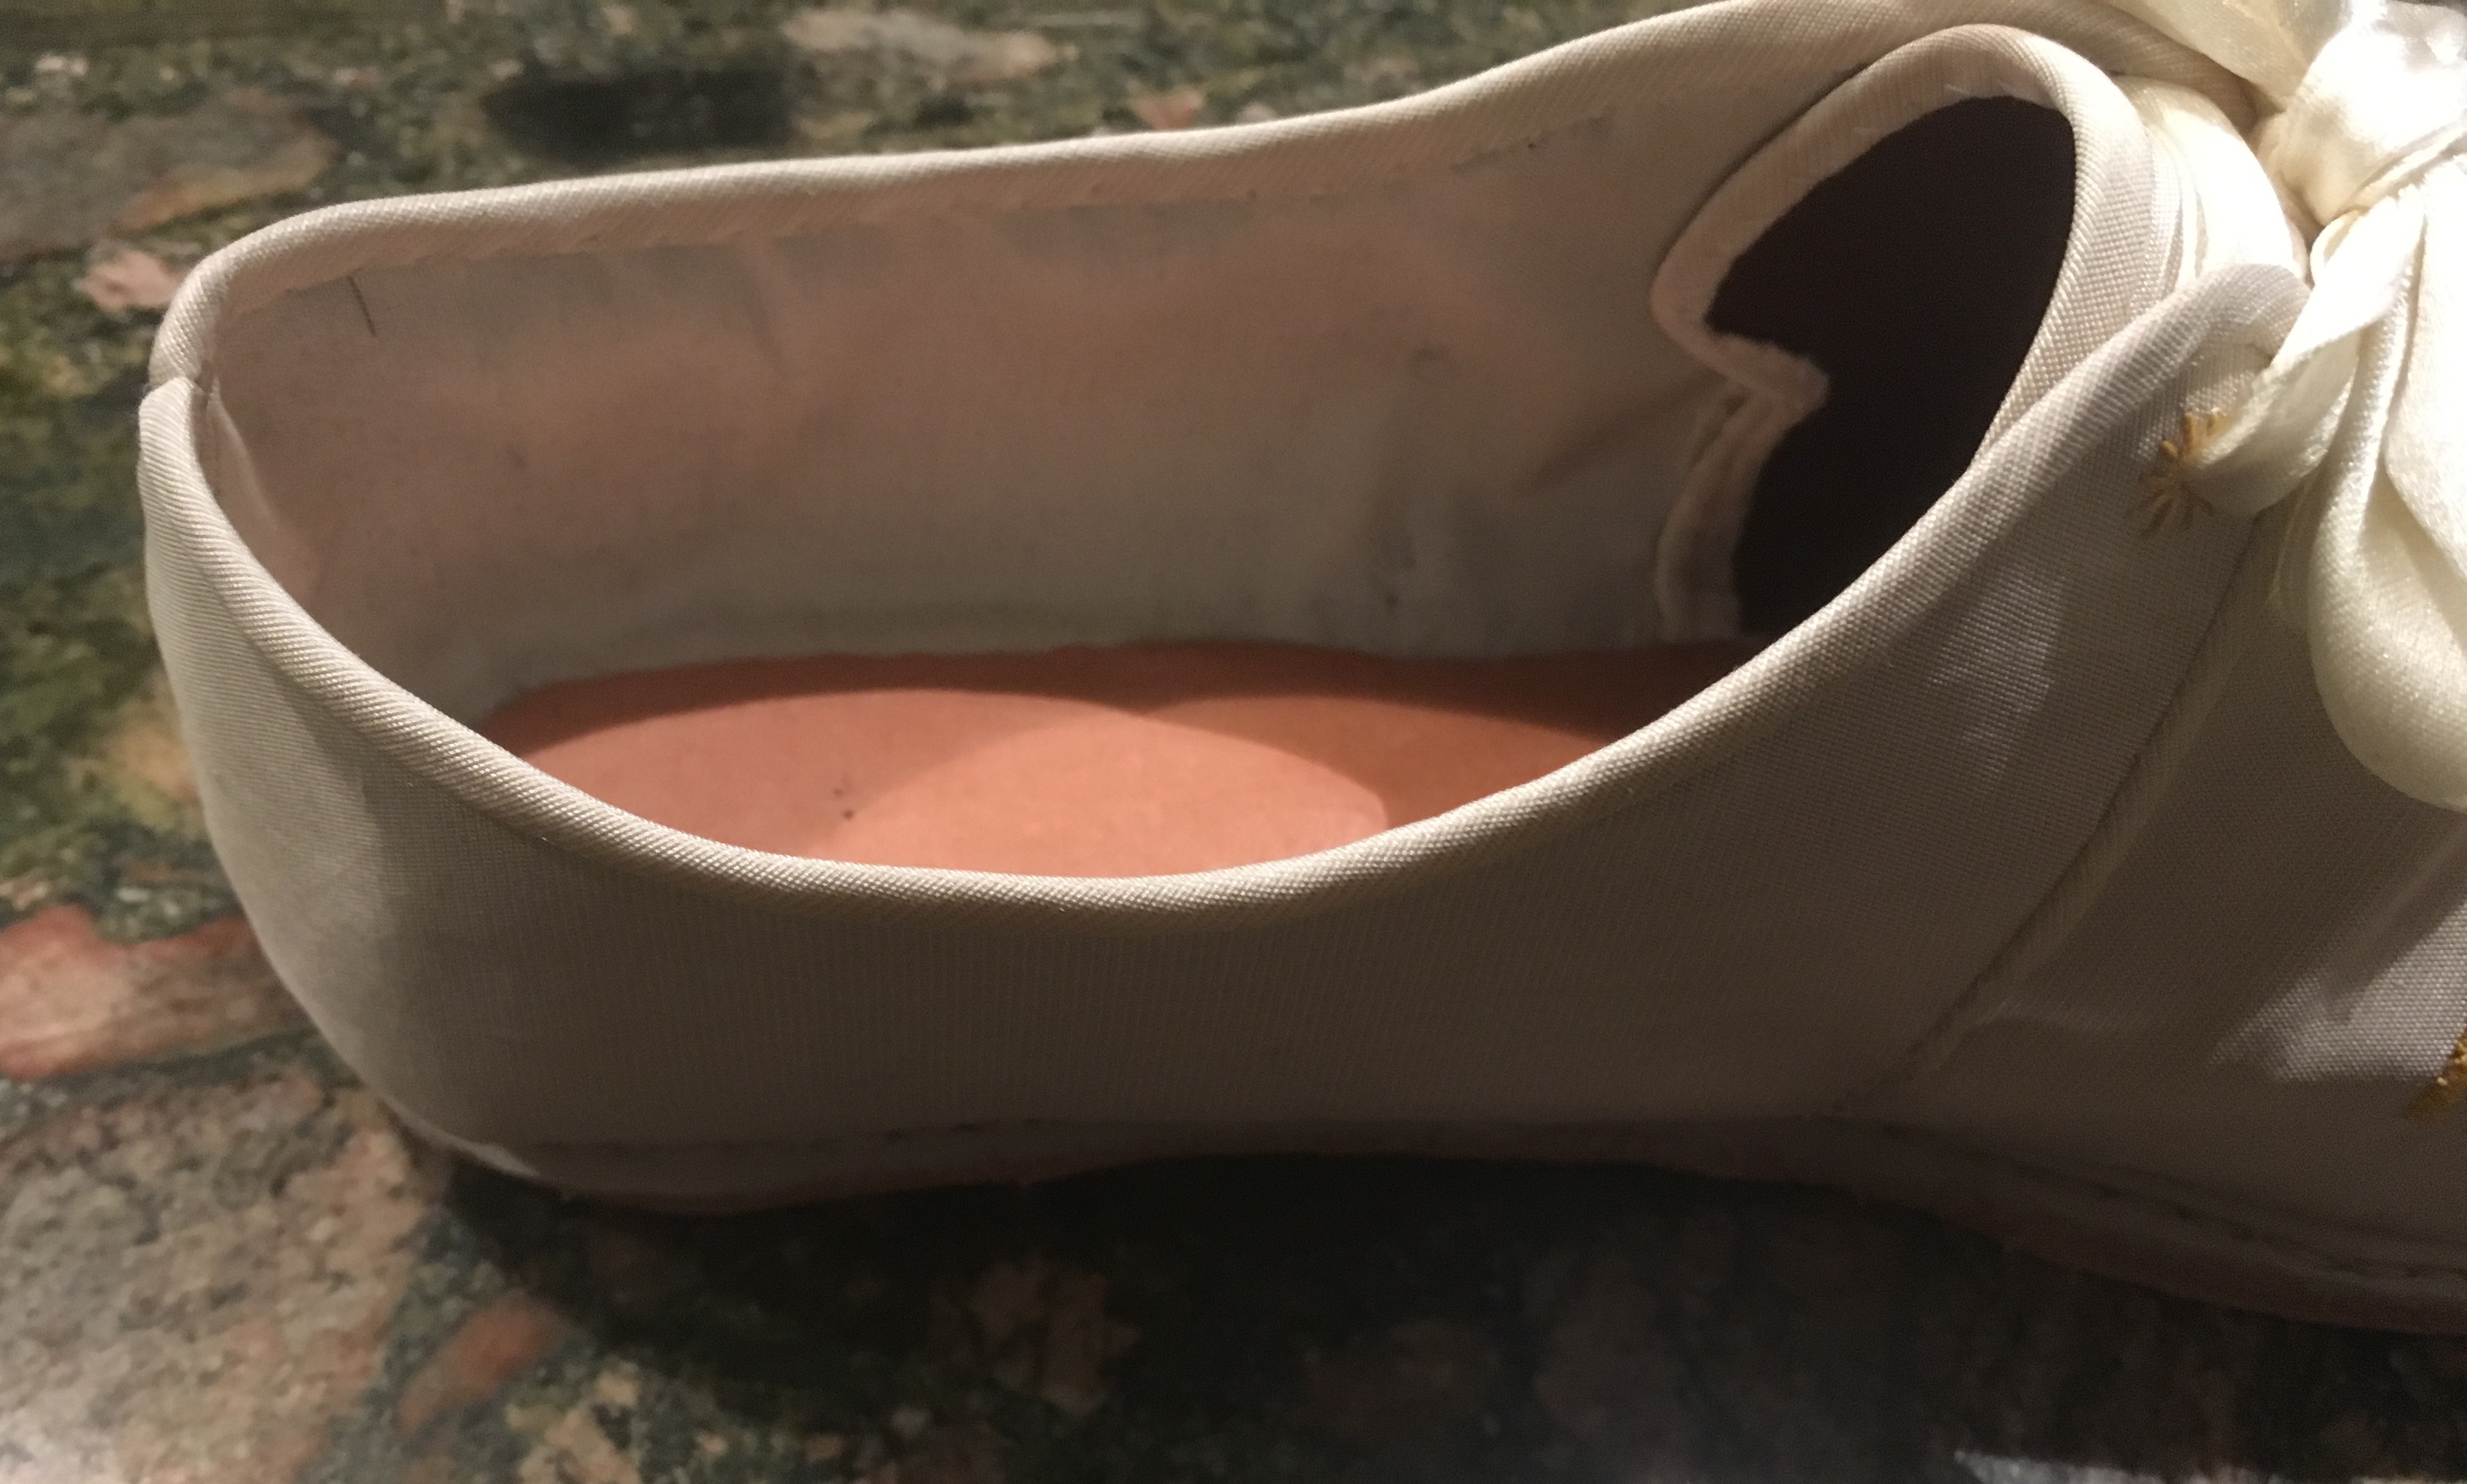
This shows the finished quarters seam which has been pounded flat. I opted not to put an insock in, because I wanted a nice snug fit, and I felt it would interfere with the feeling of sliding your foot into a smooth, silky shoe.
Look at the nice crispness of the binding. I think it really adds something as opposed to simply turning the covering in and stitching it down, and it is not that much extra work. You can also see the binding of the upper and the vamp and quarters seam.
Finished! I think this was about 4am, since they needed to go out that same day in order to make it in time for the very special event that they were worn with!
Also…proof that they fit – always a nice thing to see =)