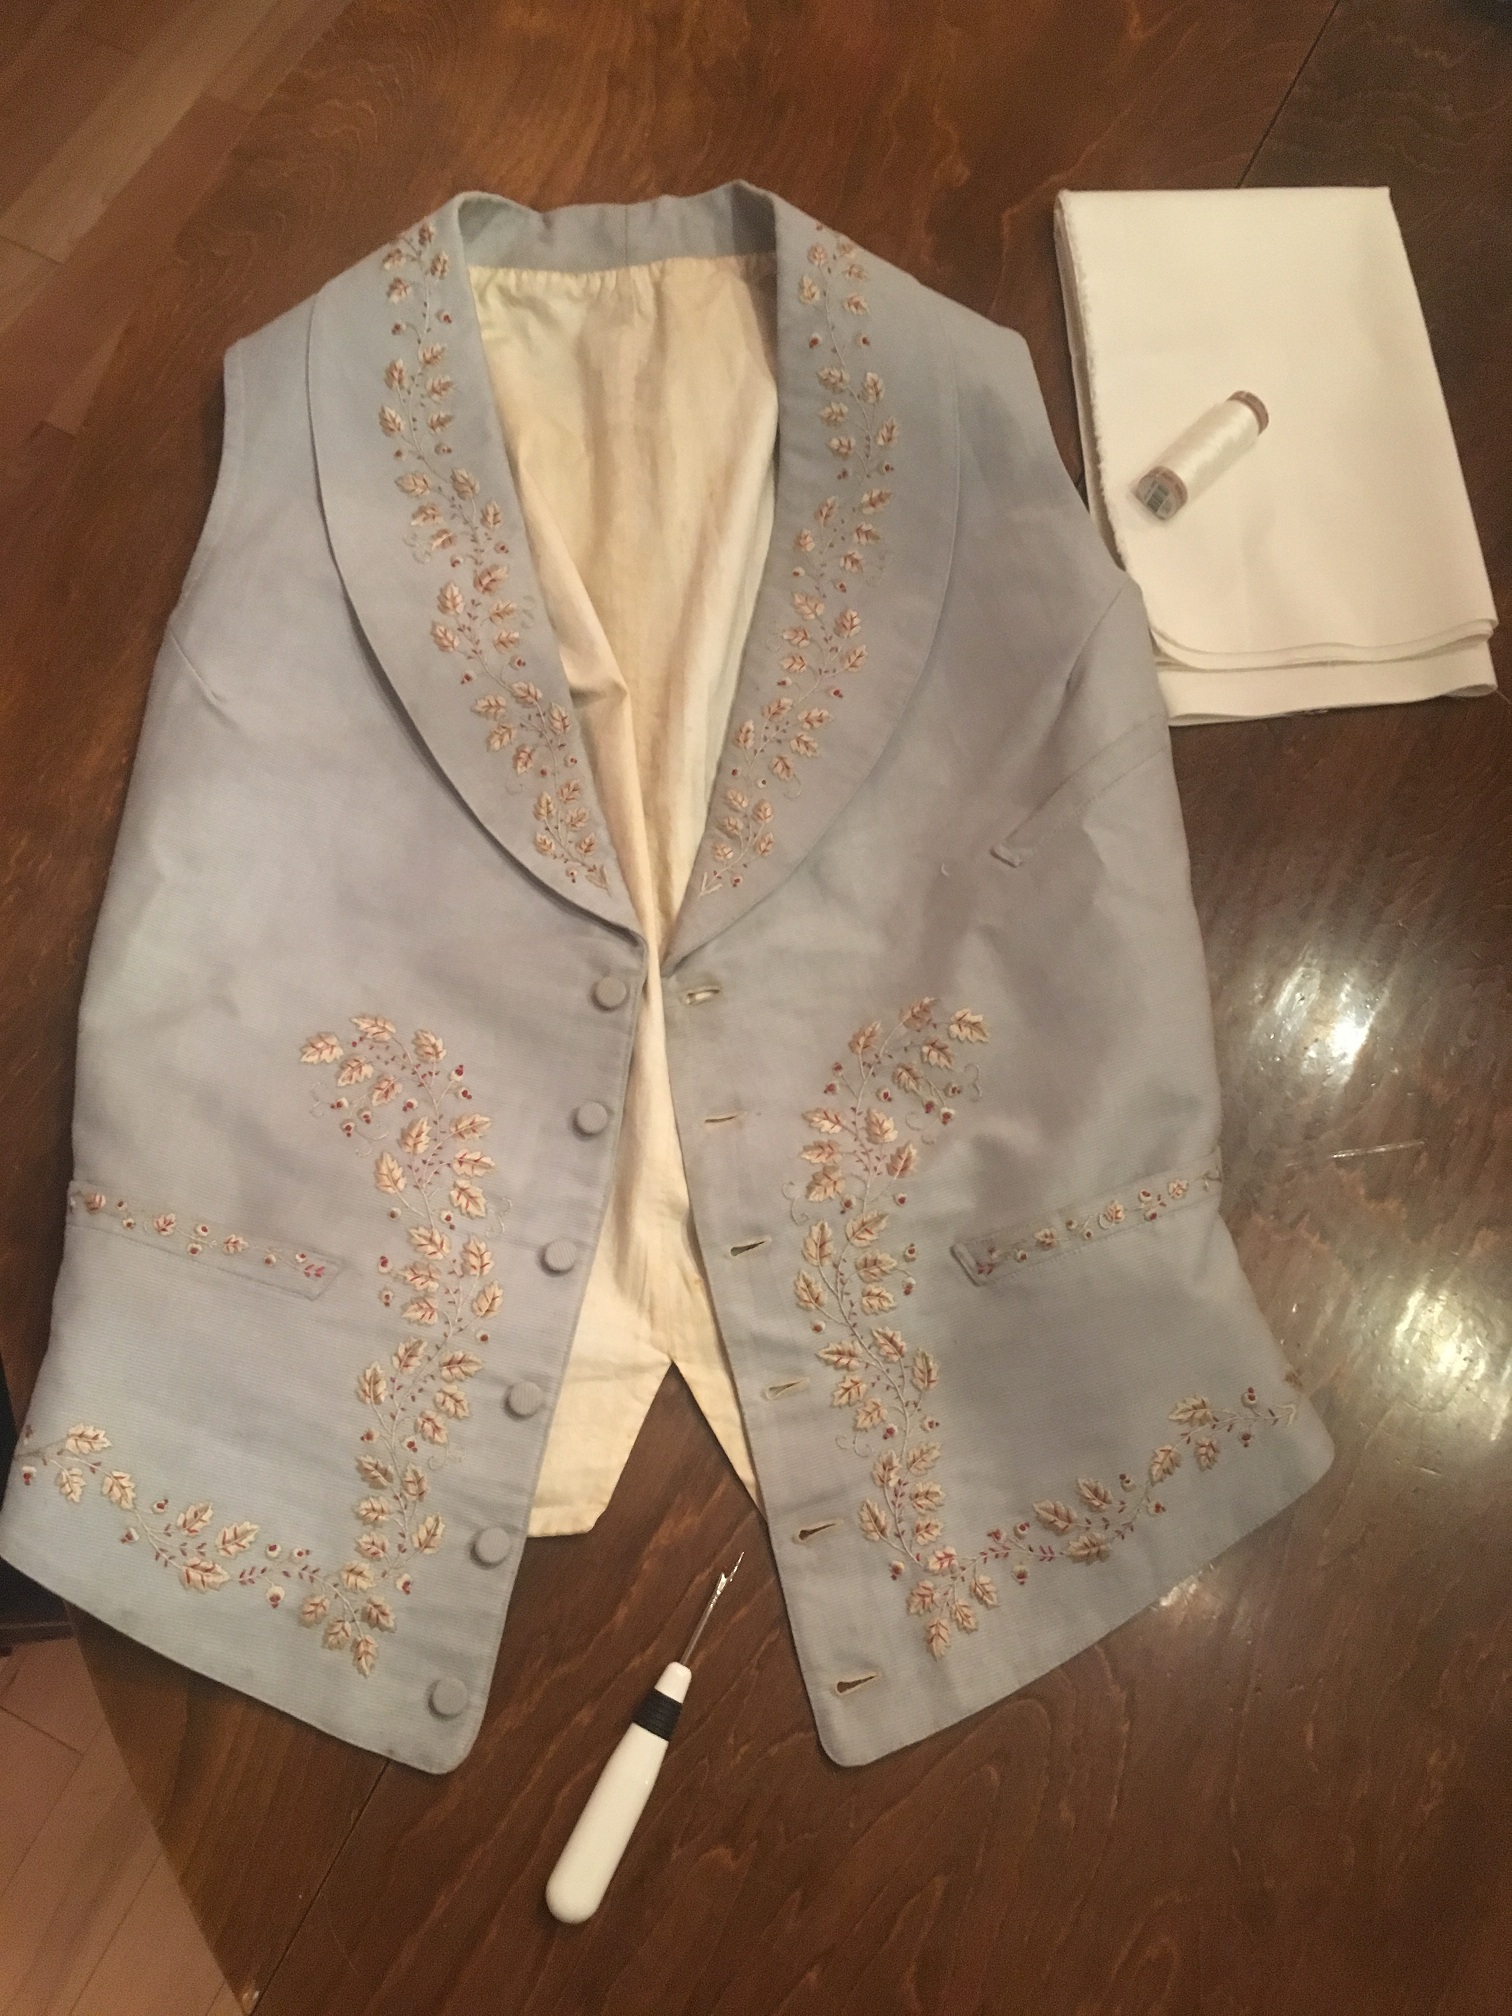
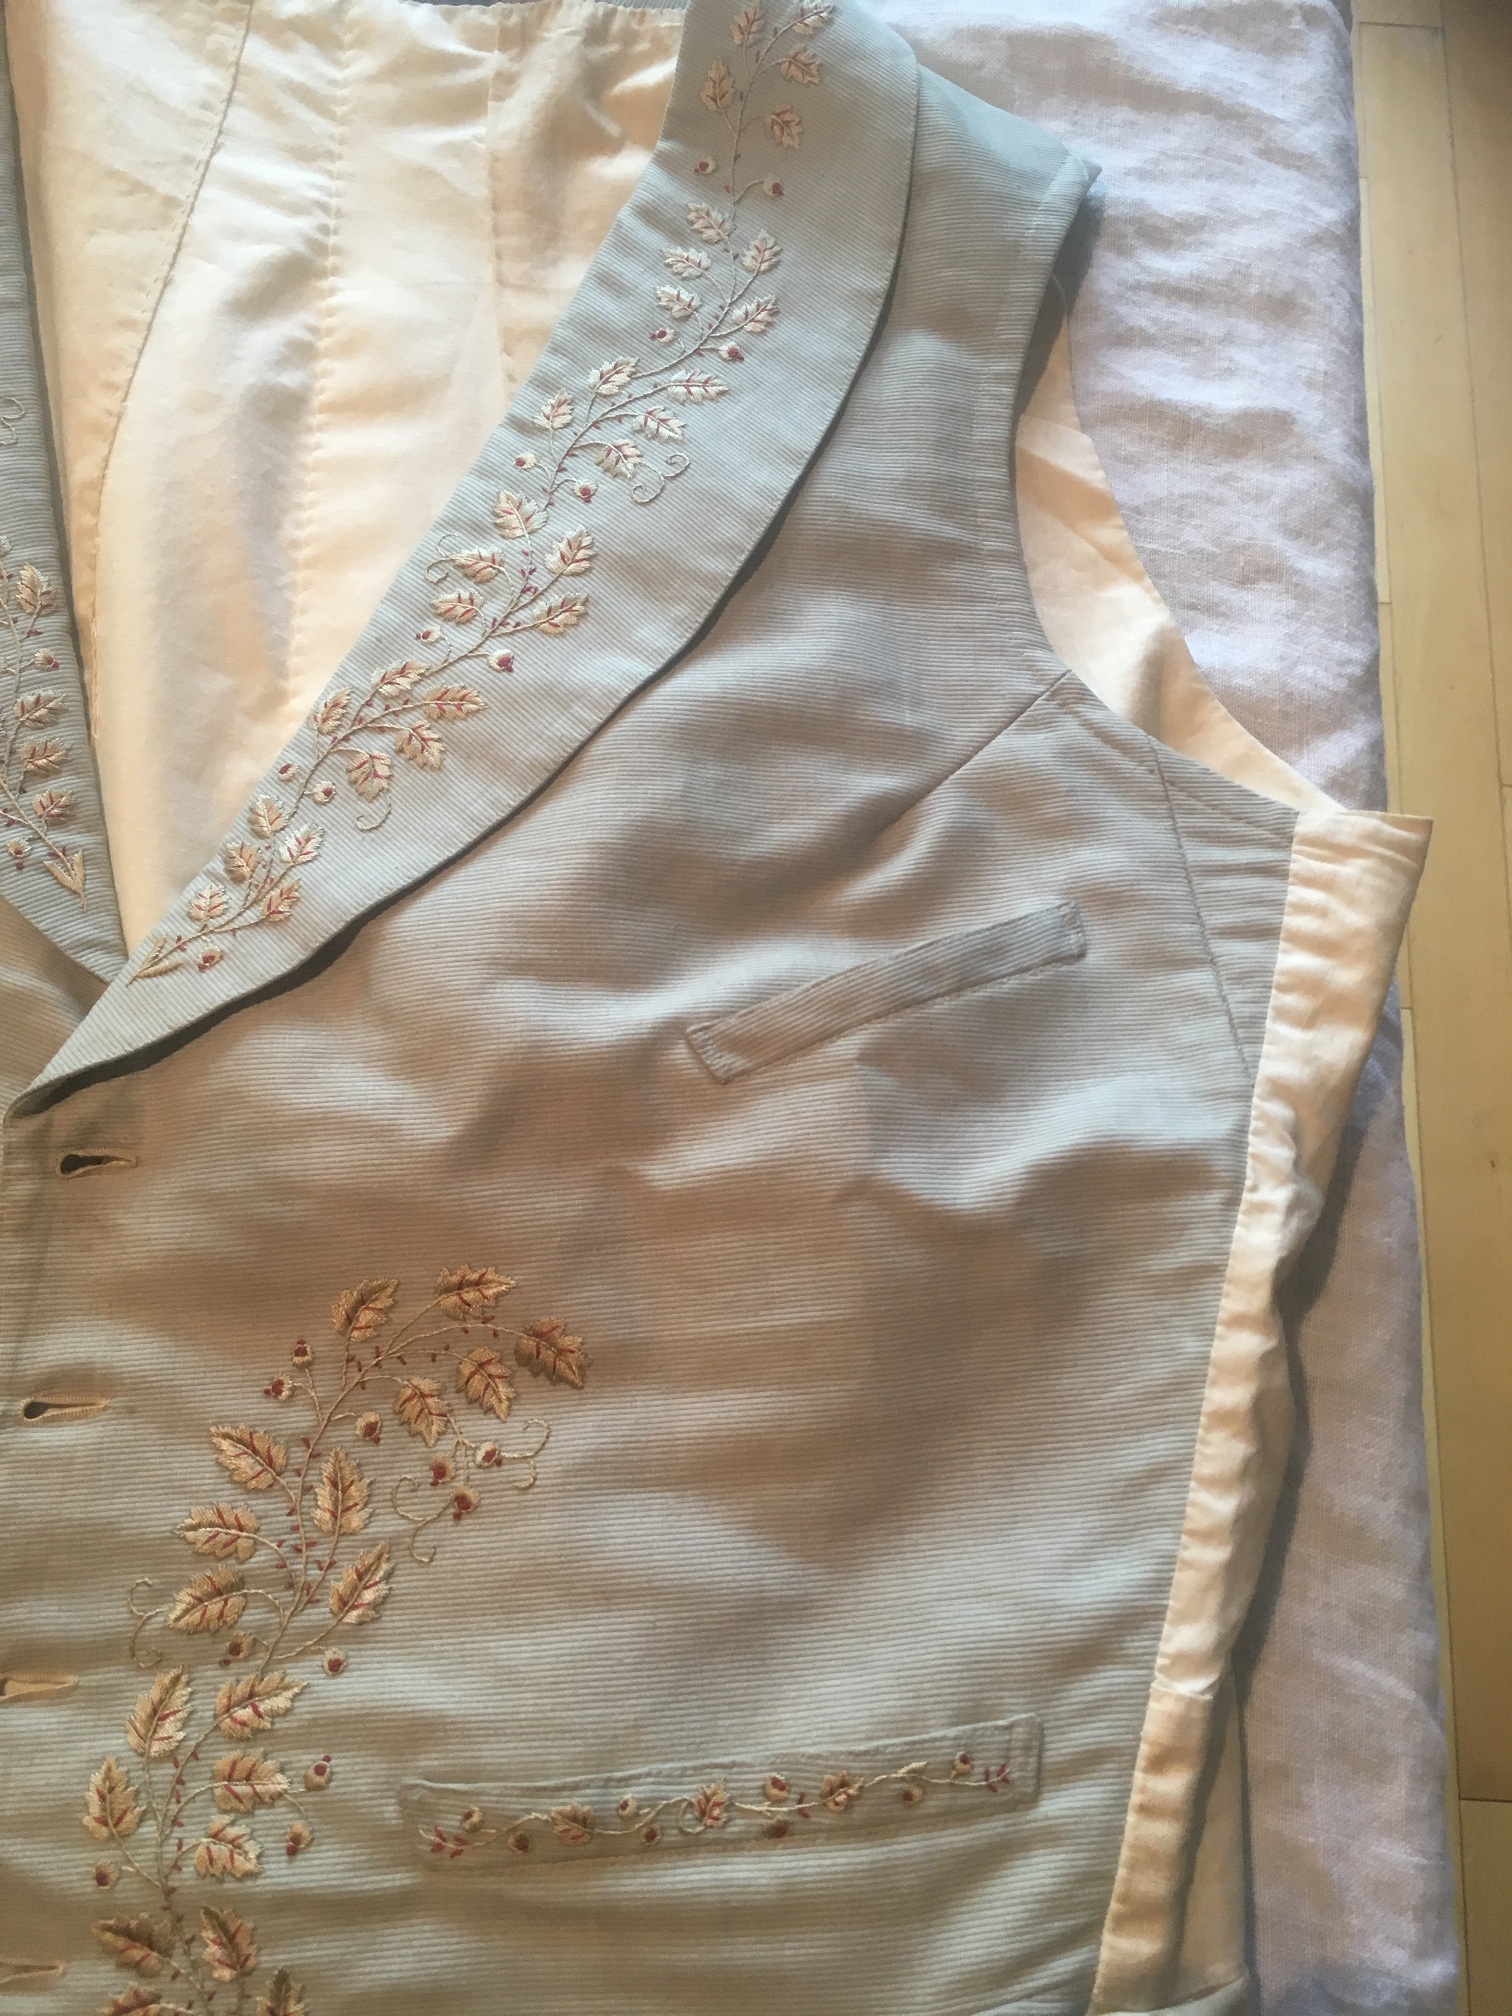
I know that this is not exactly shoe-related, but I was exceedingly fortunate to be able to pick up a set of 19th century waistcoats. The best of them, in absolutely wonderful shape, is a silk faille waistcoat, with amazing embroidery, not to mention fully welted pockets (3) as well as internal slits intended for chest padding. Sadly, it best of them was a little snug for me, and I could not help myself in wanting to alter it so that I could wear it! This might be considered somewhat sinful, but no worse than what the actual Victorians did to a great deal of 18th century clothing and paintings (cropping, cutting, etc.), and I tried to take as much care as I could to respect the original construction.

What do you think that third pocket up high is for? Read on, and explore!
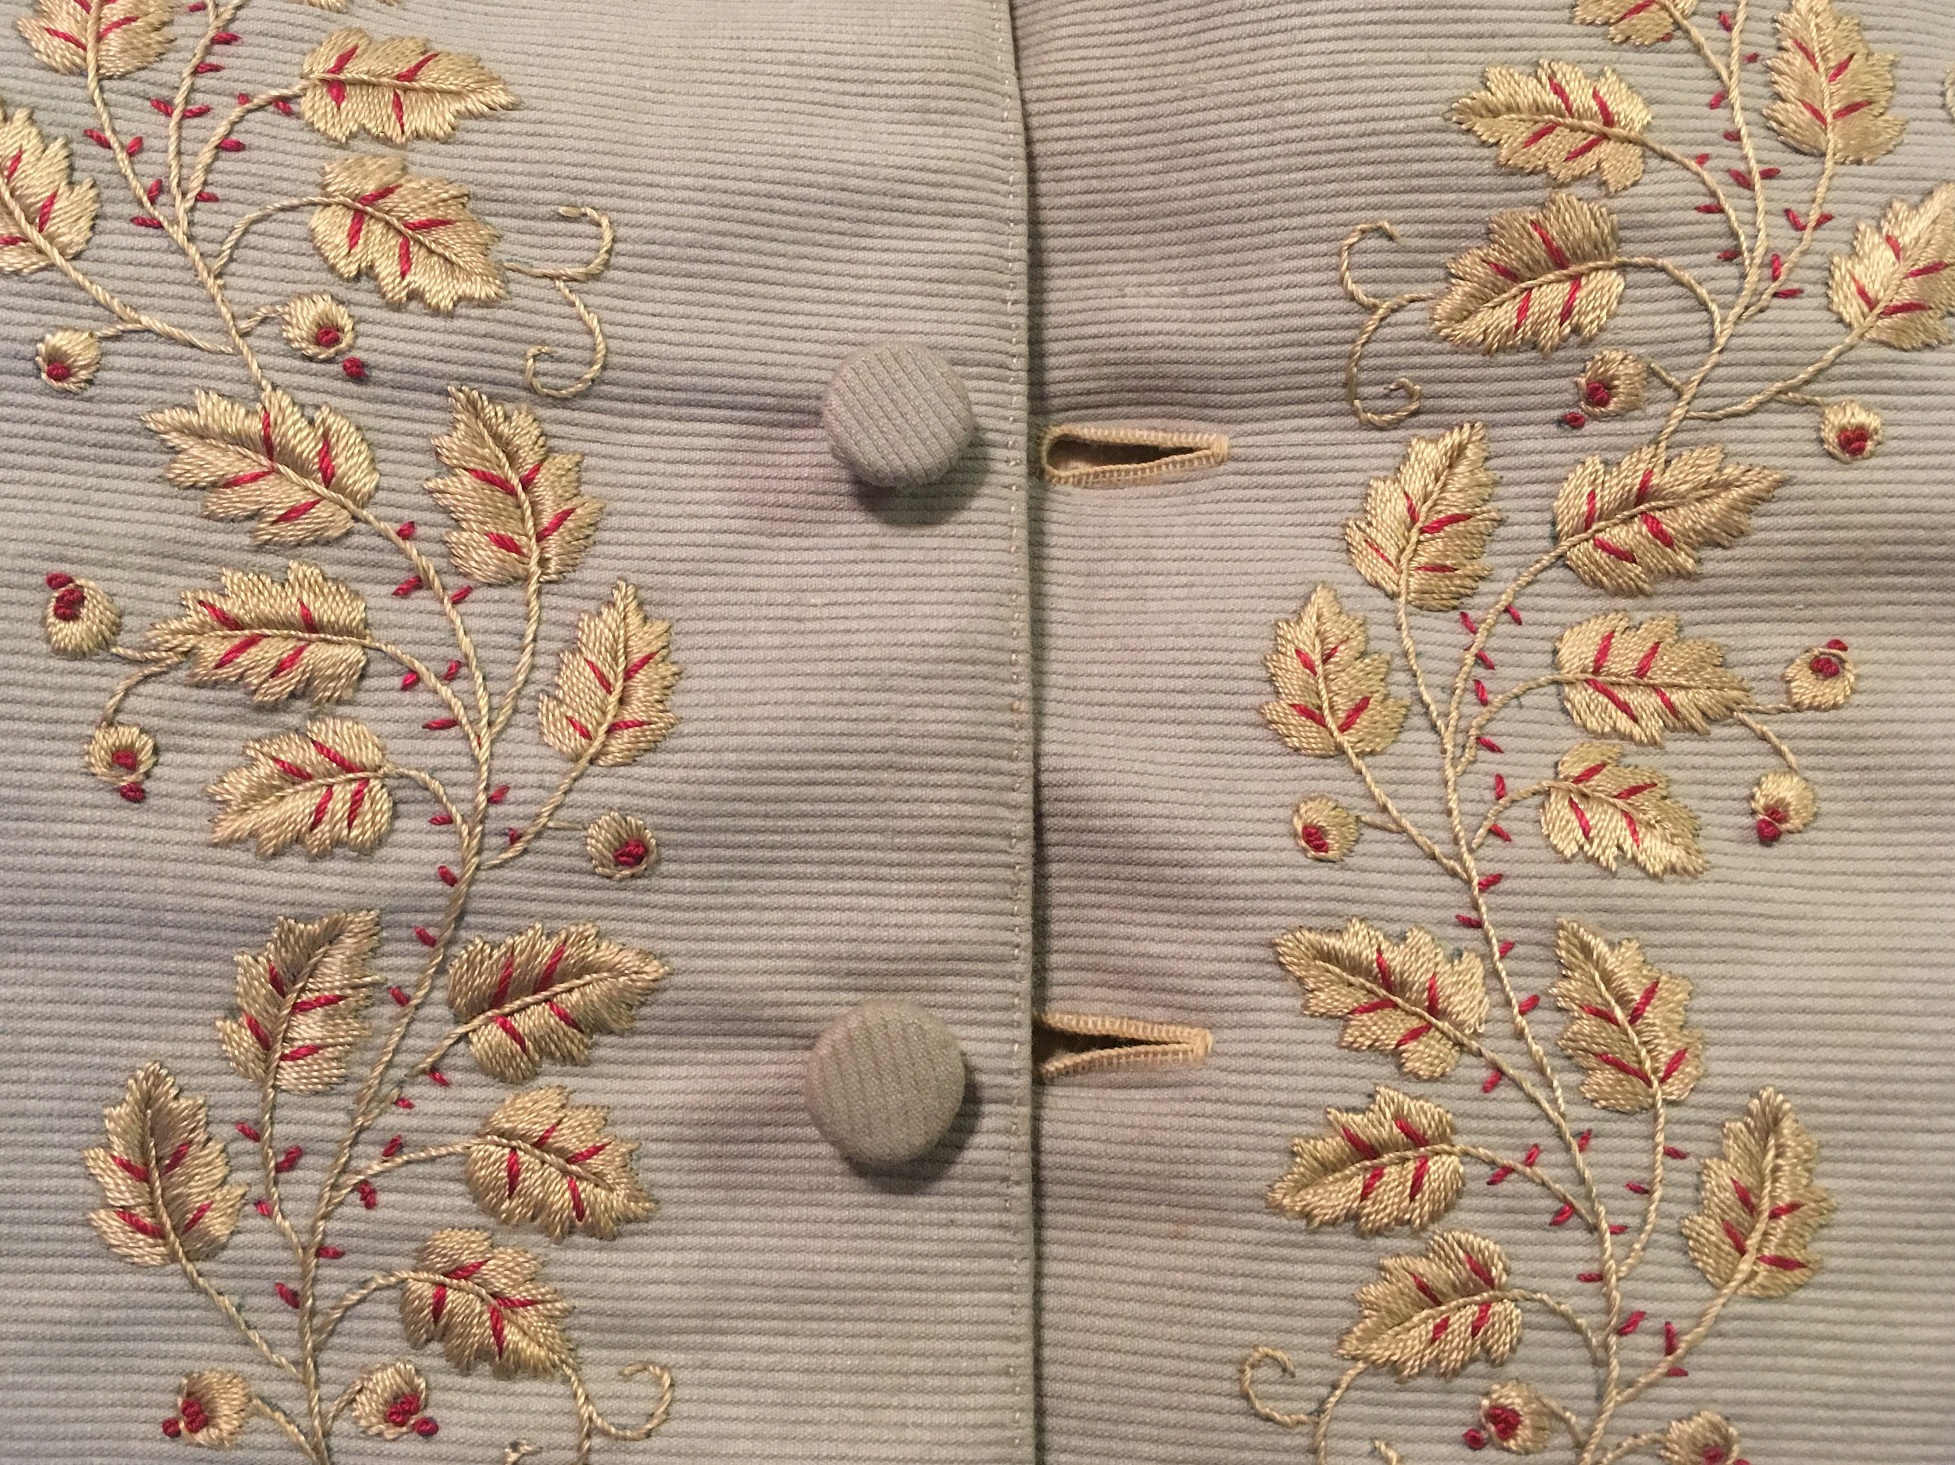
The details are really quite clever, and the embroidery is gorgeous. Look at those perfect buttonholes and that embroidery! I am so envious, as I wish I could do that so cleanly. The stitch pitch on the topstitching is about 15-16 stitches per inch.
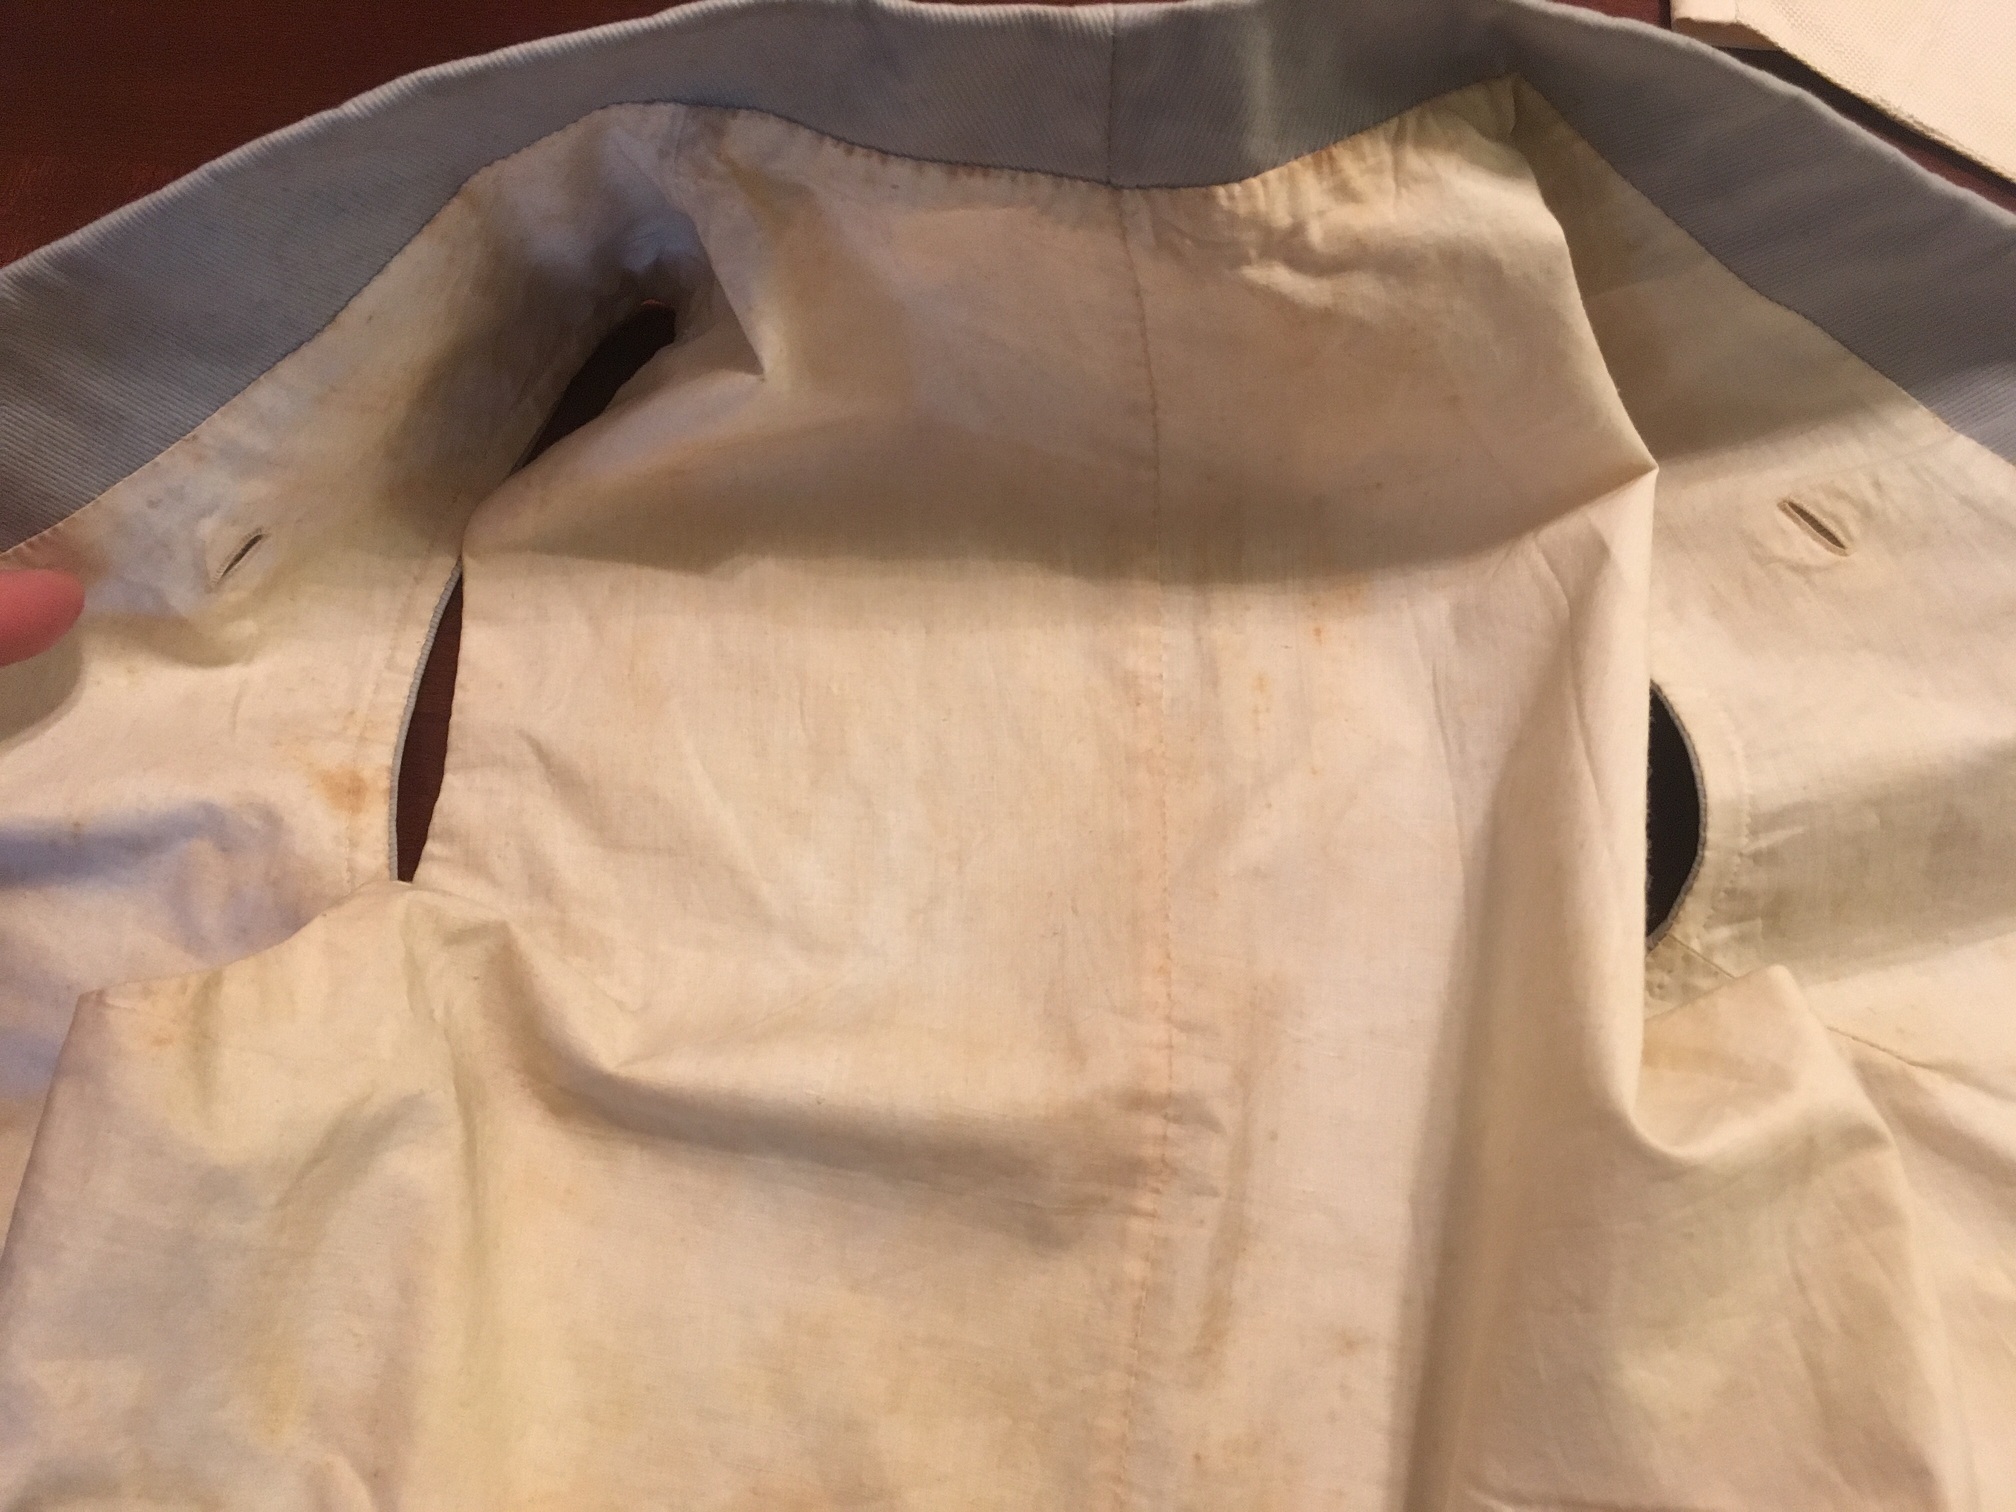
The lining has two buttonholes, and is actually detached in two places to allow you to place some chest padding in (which was not included).
Chapter 3: The Sin (for those of you who watch The Mandolorian, you will get the joke =)
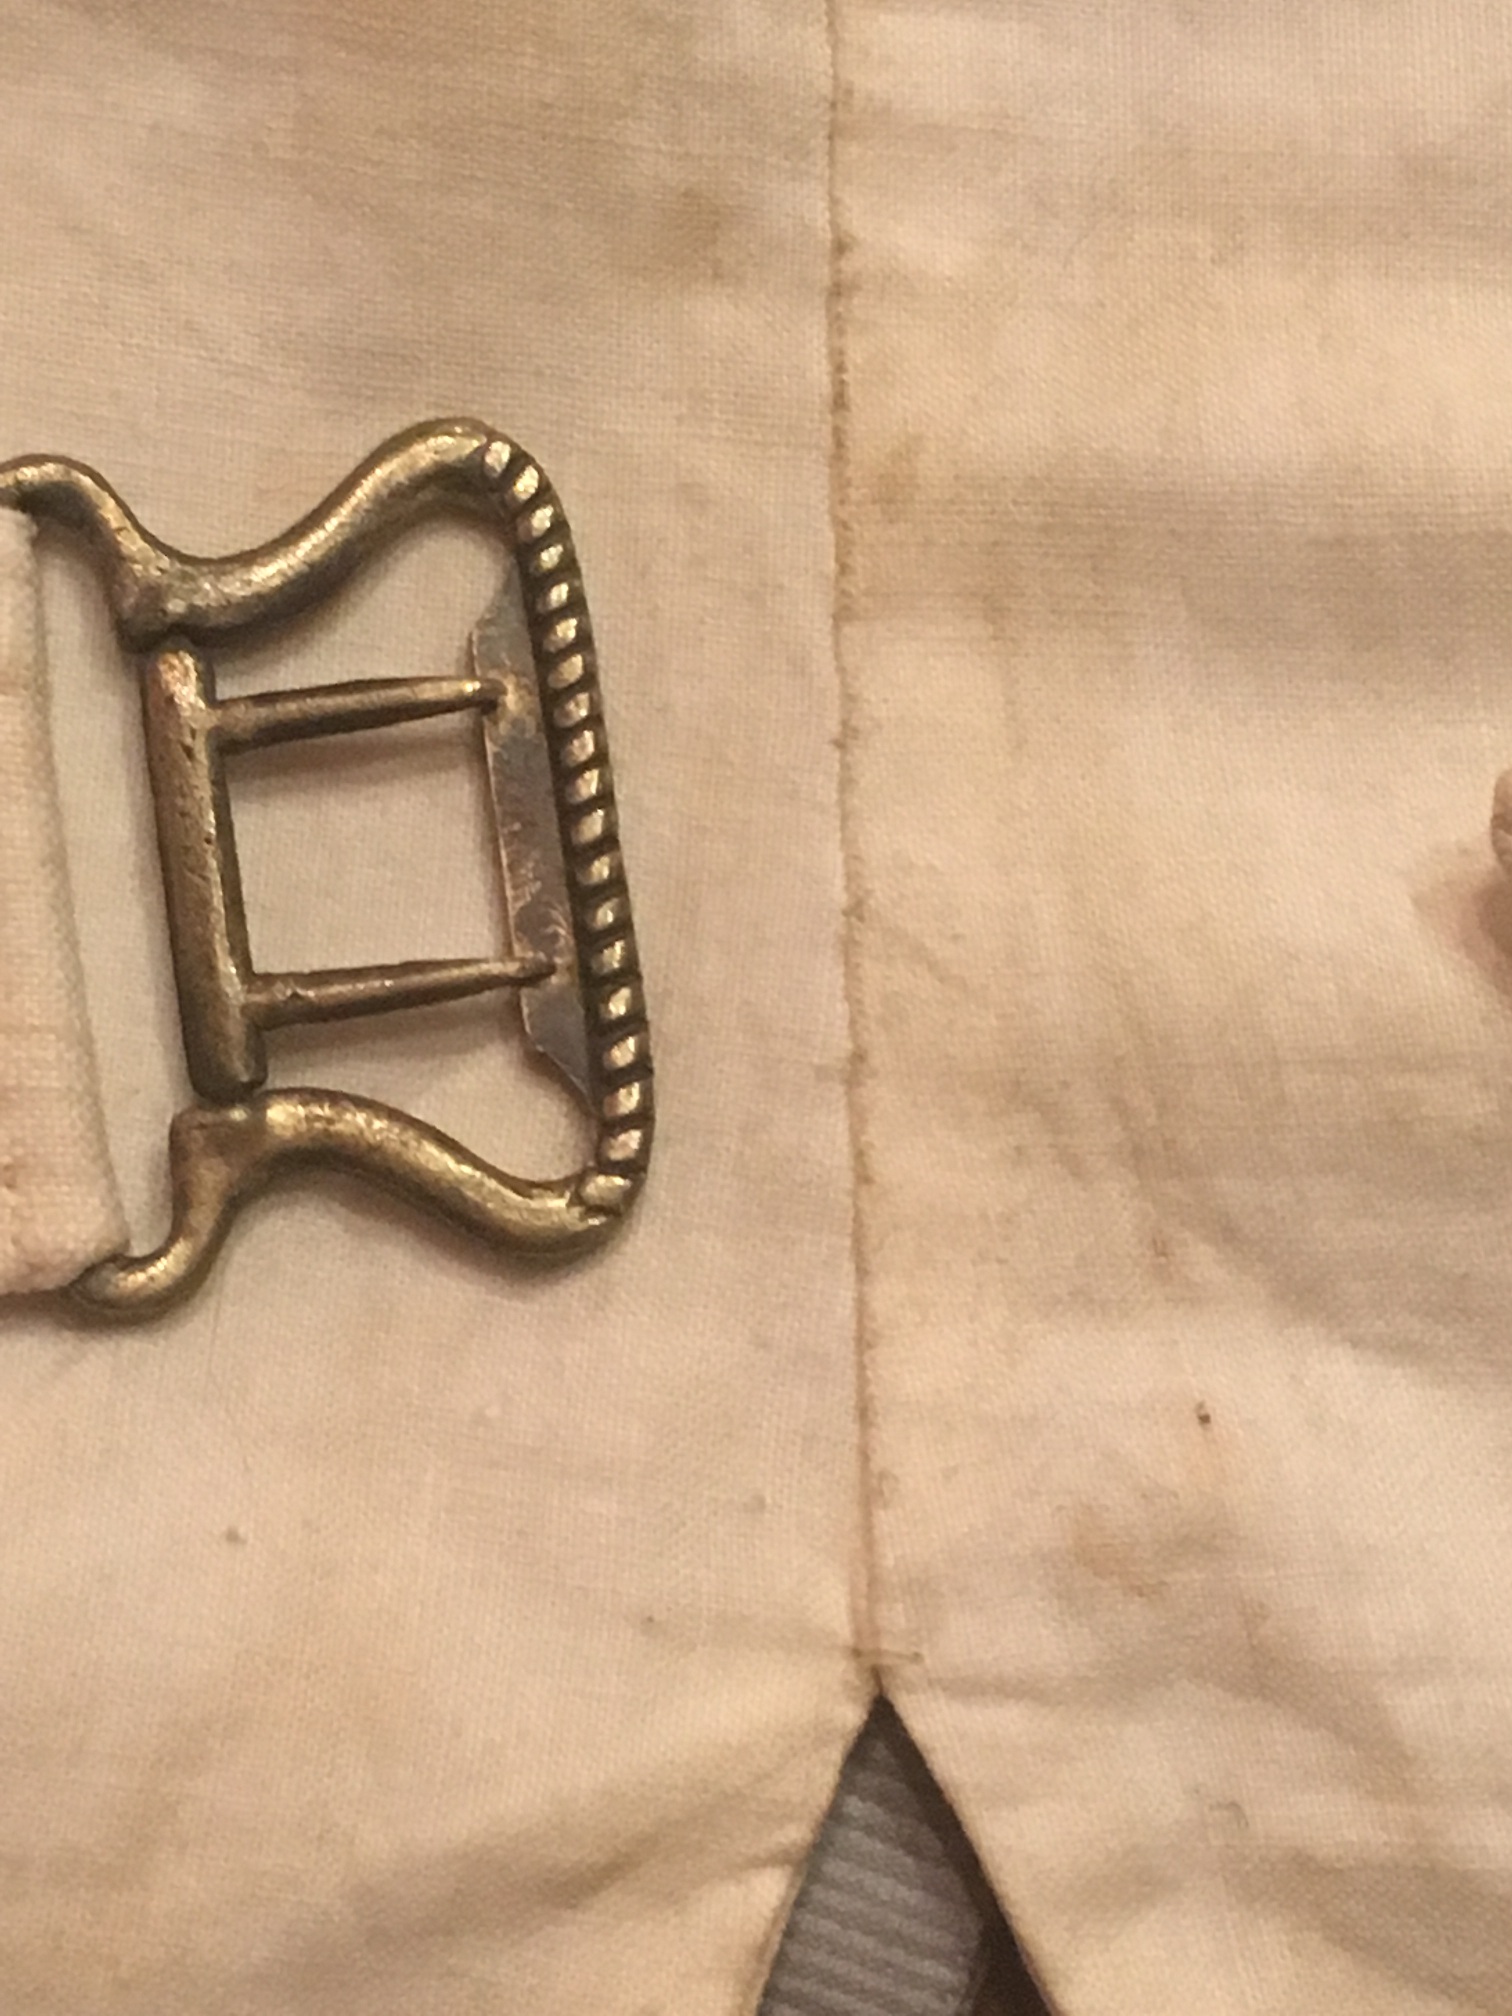
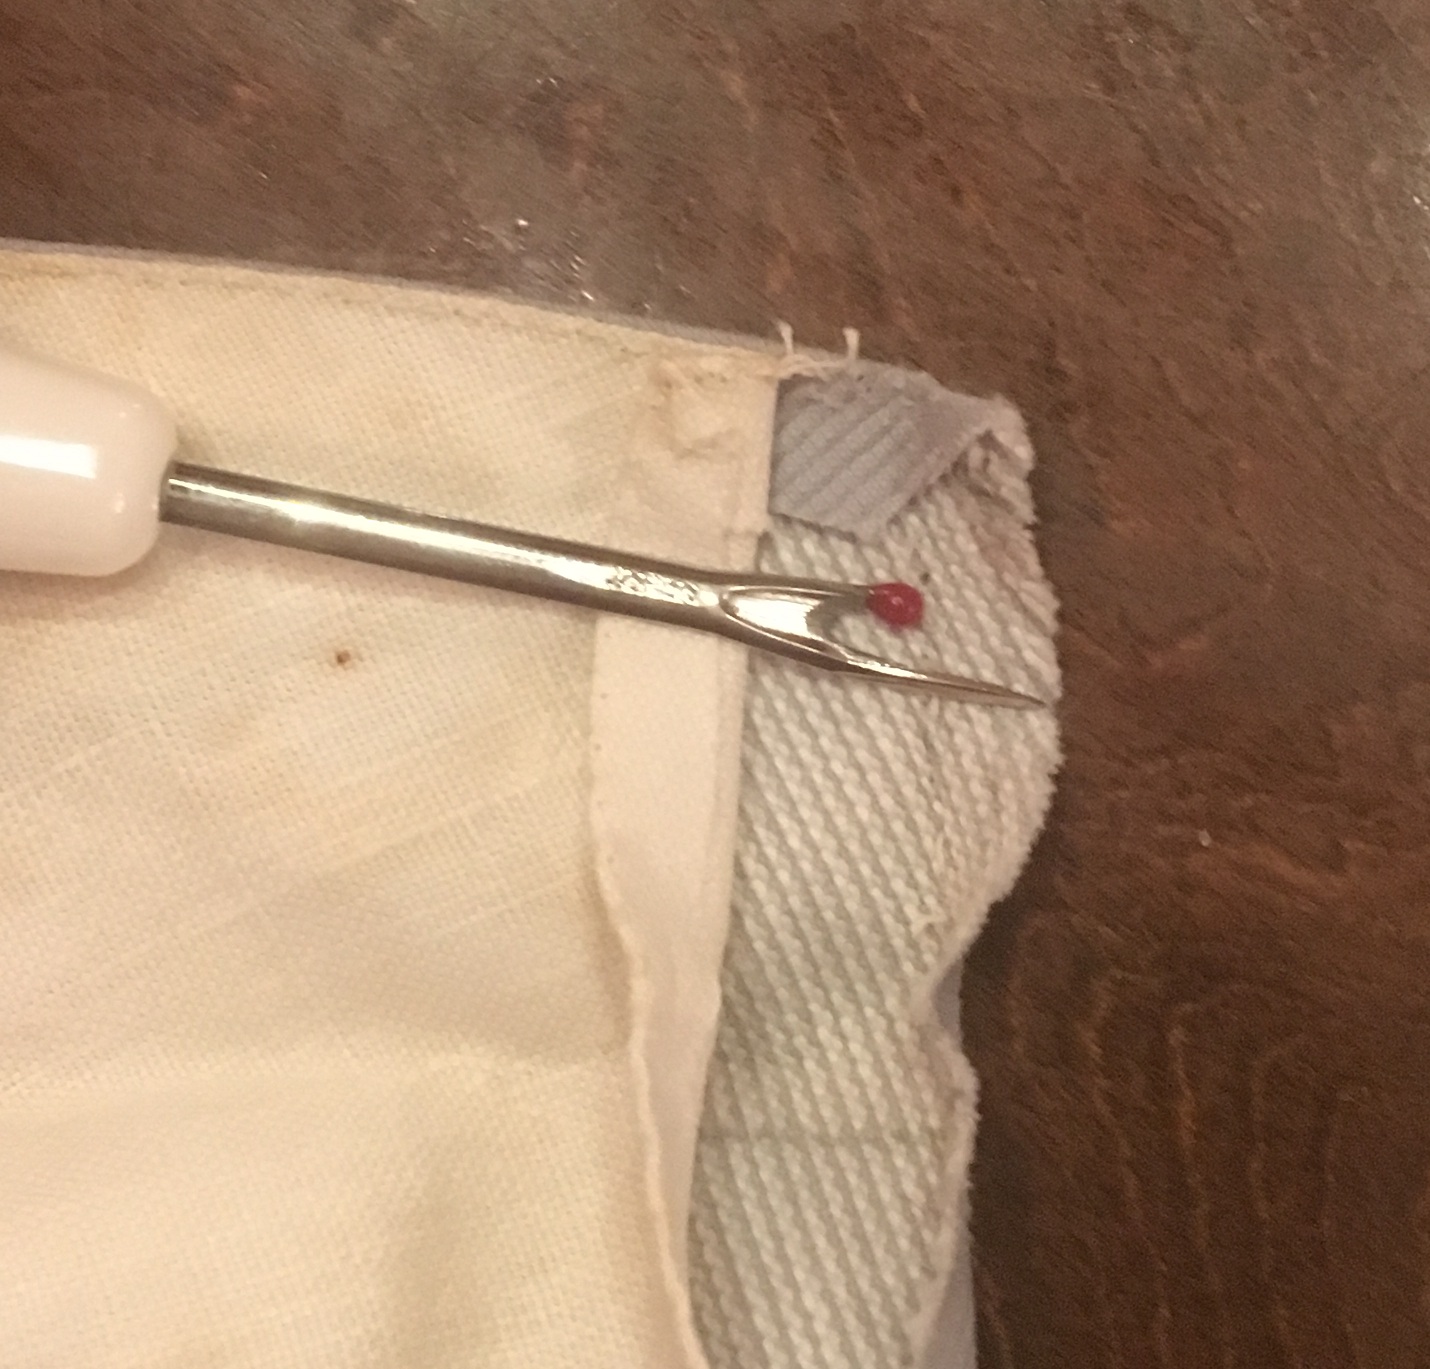
The original brass buckle is in wonderful shape. Notice the reinforcement stitching at the very bottom. Let us start separating!
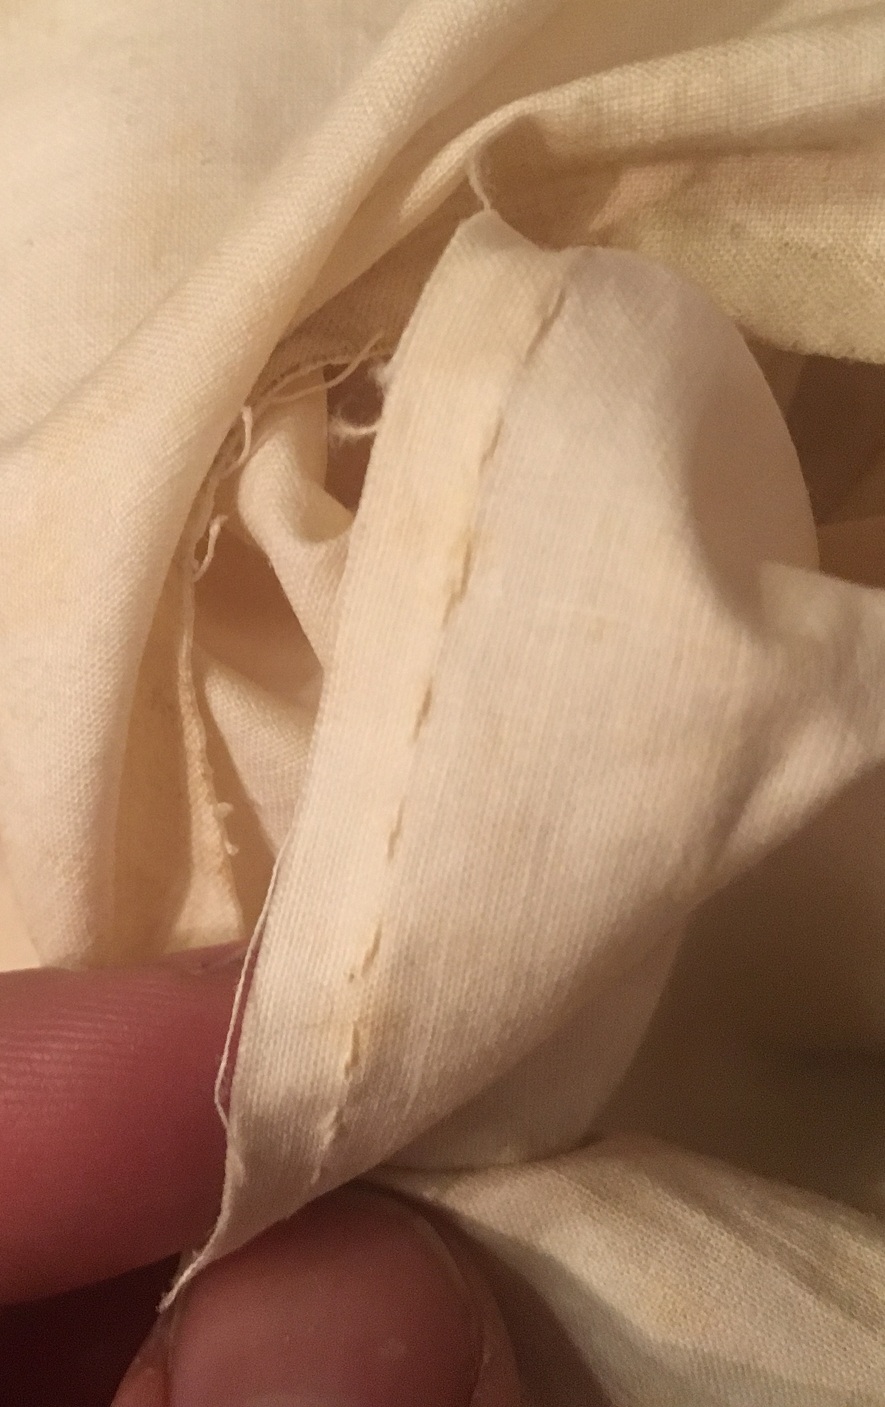
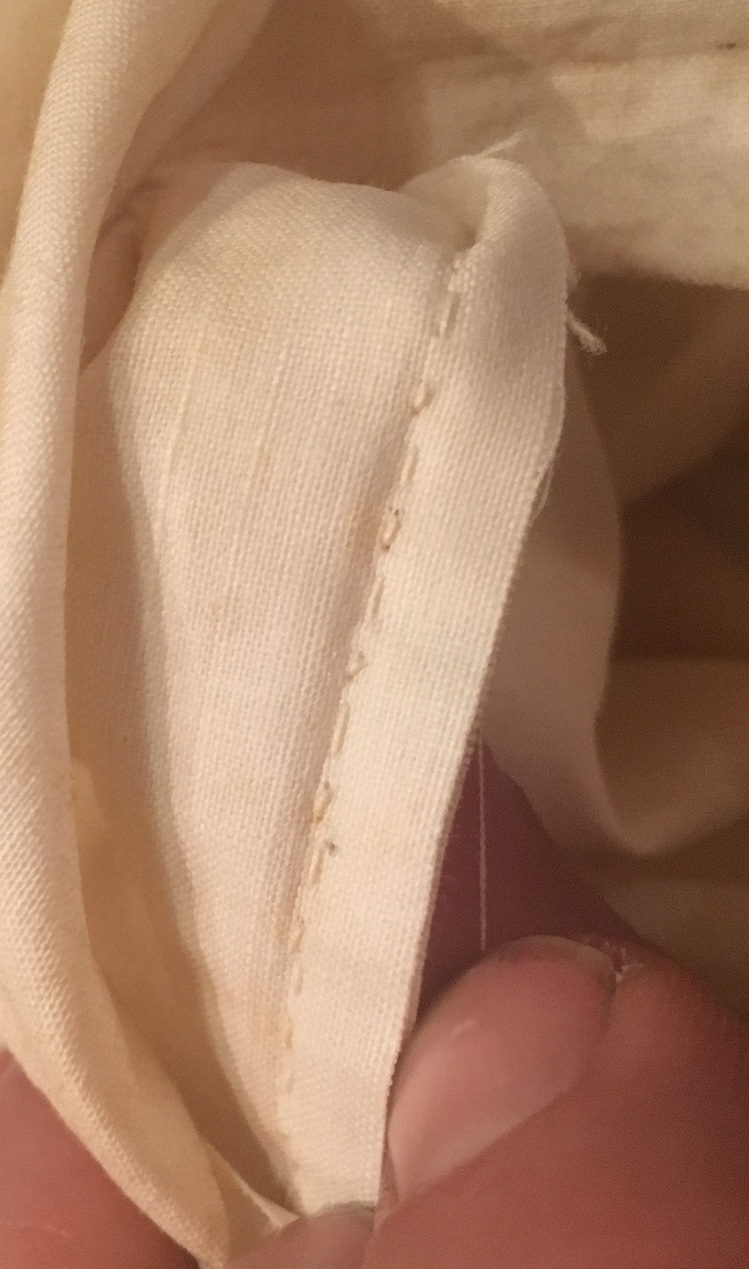
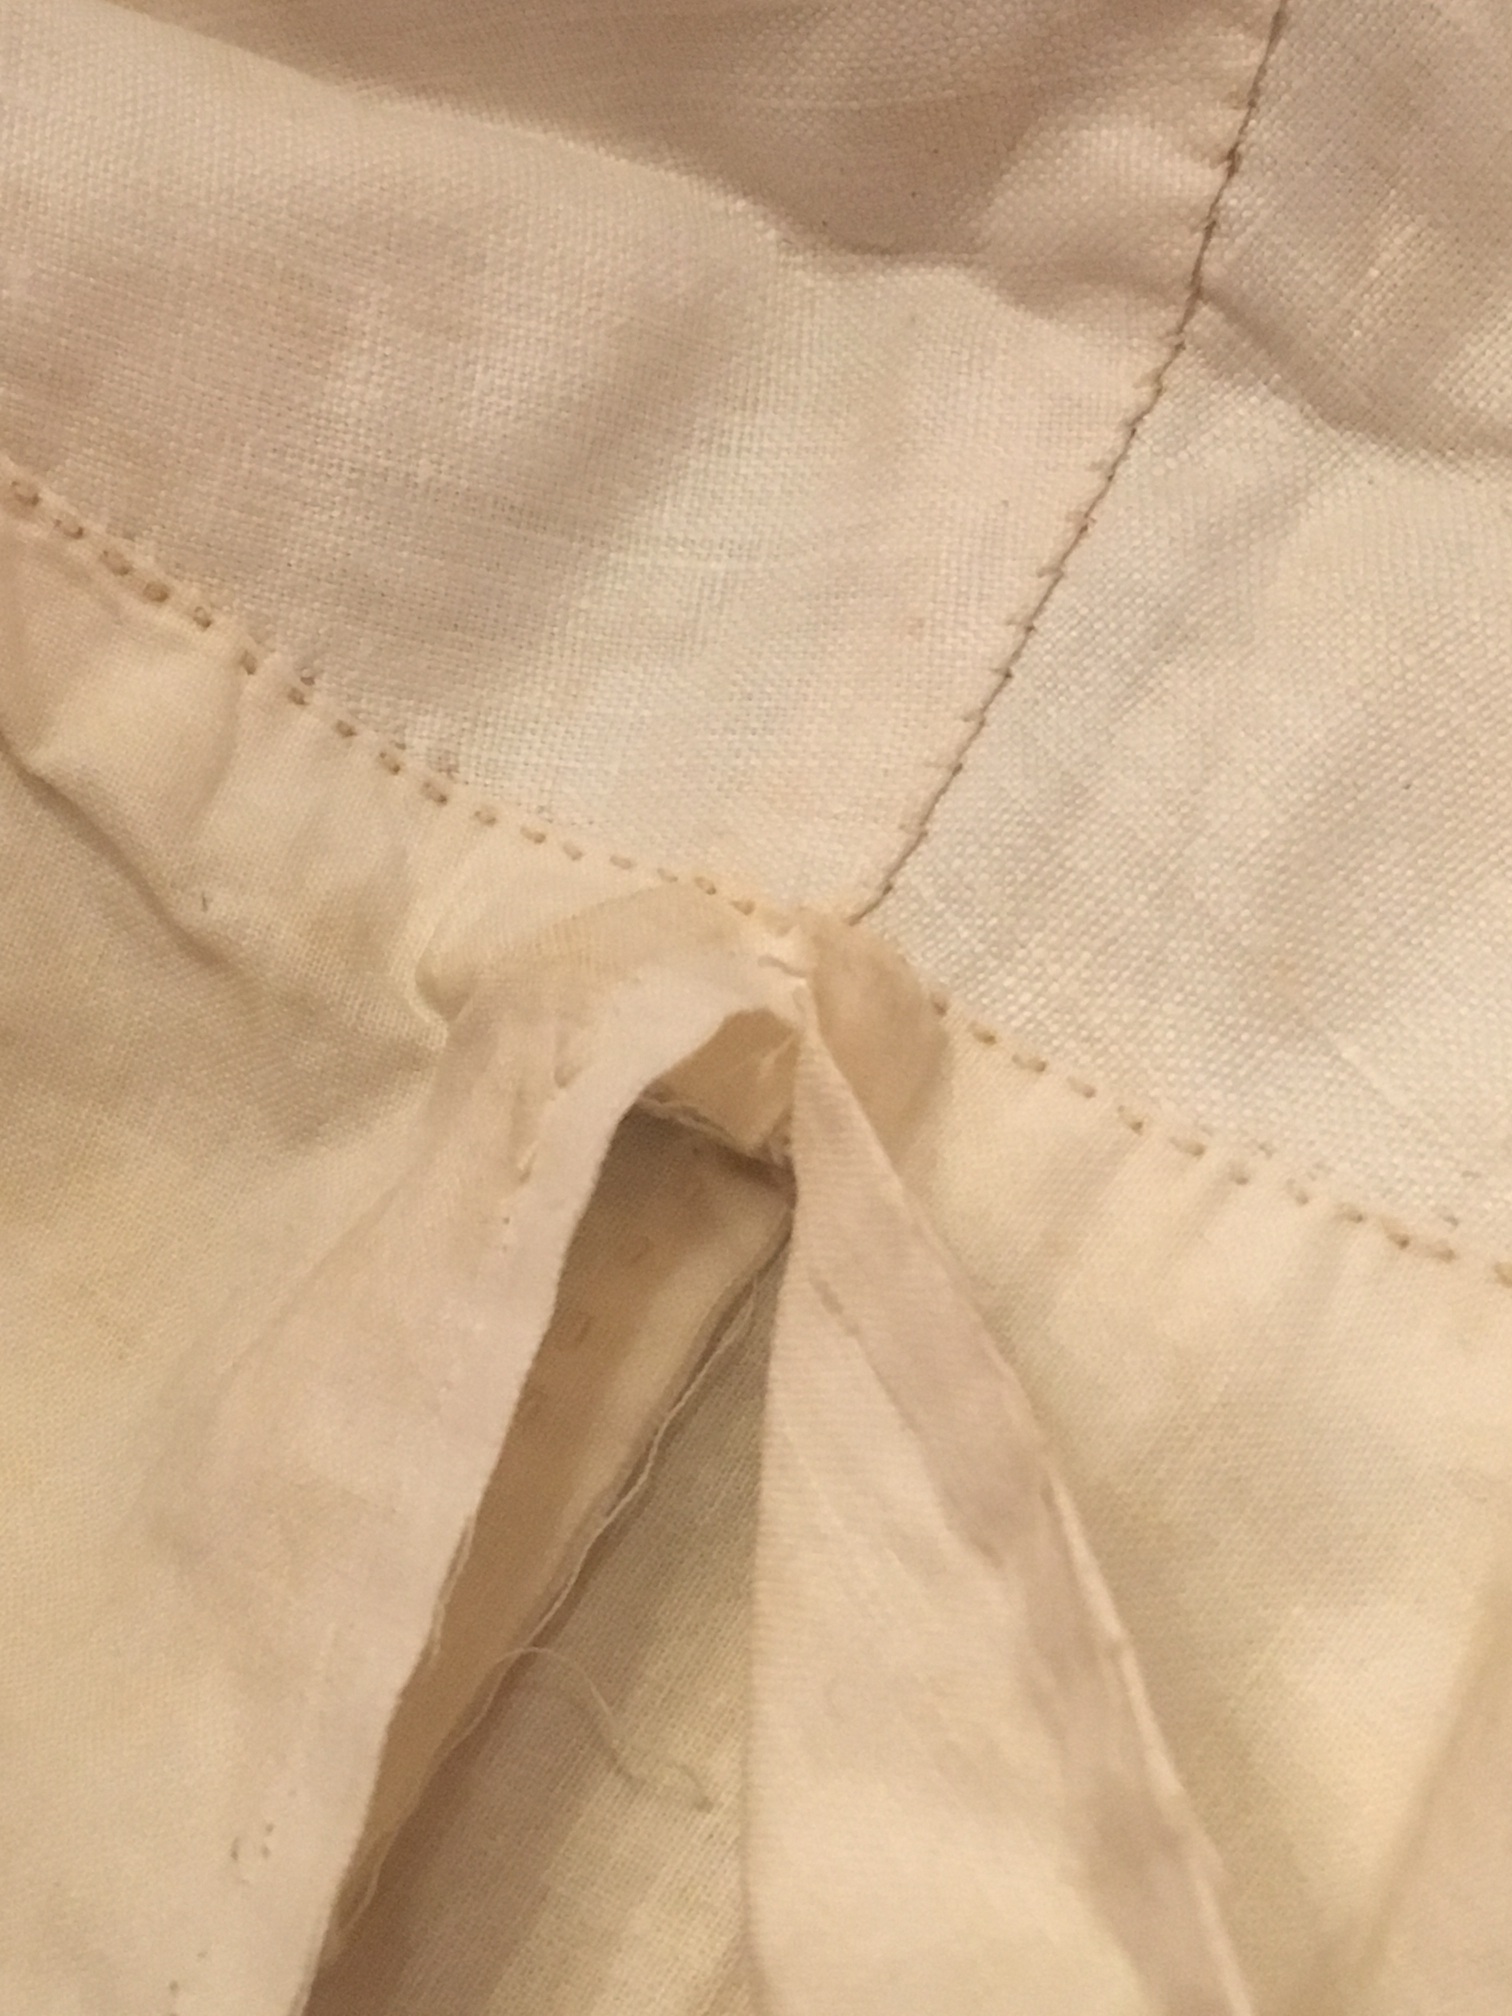
The back of the waistcoat is made up of two layers of fine cotton, one attached to the fashion fabric, and the other forms the lining. Both lining and outer layer are seamed with a backstitch. The pictures show both the front and back of a seam (this is the lining layer seam).
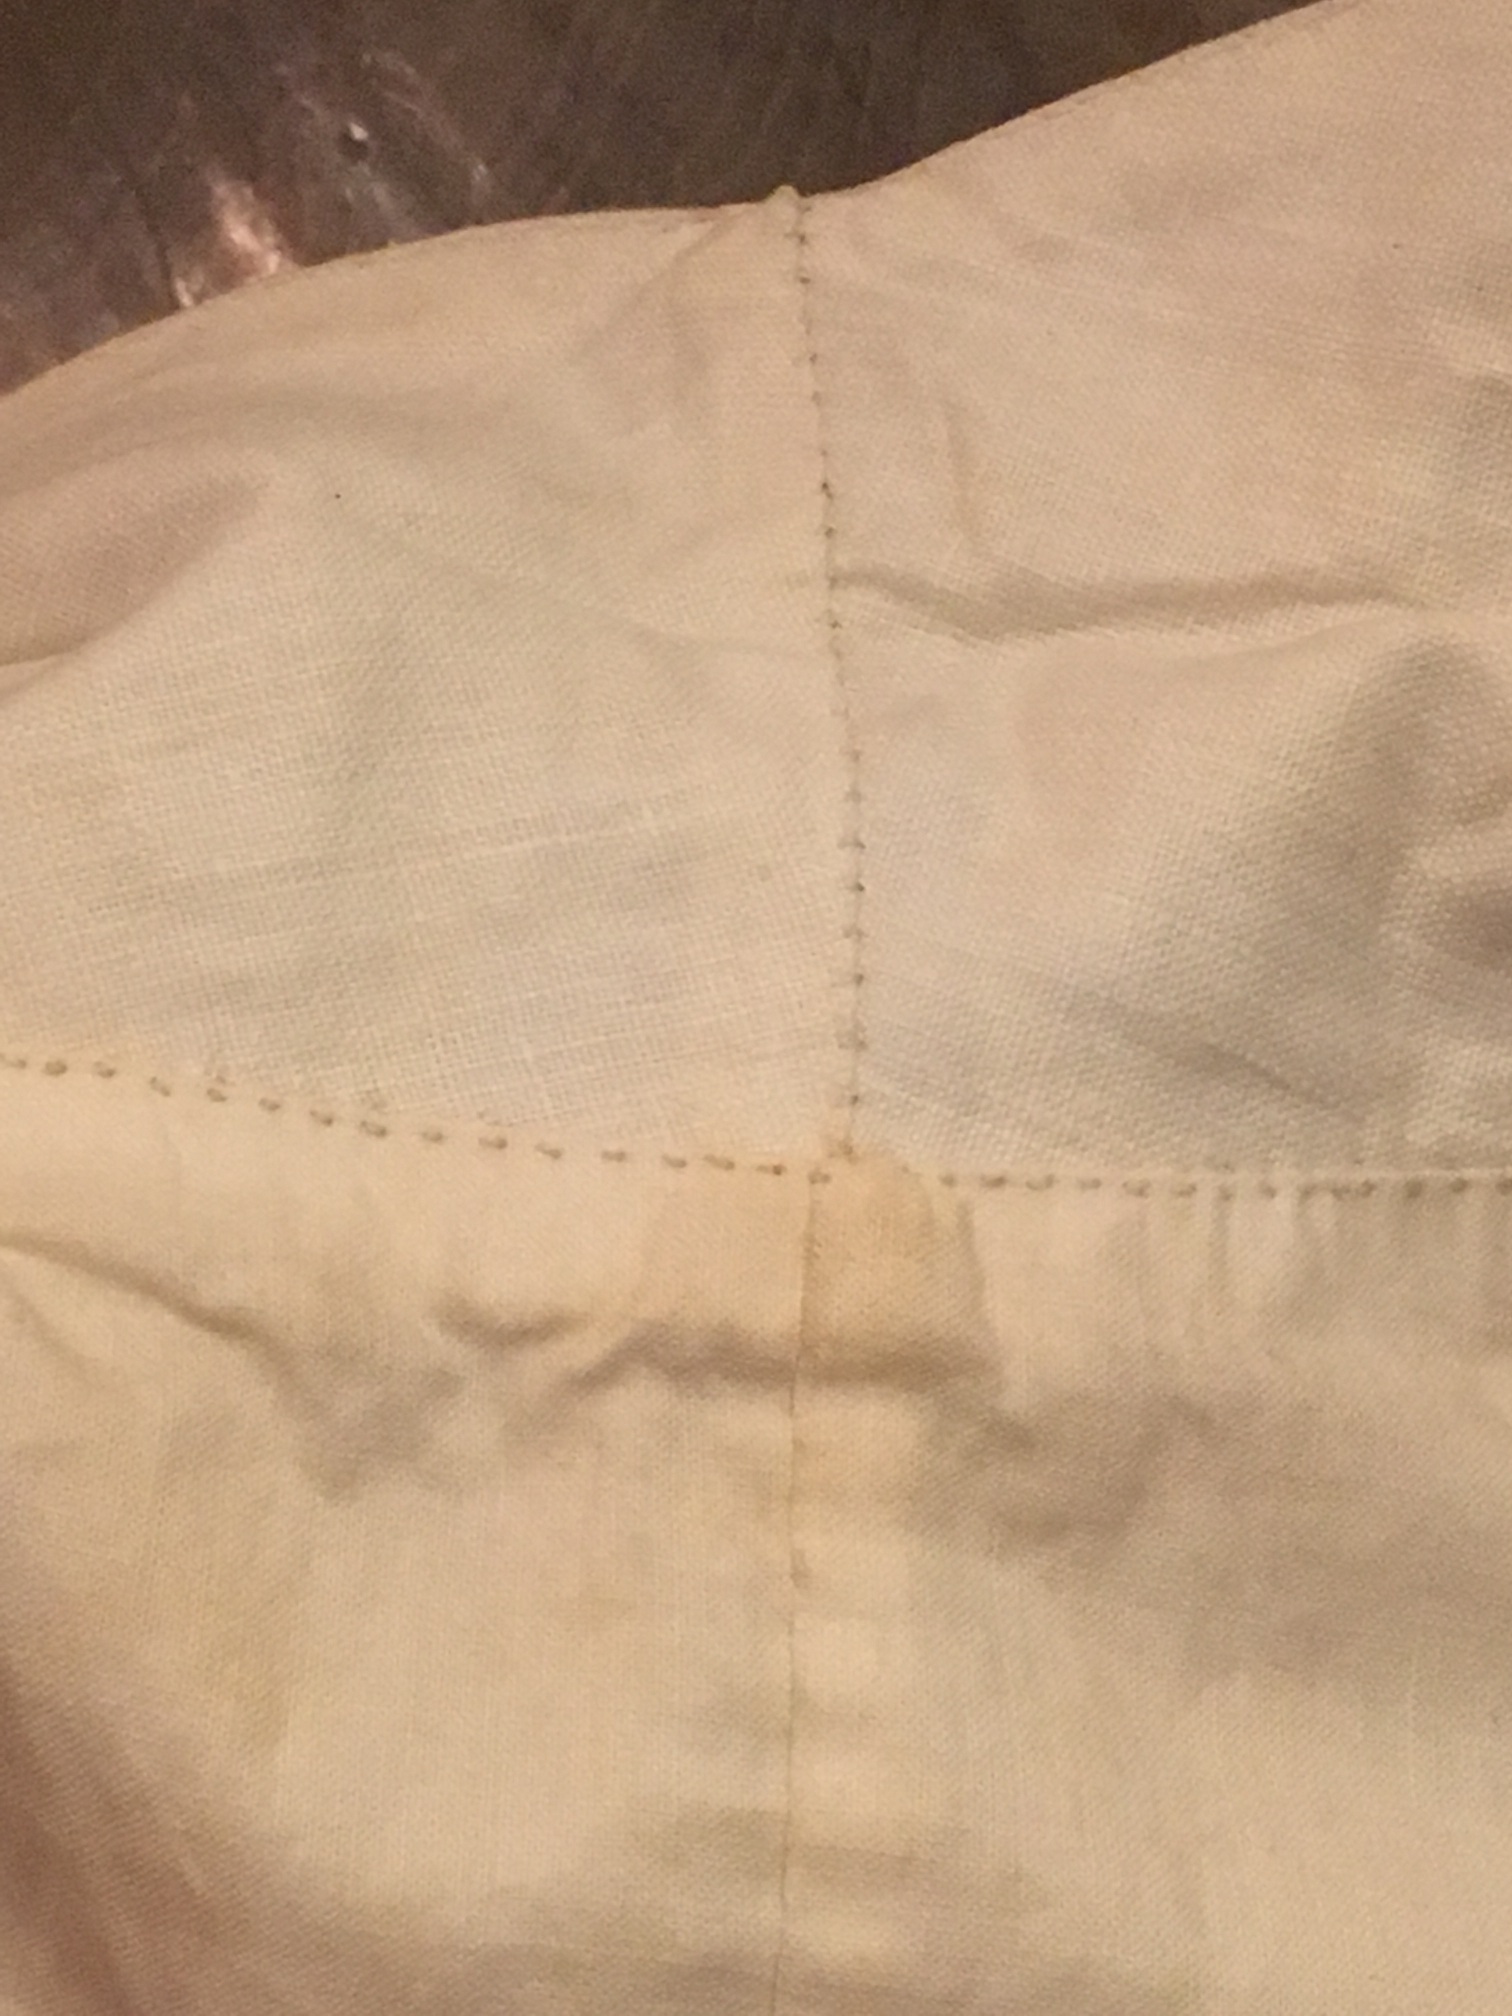
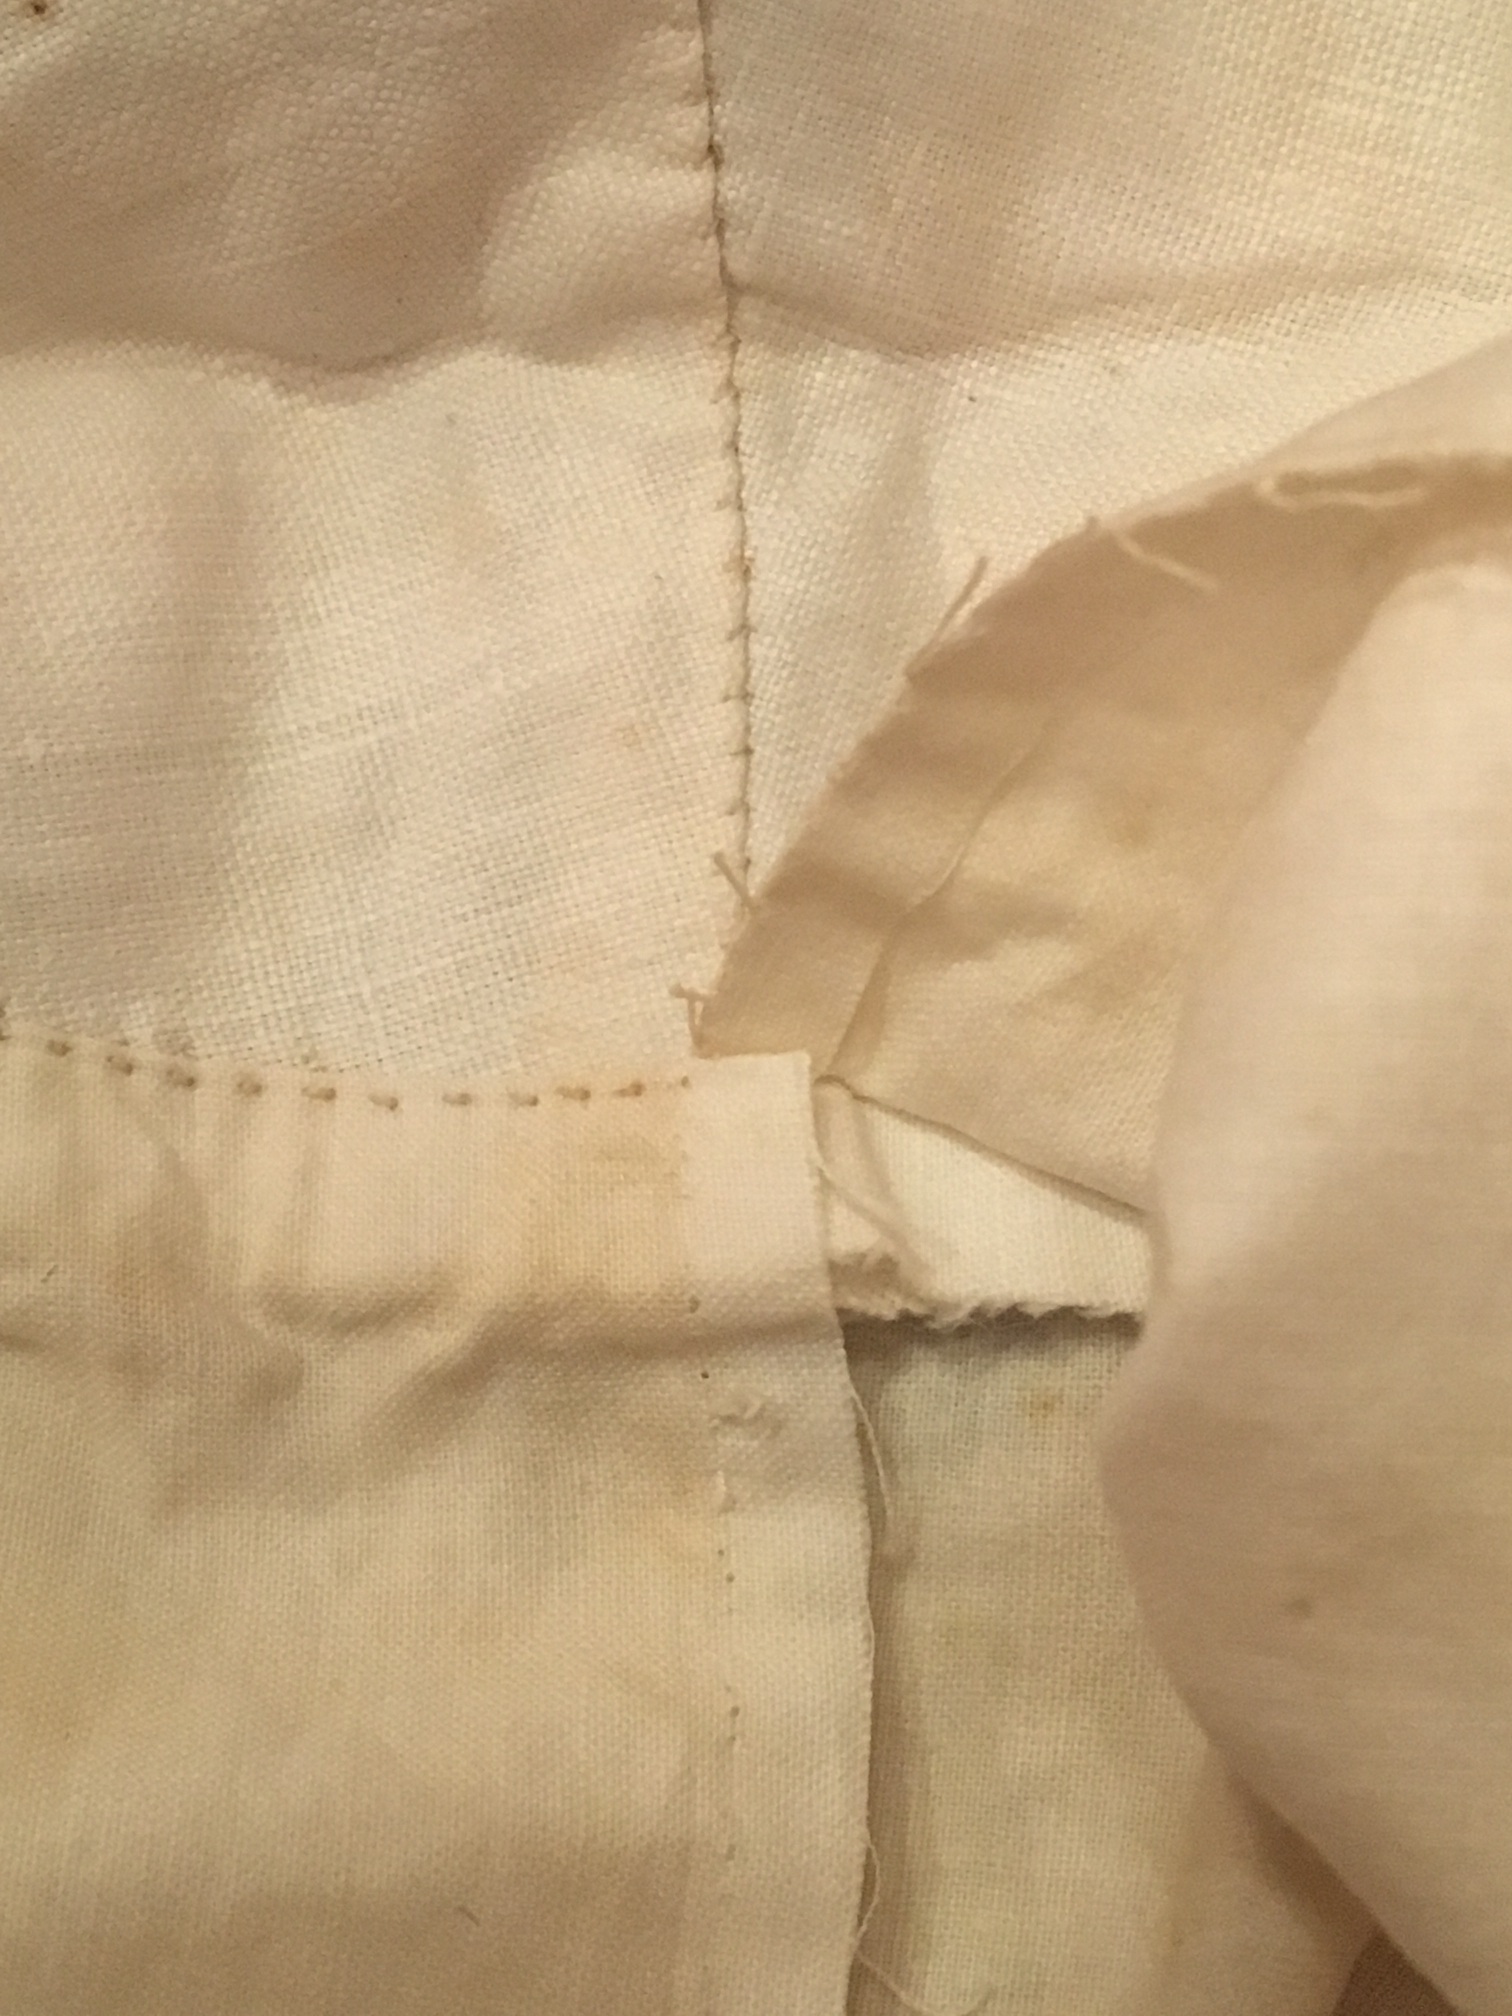
We pause for a moment to document the attachment of the outside cotton to the collar lining. It is folded down and stitched through to the collar. The collar lining is the coarser linen at the top.
Continuing to unpick the outer layer of the cotton.
It is more easily seen that the outer cotton layer was folded down and stitched after the vertical seam was made.
The vertical seam in the collar lining was picked out just as the lining to show its attachment, though the construction appears to have been whipped from the outside rather than the inside.
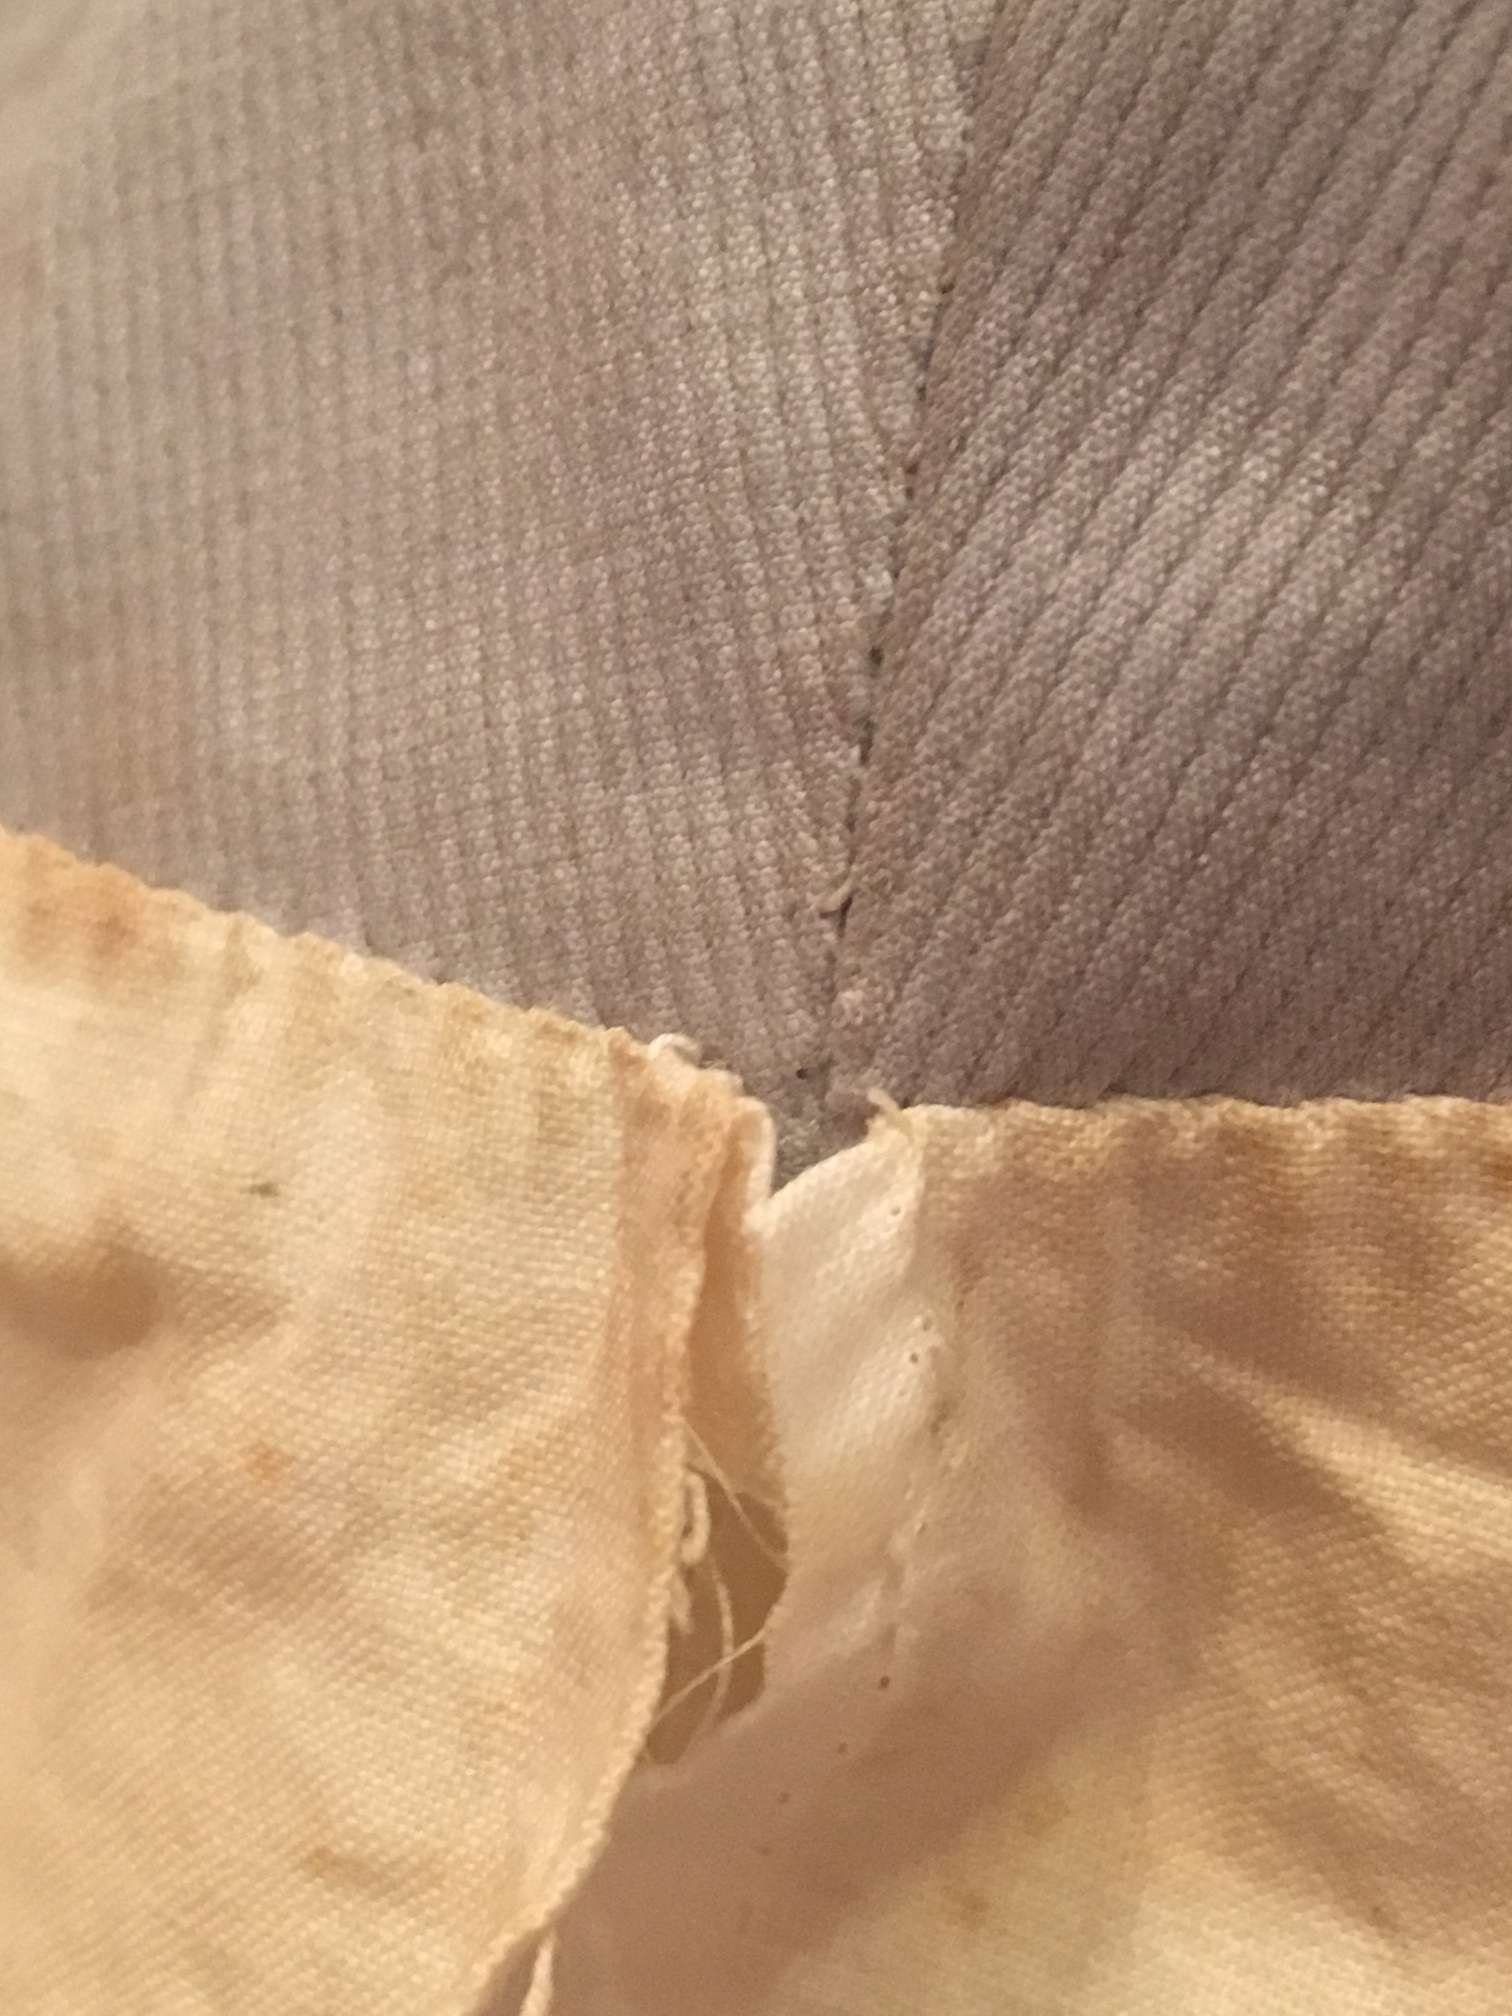
The left side of the collar lining is removed, showing the pad stitching that keeps the right hand side collar lining adhered to the seam of the fashion fabric of the collar.

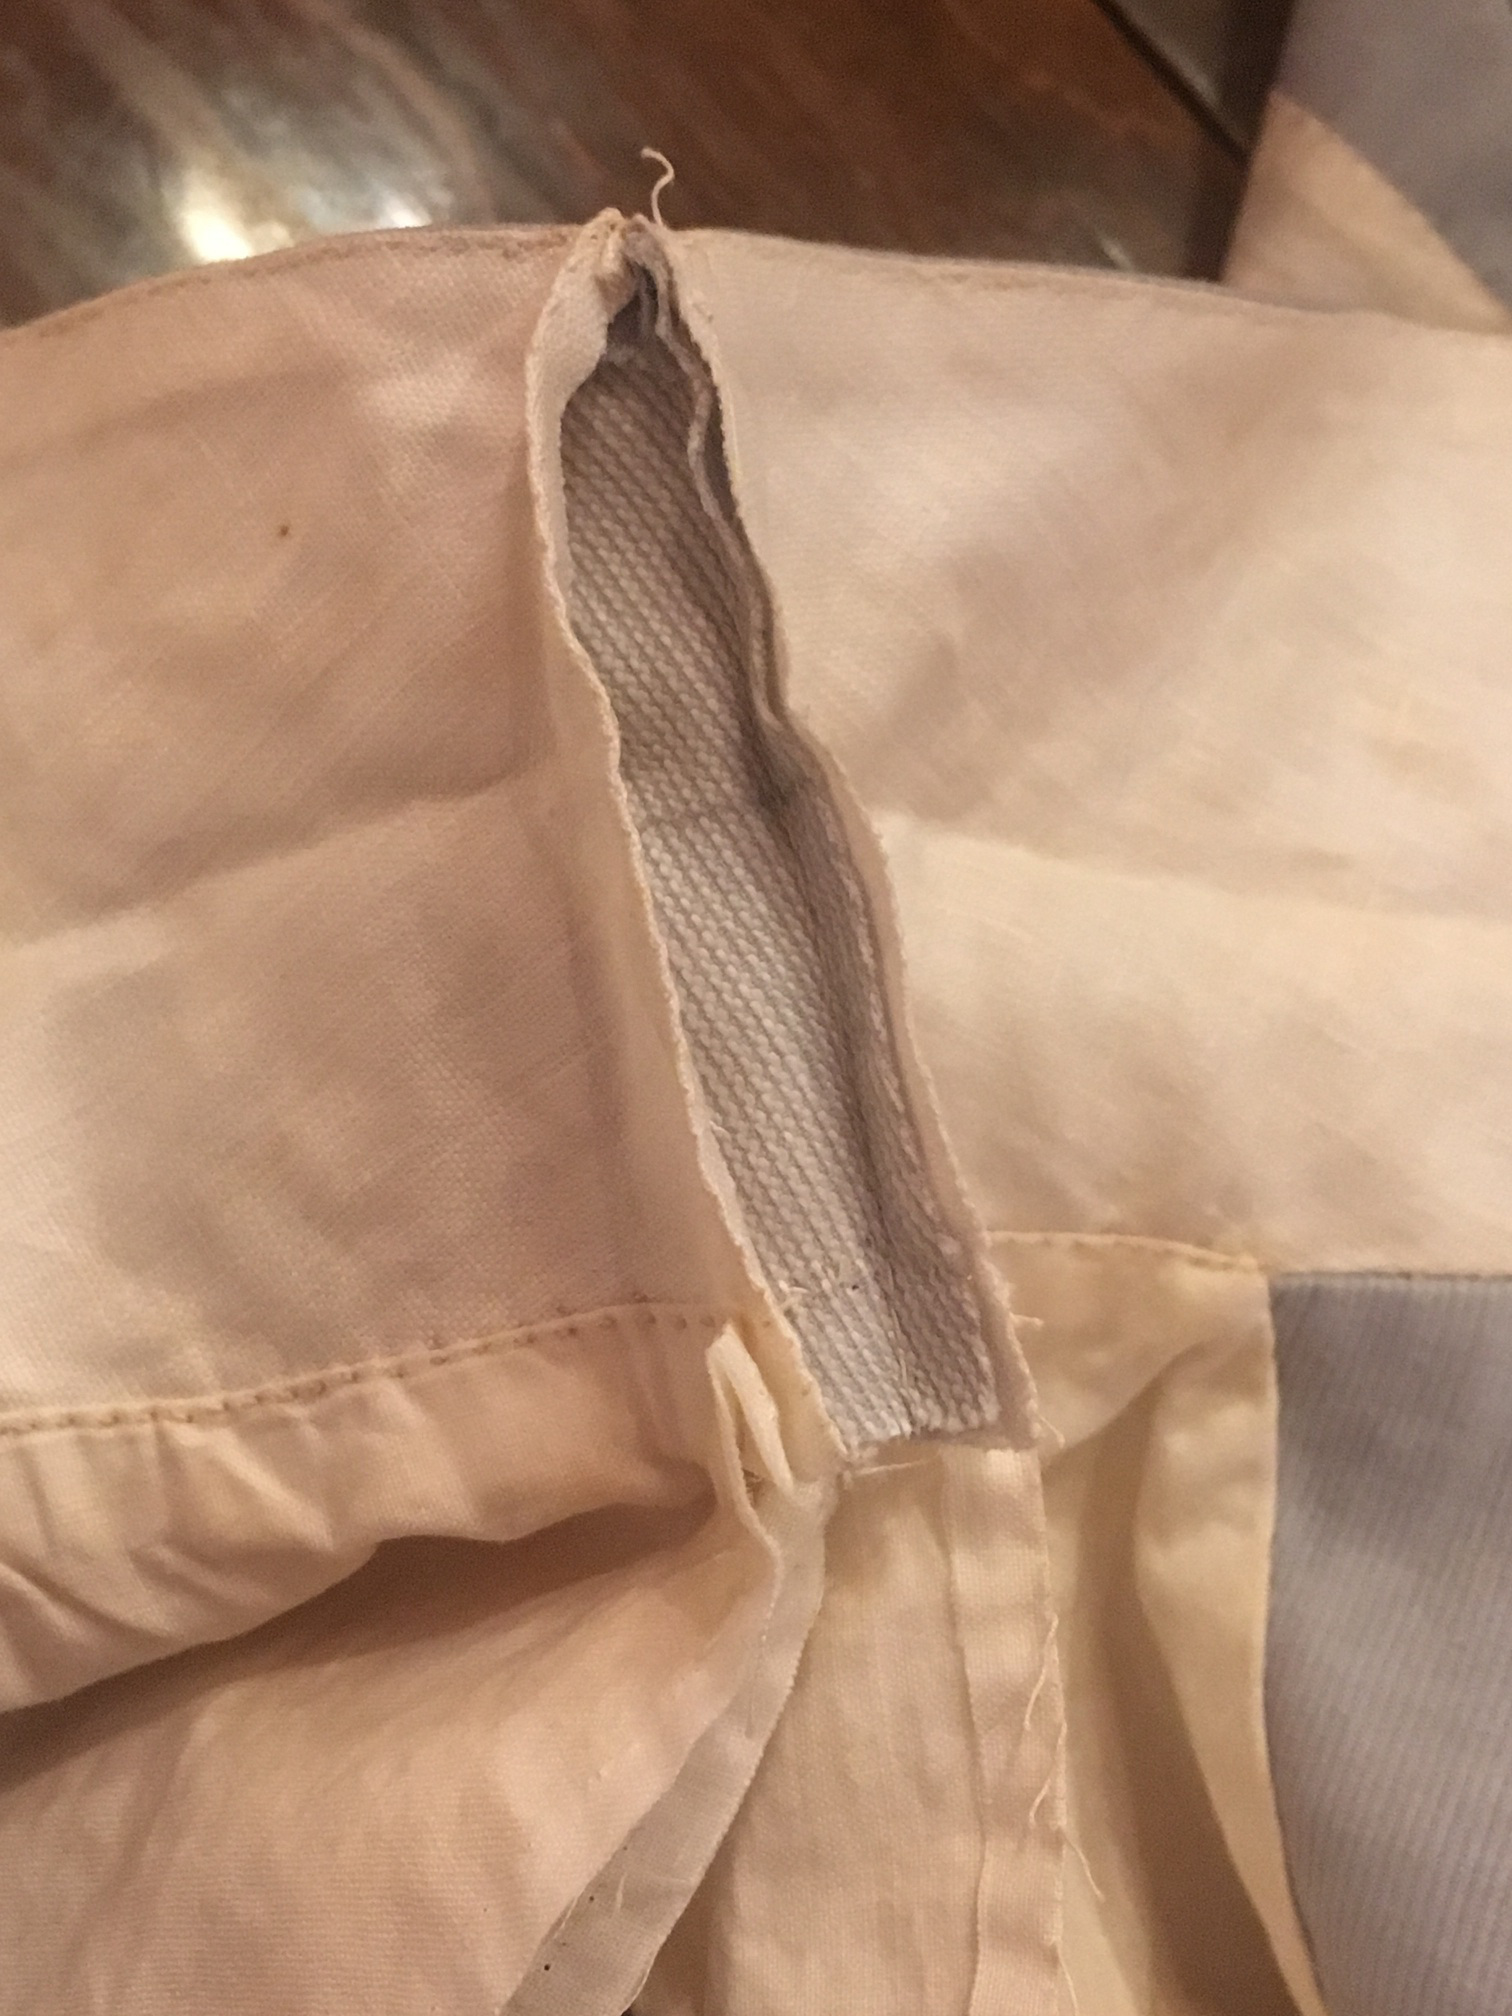
With the collar lining separated from the collar, you can see the reinforcement stitch at the very top of the fashion fabric (where all the stress is).
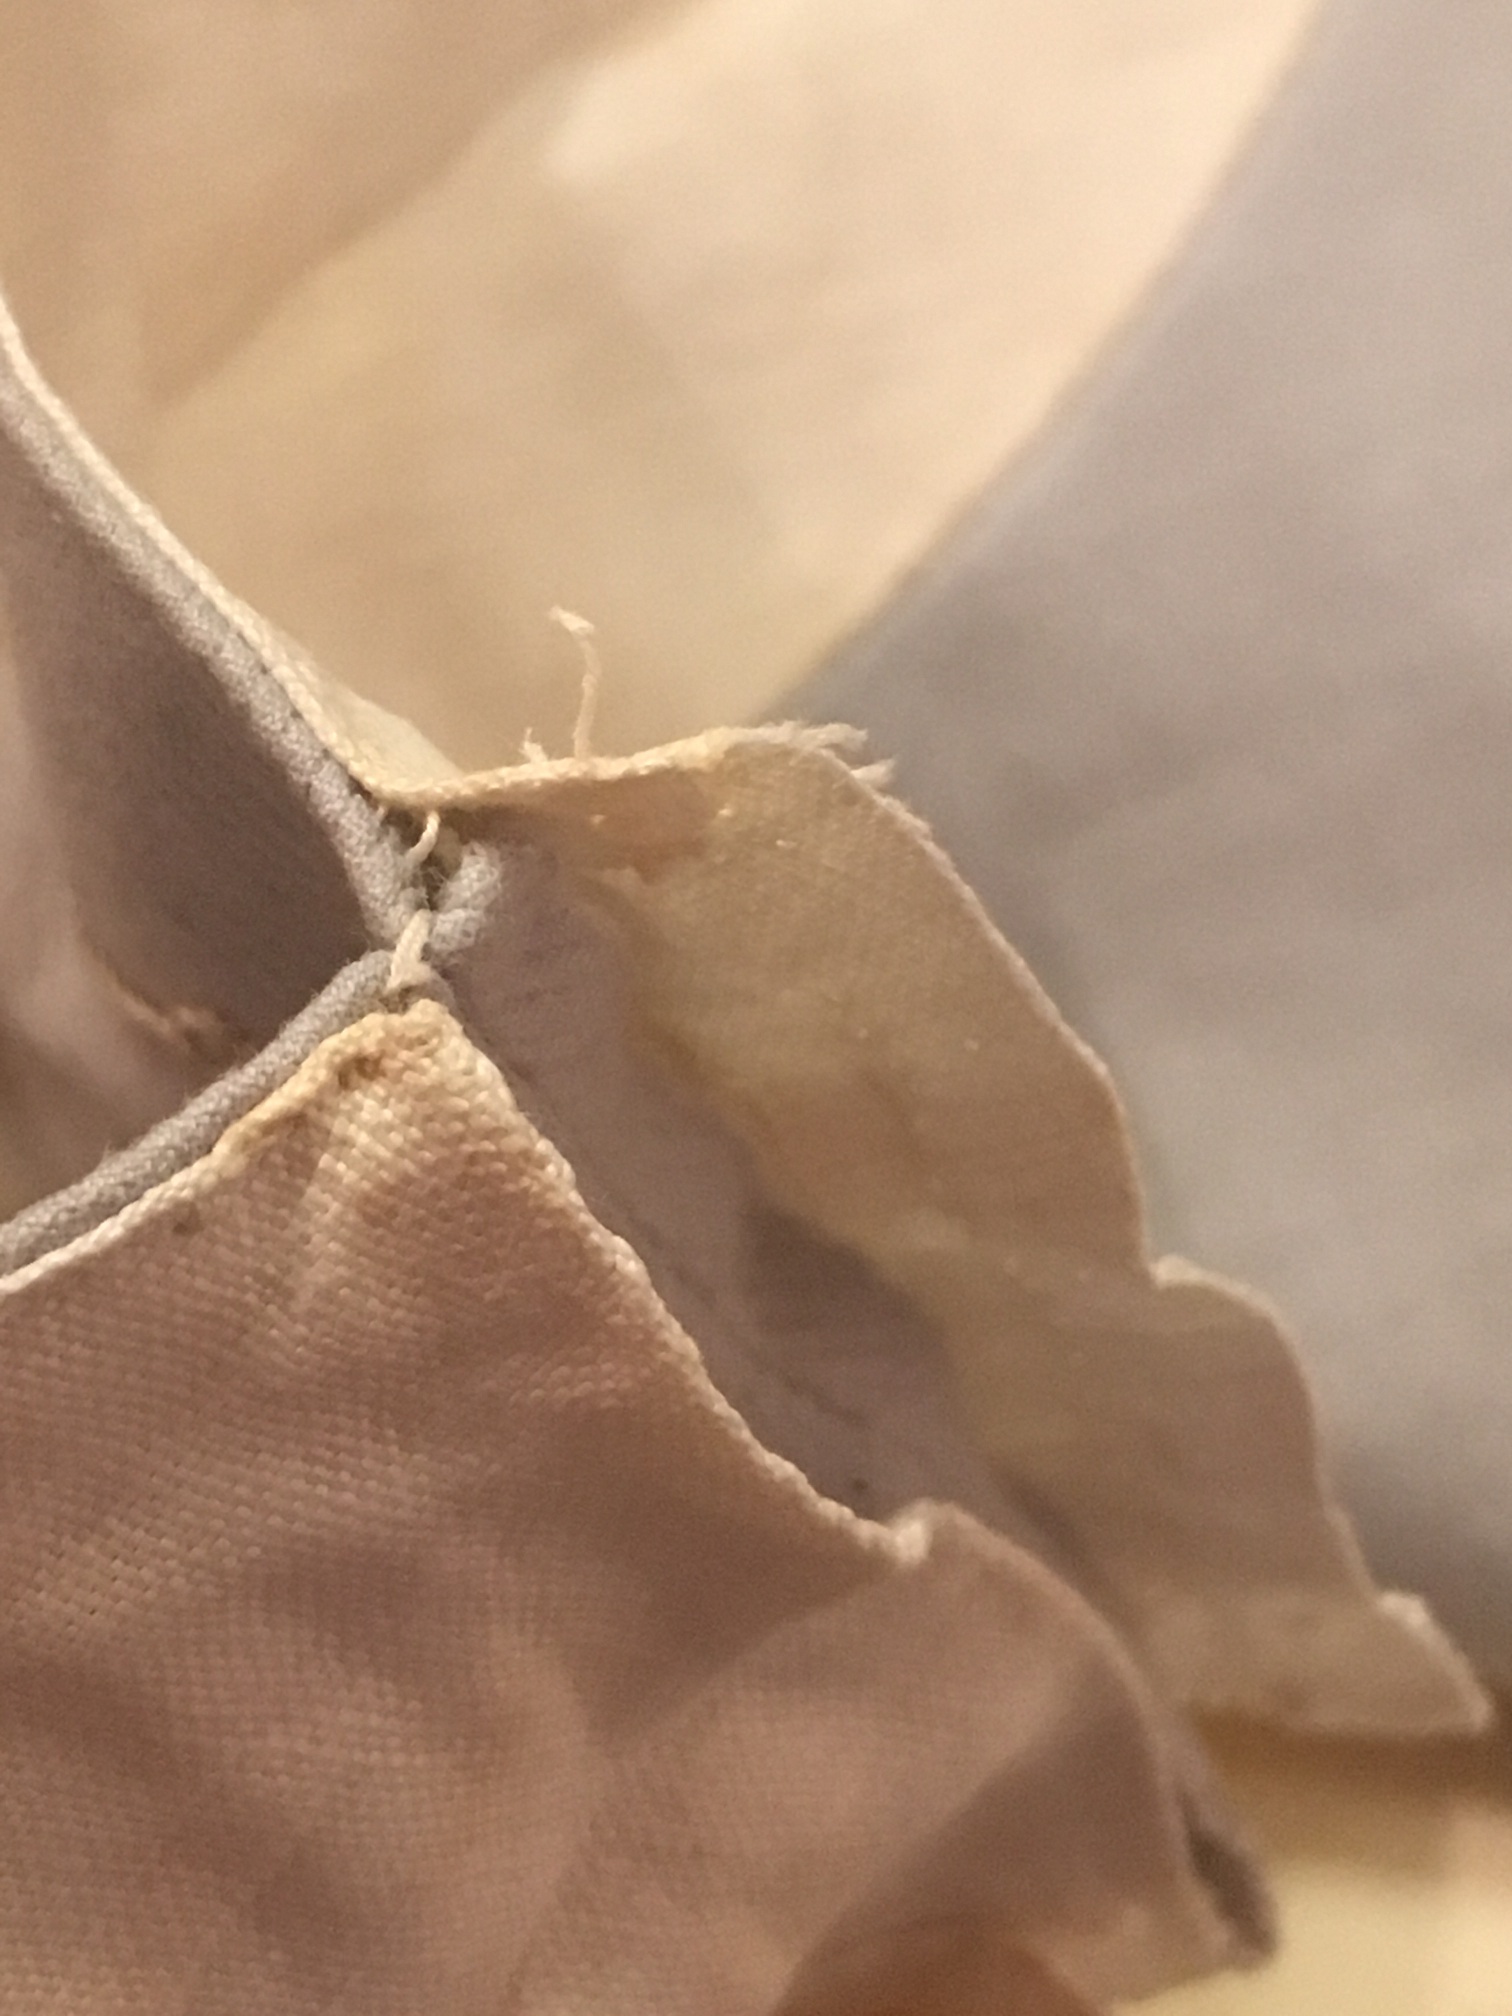
Once the backstitching on the collar is removed, you can see the fine little details that go into the seam, such as the trimmed corner to help let the fold lie flat. I have done this myself out of necessity, and am delighted to see that it is a “real thing!”
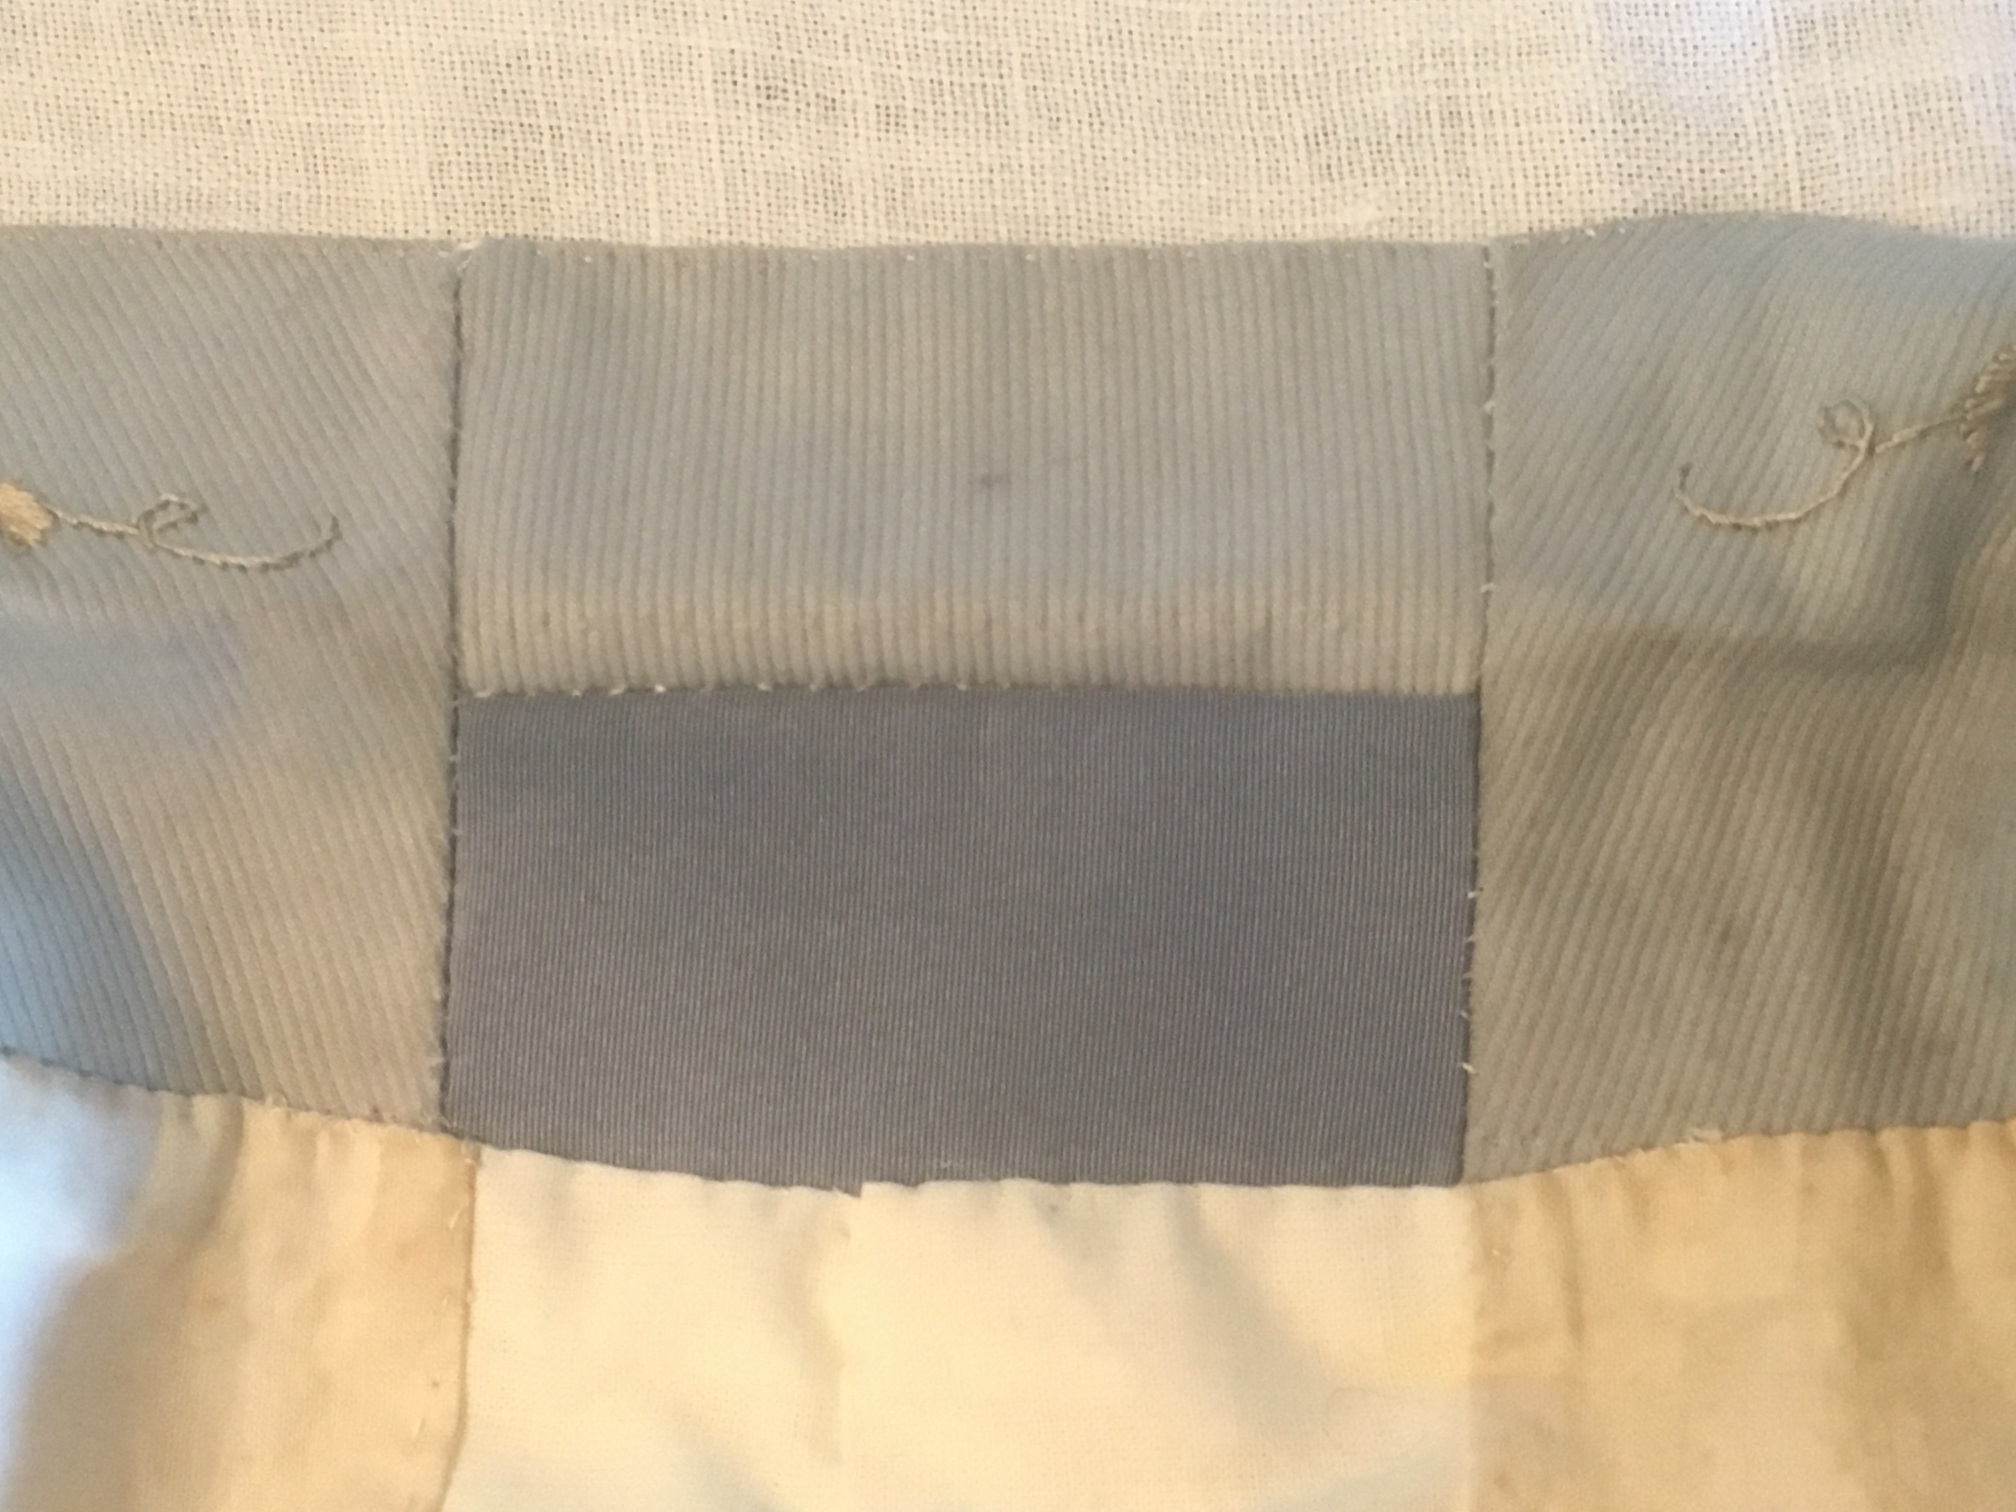
To add in the placket, I found a cotton material which was as close to the original as possible. The original material was thicker than your standard muslin, and with a more dense feel. Likewise, I wanted to make sure the thread I used was as similar as possible. The two strands on the left come from the main seam of the lining material. The four on the right are what I had in my stash. I went with the third, which had both the density of spin as well as the proper gauge.

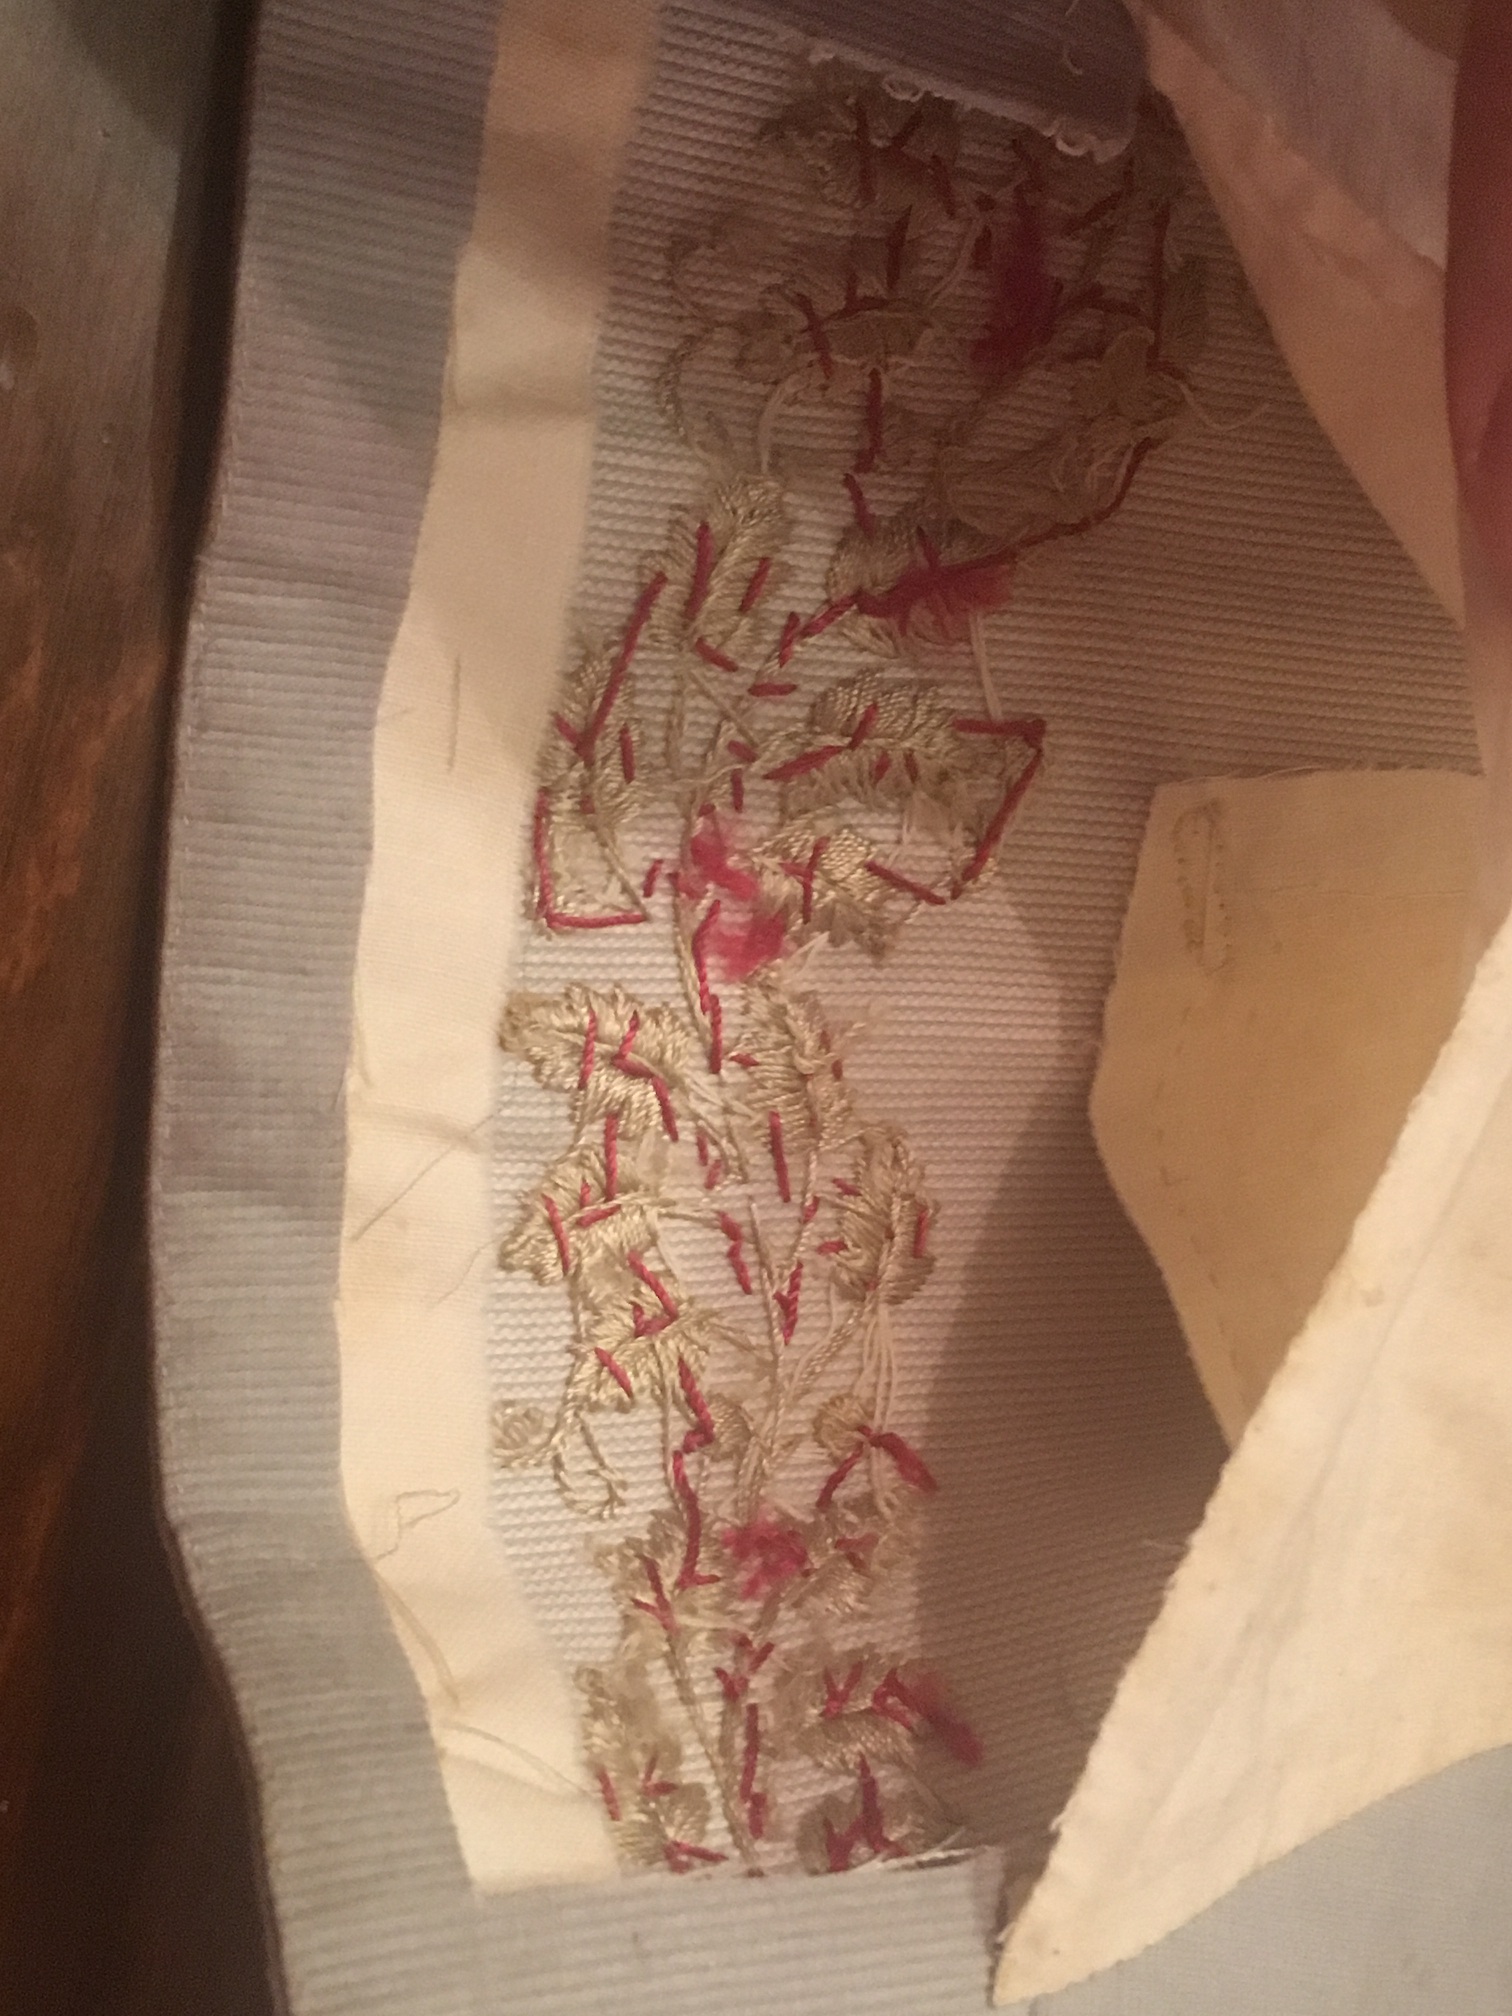
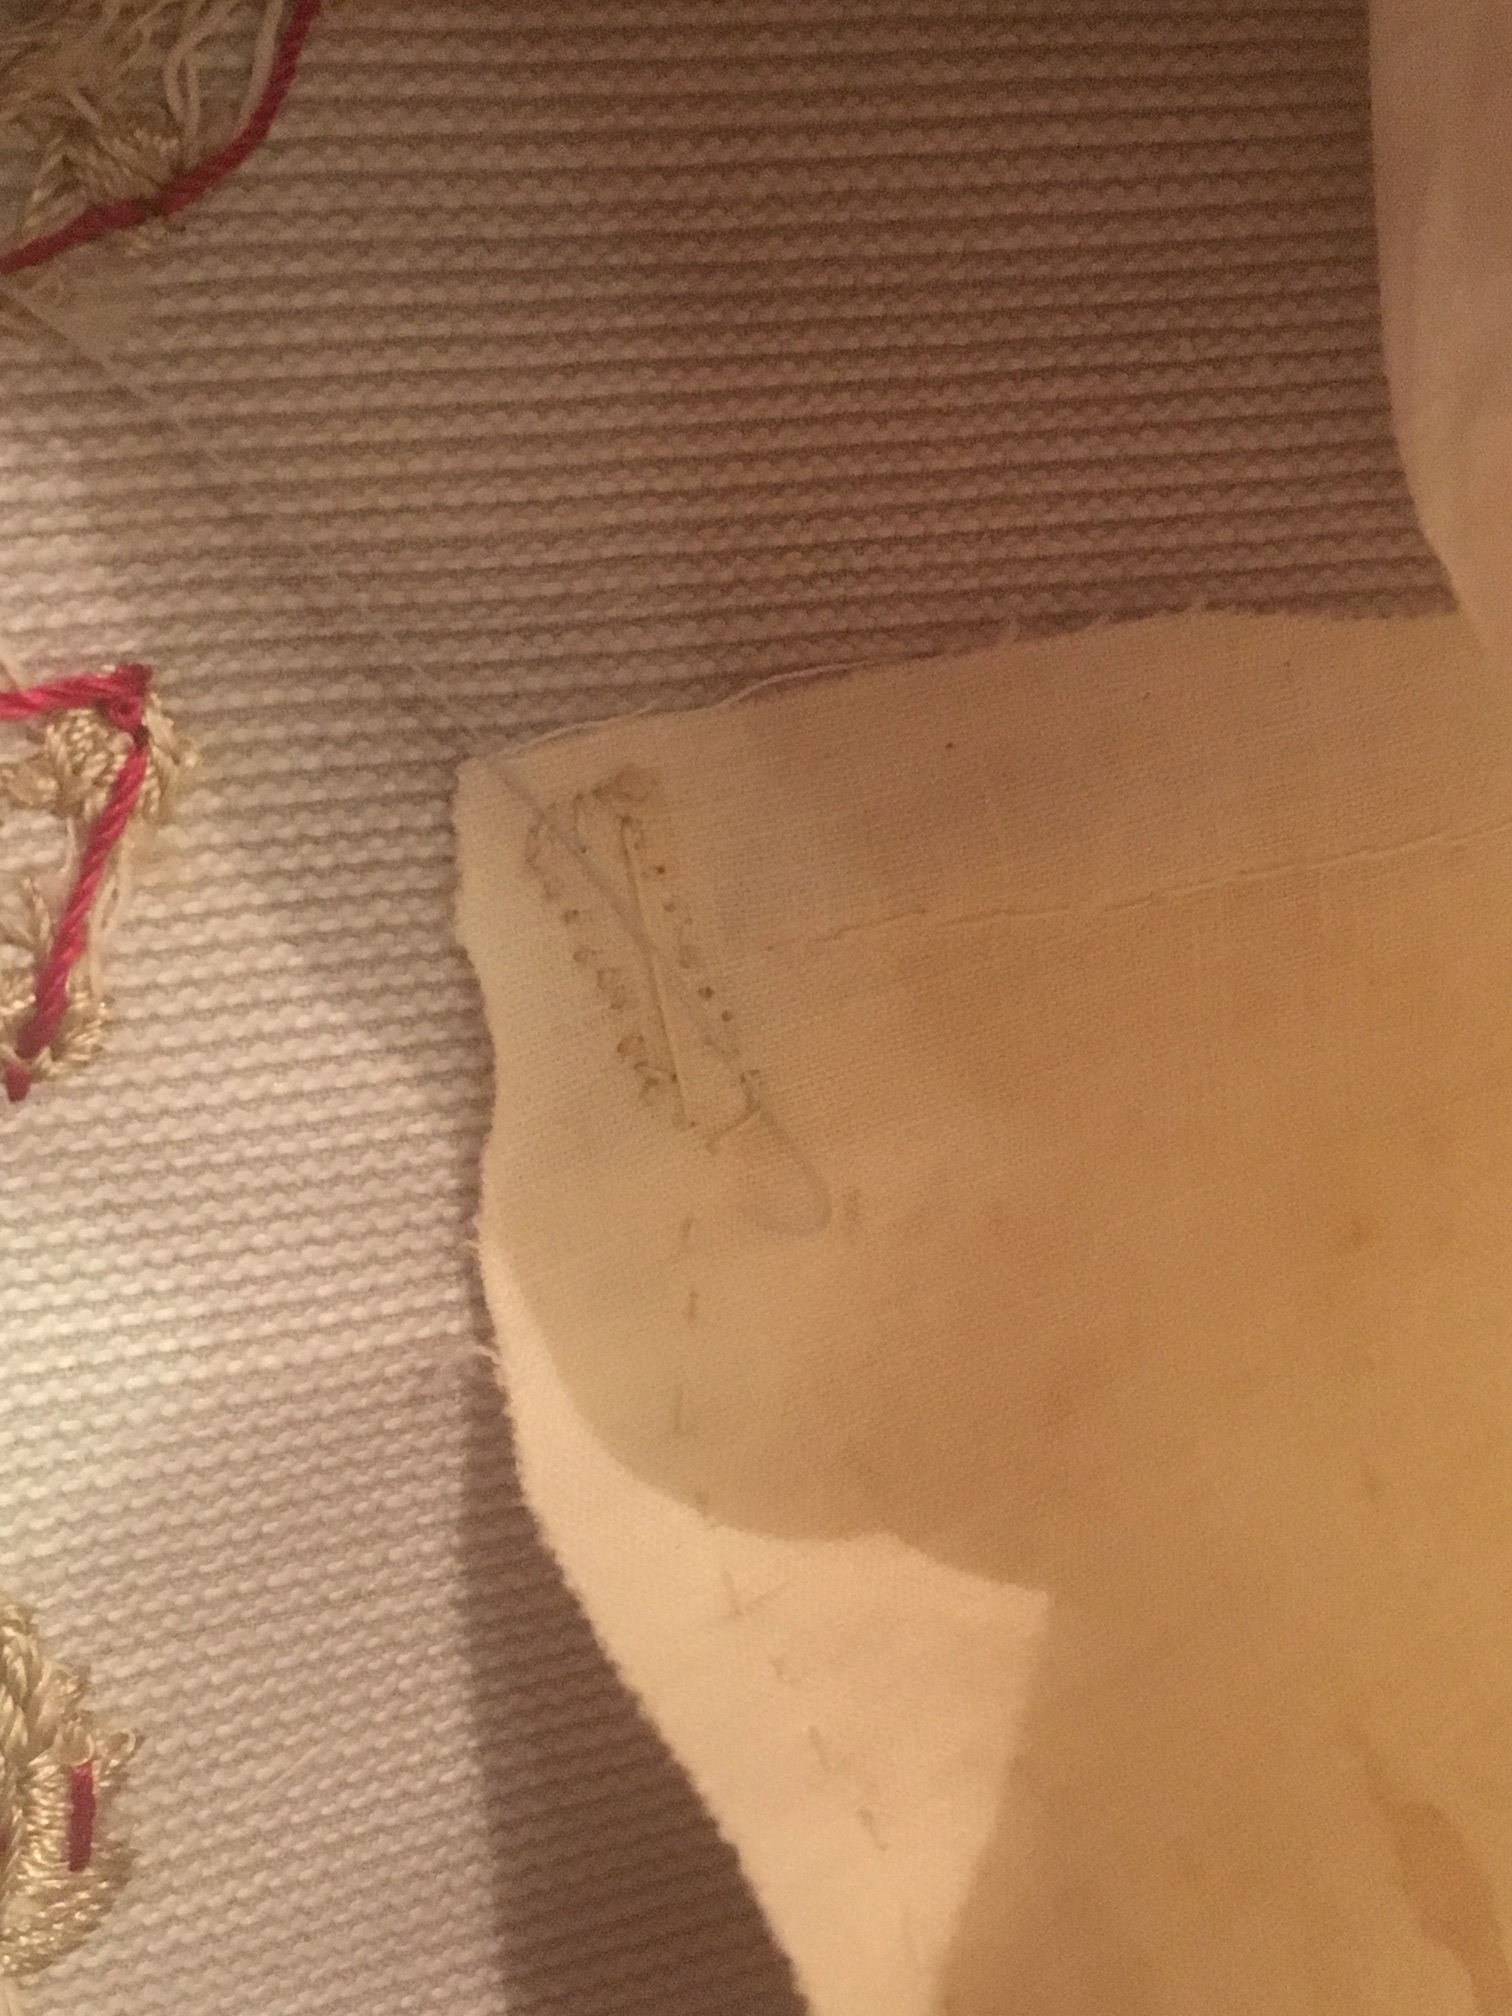
Since we were adding about 2″ to the back, I did not want to make it too obvious that there was a significant modification. The blue silk faille that I had was just not close enough to make it work, so I salvaged a small piece from the right hand side of the inside of the waistcoat, where it would never be seen. While we are at it, we get to examine the backside of the embroidery. For those of you worrying about your backside embroidery, I hope this relaxes you a little! Also, note the small reinforcement of the welted pocket – what a lovely touch.
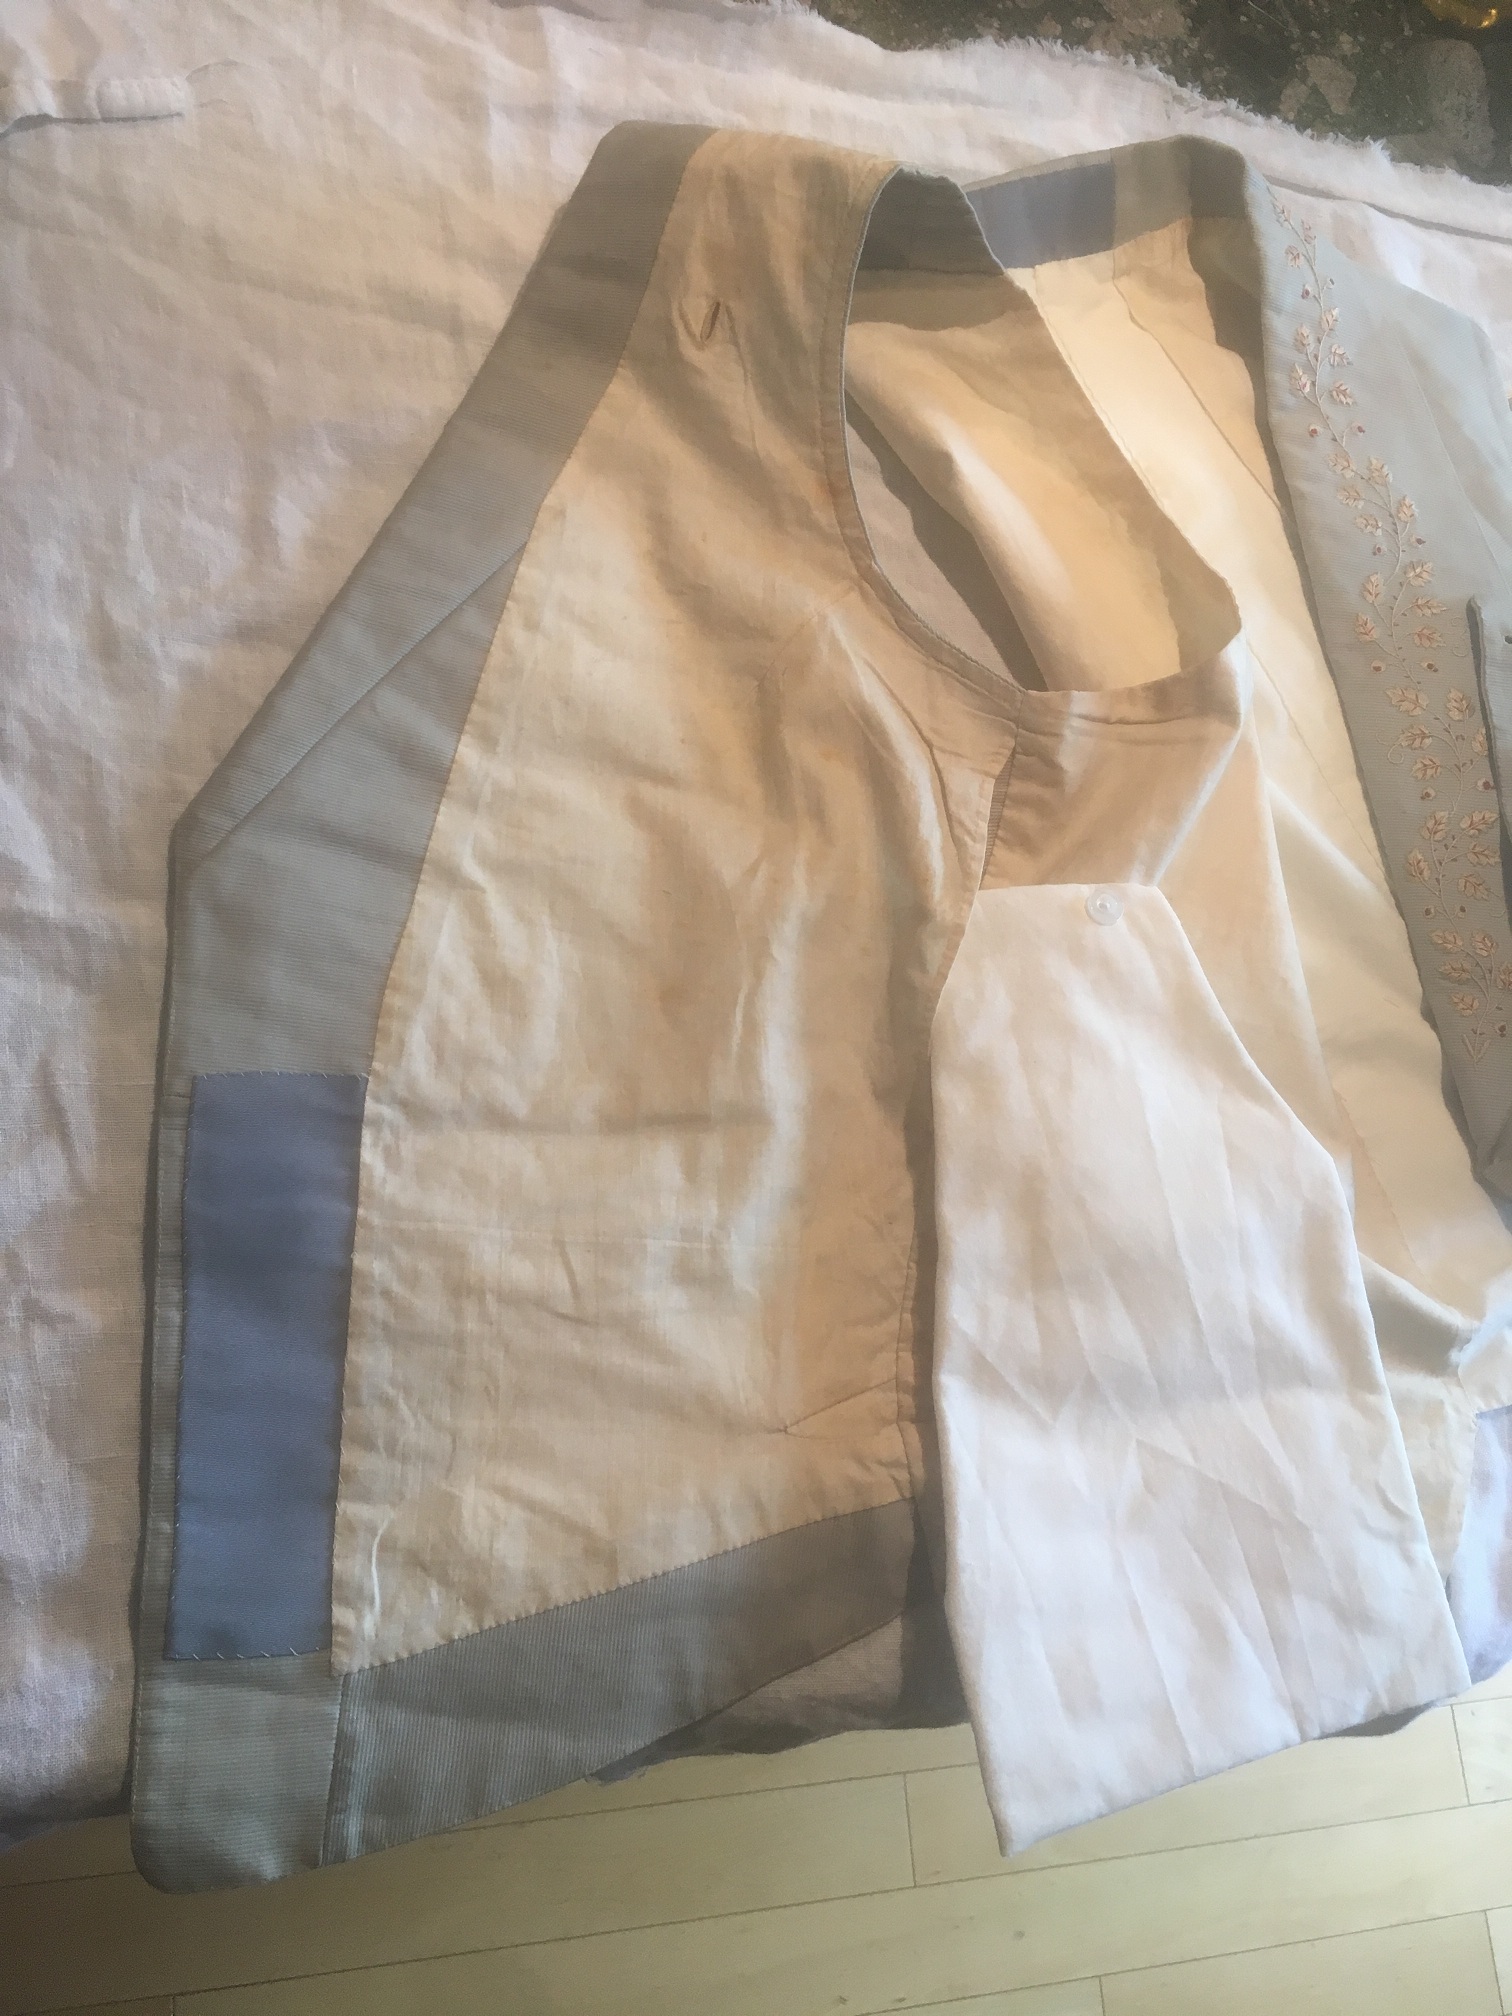
Fast forward a spell, and we have inserted both a small piece of silk faille in to serve as the extension for the inside, and the added piece of faille on the outside. They were stitched in the same manner as the originals, and I tried to replicate the stitch pitch of the topstitching, but I think I only managed about 10-12spi compared to the 15-16 of the original, and I was trying really hard! You will also notice that each side of the waistcoat has a mirror image angle – the place the patch was taken from was not only a place where it would be invisible, but also that it would not destroy the symmetry of the collar by using vertical lines. This is a photo of the inside of the waistcoat with the collar unfolded.
The patched area, and it also shows the chest padding I made up for the waistcoat. As mentioned, this gets buttoned in through the open slit in the lining. Clever!
I promised you a clue into that third pocket. So, here it is – any ideas what it might be for? Scroll down…
.
.
.
.
.
.
.
.
.
.
.
.
.
.
.
.
Keep Scrolling!
.
.
.
.
.
.
.
.
.
.
.
.
.
.
.
.
Have you got it now? =) If you guessed earlier, well done! I was not even sure myself, I had to ask an excellent resource and tailor, Mr. Alan Jeffries, who knew instantly.
All in all, I am thrilled to be able to own this small piece of history. Though it wounds me inside to have to alter it for wear, I think I’ve done so ethically – the most important part is to be able to tell what is original and what is replacement, so as to preserve the history of the piece.
